Greetings!
Welcome to Scifi-Meshes.com! Click one of these buttons to join in on the fun.
Quick Links


Additional credits
- Icons from Font-Awesome
- Additional icons by Mickael Bonfill
- Banner background from Toptal Subtle Patterns
© Scifi-Meshes.com 2001-2024
Posts
Are you just learning Blender?
I've been learning Blender for a few years now.
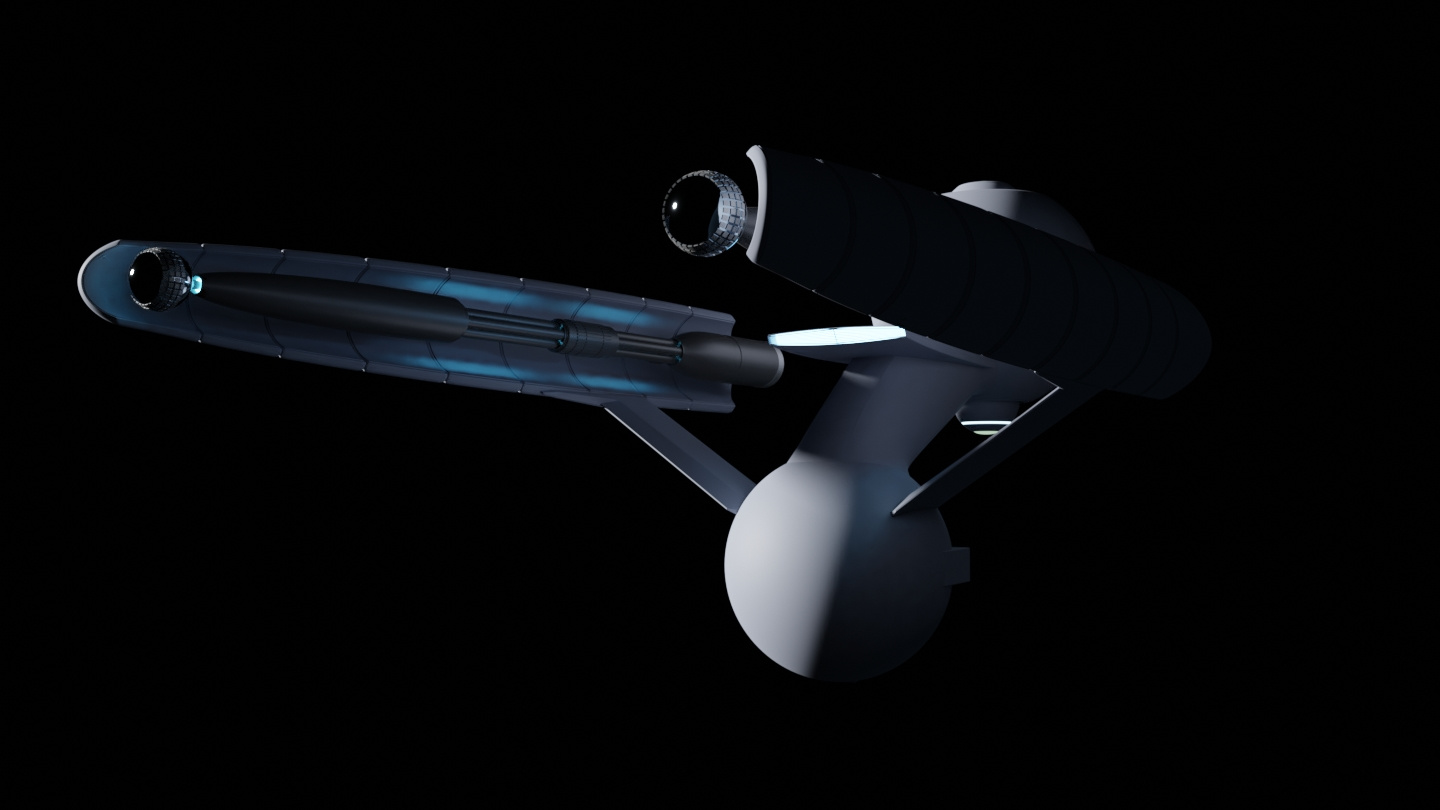
Last night and today's work: Sensor dome details, EVA hatch, turbolifts, and foward sensor assembly.
The more I look at the sensor stuff, the less I like it. Might look better to remove the housing and puts the parts in a Boolean recess higher up.
This as of yet named, or classed, ship is smaller than I had envisioned.
Note on the engines: the curved sections are the field transmitters, the "guts" are probably the power step-up and management systems.
A larger model would have shuttle bays, but this one will have two externally docked shuttles on either the back of the primary, or same area of the neck.
Any Blender users not trying 2.80, it has improved Boolean and Bevel modifiers. The deflector dish and the upper sensor dome are all Booleans. I'm mostly using Bevel with Subsurface modifiers to avoid permanent bevels or control loops, which is perfect for non-destructive conceptualizing. The neck is weighted shrink-wrap, and would probably look better if the secondary hull were lower.
I played around with it. Having issues where thing are located and the left click. Might have to set it to the 2.79 interface and test it out.
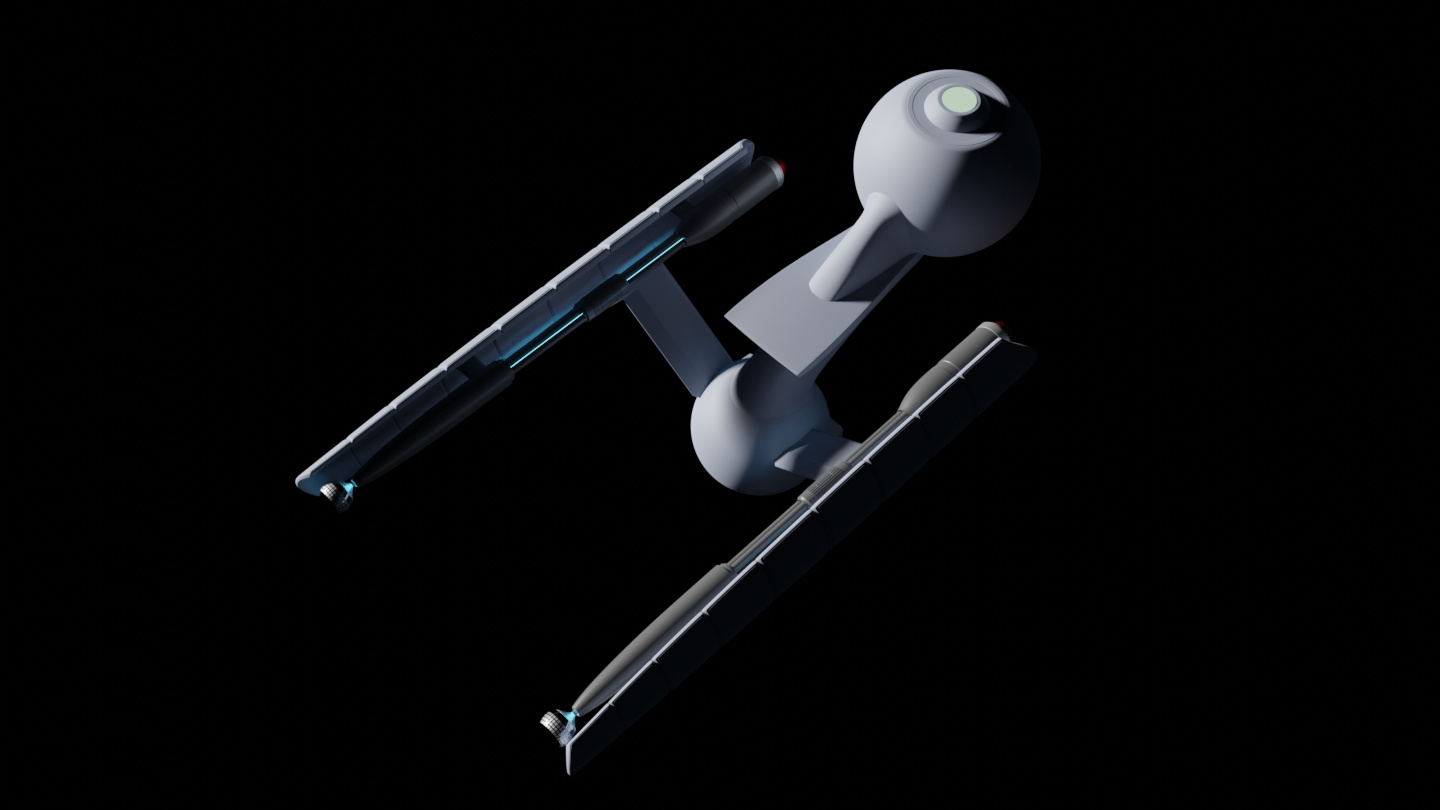
Inset sensor clusters, and added bridge module latching system covers.
Panel made by drawing shape by extruding verts, creating faces, with solidify and bevel modifiers. Method works well for small panels on curved surfaces.
Took forever to find the right combination of render samples, light path bounces, and denoise settings to get this dark render to look good. (2500 render samples, default light path bounces (12, 4, 4, 8, 12, 0), denoise radius at 9pxs, strengths both at 0.60. Bought a Dell PC with an NVidia GPU just to run 2.8. This was about a 10 minute render. Can't image how long it would have been on the old laptop with only 4 CPU threads running.)
Had to find a tutorial on how to do render layers in 2.8. Its now View Layers and they are associated with Collections--nice how we can have objects in more than one collection. Now if Blender developers would make it so we could only apply glare filters to light sources and not everything else in the scene, that would be nice.
I cut in a large panel on the side, but as it was flush, the panel line was invisible in the render, so I decided to delete it and not bother with it paneling the bridge. I might add a few more smaller ones here and there, but the outer skin can be manufactured as one single piece, so seams aren't necessarily necessary. I also did a Boolean cut for the turbolifts, but there were ugly shading artifacts around the edges even with subsurface set to 4, so I undid that. I could try a data transfer for that surface, or later apply the modifier and retopo--if I want to get that deep into it.
Eevee renders
without compositing
with compositing
Not happy with the engine "guts" I'm going to redo those, work on a shuttle mock-up to work out docking options, and create a human scale figure to stand around and wave at us.
A single wide mobile home is another way to show scale.
If you want to isolate glare filters to just the luminous surfaces, make sure you're rendering out the Indirect Transmission and Emission passes separately, and then in the Compositor, add them together (possibly using a "Greater "Than node on the Indirect Transmission pass so that it's limited to just the really bright stuff), and then use them as the input into your Glare node. Set the Glare node to a mix of 1, so it's fully the processed glare output and none of the original input, and then use an Add Node to mix that back into your regular image output. That should give you a very nice, and controllable, illumination-only glare.
You can also take that a step further and do a second, lower-power glare on everything brighter than a certain threshold (again using Greater Than) to get a nice bloom effect on your brightly-light, non-emissive surfaces.
Hope that helps!
Books: [ Ashes of Alour-Tan | Embers of Alour-Tan ] | Blender Tutorials | Blog
psCargile - It sure seems like you have been using Blender longer that a couple of years. Really great work.
I was watching a tutorial on the 2.8 grease pencil animation, and he had his UI set to the old one, so that is possible. The 3dView had the 2.8 gizmos, but the layout was obviously 2.79. I haven't updated my build yet.
I should have some uploads tonight.
Looking forward to it.
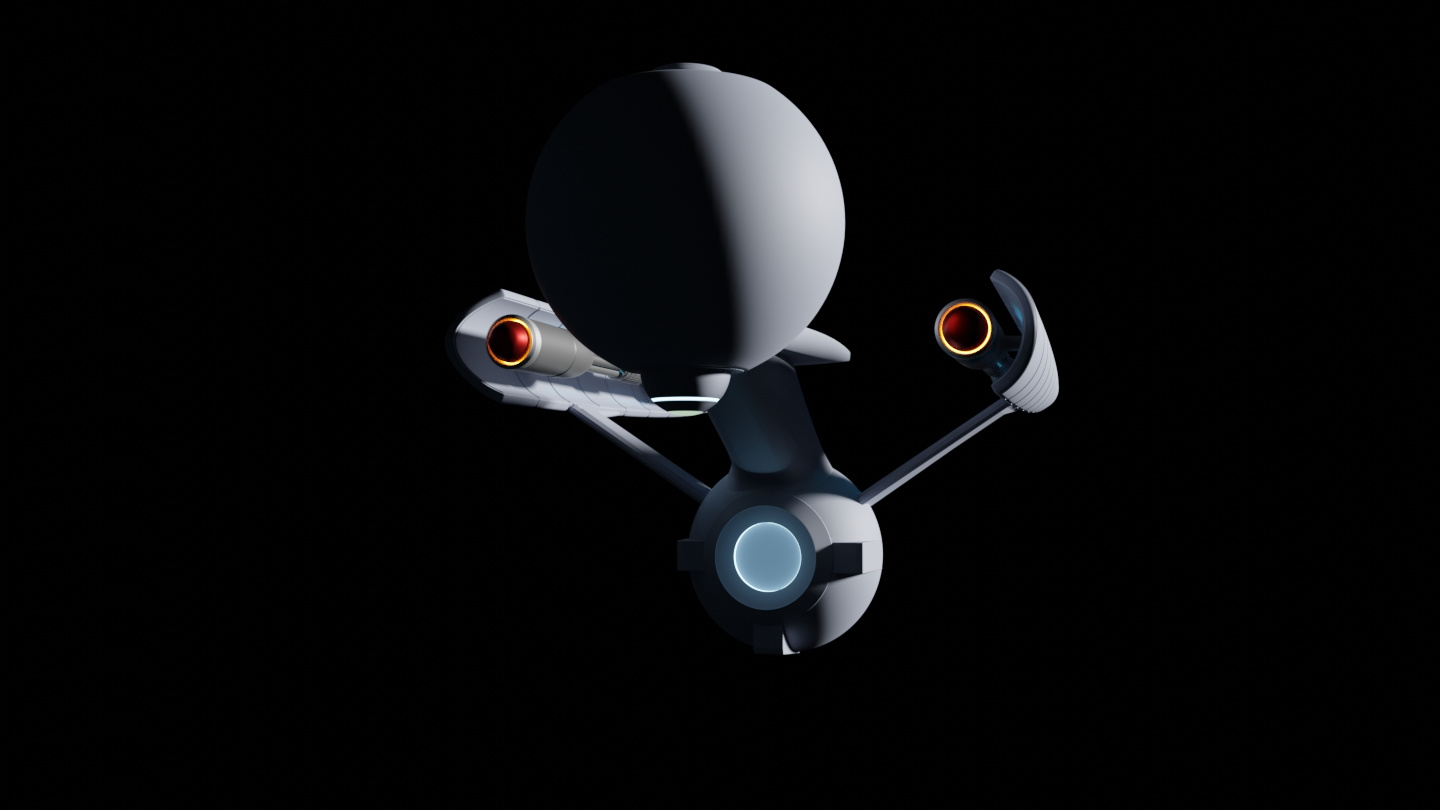
Tinkering around with a external shield grid array.
D-NOISE test. Still some artifacts like wrinkled paint in the render. Used McC's suggestion for blooming. I haven't played around with passes much as they haven't come up often in the tutorials I've viewed. A lot easier than dealing with a number of different render layers. You'd think in the future they would have better cameras to avoid blooming, but maybe retro images are trendy.
Blender does better with well lit scenes, or maybe with a few light sources. The D-NOISE denoising doesn't look bad here. I think Blender is telling me that for darker scenes, if I don't want splotches and blotches from its denoiser, I'll have to run a billion samples.
I'm just really glad you're modeling. I remember your drawings and always felt they deserved to be done in 3D.
Remember my drawings...oh wow, you're from way back.