Greetings!
Welcome to Scifi-Meshes.com! Click one of these buttons to join in on the fun.
Quick Links
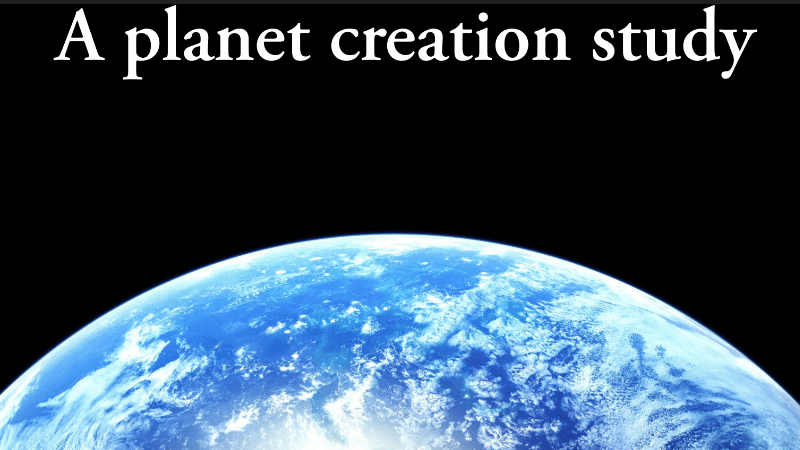
Local TutorialInteractive planet-creation tutorial


Howdy folks
Since I am nowhere near used to make pretty tutorials, let alone usually able to explain stuff in a coherent and understandable way, (gasp), I decided to have an interactive tutorial WIP thread going.
So, lets make a M-class world for some of out nice spacships to orbit or to blow up with our favorite mega-weapons of mass destruction.
First I usually like to make an alpha map type of thing that separates out continents and ocean in order to control my painting in PS, later. For this tutorial I used the LunarCell plugin just to speed things up a bit.

Fig.1 Da creation of a new world.

Fig.2 50 Lunarcell iterations later, about 65% landmass, 13% ice, not much complexity and texture and few large craters.
Now I generally do not like the uniformity that I get from a generic lunarcell filtering. So it is time to turn on the imagination and move around some of the continents. For this case I imagined a -huge- submerged impact crater (santorini style) to the left (marked red in figure 3) and I cleaned out a larger ocean to the right. These are just the rough stuff more like guidlines.

Fig.3 The raw mask is just about done, red circle notes a large impact site.(for some reason the red stuff ain't working ...)
Alright folks. Just remember, it works equally well with other worldgens, copied terrain, all handpainted. We are just interested in the rough mask here in the beginnings.
Next post I will do some test renders with the mask to look for oddities in the mask that might look wierd when mapped on a sphere. Cya in a while with some more stuff and "Cowplanet" renders.
Cheers //Asz
Post edited by Guerrilla on
Additional credits
- Icons from Font-Awesome
- Additional icons by Mickael Bonfill
- Banner background from Toptal Subtle Patterns
© Scifi-Meshes.com 2001-2024
Posts
BTW: It´s only a small error but I think you probably meant the 3rd pic to be http://pc213.astro.lu.se/~stefan/SFM/tut01/ScreenShot003.jpg instead of http://pc213.astro.lu.se/~stefan/SFM/tut01/ScreenShot002.jpg.
And they gave you a Ph.D... :shiner:
Anyway, really looking forward to where this is going.
Join our fancy Discord Server!
Looking forward to following this.
For those without the plugin (like me) - try:
Flaming Pear - LunarCell: plugin for Adobe Photoshop
Gonna follow this one very closely.
Chocking... isn't it ... :devil:
Now we observe that my really cool looking crater idea actually is quite too large and has to be tweaked a bit. Always useful to check out the maps for consistency before one starts to color and detail them.
Fig 2.1 (tut_post2, figure 1
So back to some tweaking ... or cheating ... I have not decided route yet. Gonna dig up a nice planet reference from my personal universe to attach to the planet too, so we can get some nice backstory and to show you some pathways of mind that I use later on.
Fig 2.2 Terminus polar shot to check out the curvature of the sphere. Looks OK.
Fig 2.2 Close up and personal
Cheers for now
//Dr. Asz
Fig 3.1 Submerged Yucatan x 3 size crater-texture test.
And for the fun of it. Some backstory to make the planet slightly more alive. Following text is an excerpt from one of my multitude of text files that build up my personal universe created for writing (no finished stories yet) ages ago. Ah, back in those days I had time dreaming... The format of the text file is sort of a guide of the major trade routes
_________
Even longer stretch with 10 jumps and you are at the rim, entering the HR209 system. Another system with not only one, but two terrestrial planets. The innermost terrestrial planet has a almost primordial atmosphere with very high partial pressure O2 (94.6%) so no smoking here. There are a few outposts here and some underground mining camps. The other is a colder, dryer version of Earth, maybye like ancient Mars. Here is the main colony located with a couple of cities and outback outposts. NAV beacons provides safe route to the HR209 worlds.
_________
Now to add to the story I have decided that the impact crater have made huge deposits of precious metals, gold, iridium and such easily accessible and thus a thriving mining colony will be located here (and night lights painted)
Time to enjoy the weekend with my family, get back to you when opportunity arises
Cheers
//Dr. Asz
Can we post our own WIP shots following your tut when we get a bit further on?
Sounds fair !?
Now get back to enjoying the weekend
Here's hoping the mysteries of planet creation are explained here. I've tried following Pete Draper's tut using 4k maps from Blue Marble, and it looks like ass. So maybe whatever obvious thing I'm missing will be in this tut.
So, folks... one often overseen factor of planet making (unless you are going for a pelagic world) is the oceans. Therefore I like to spend some time on that for this one. So after touching up the submerged crater impact some it was time for some more sunken features.
Now is a good time to make sure that the black and white of your continents and ice are transferred into some stored selection or alpha-channel. That step will make life easier. Select the alpha and (in my case, invert selection to get the oceans). I then painted huge blobs of pseudo continents semi-randomly over the map. If ocean selected one can be rather sloppy and use huge brushes >300px with perhaps some funky .abr loaded.
Now we got a nice blotchy pattern on a transparent BG. New layer, and do some filter->render->cloud. Blend them together using, perhaps soft light and you eventually get something like this
Fig 4.1 : Ocean colors and variation + huge crater.
Fun, right... next we do something about the land perhaps
Cheers
//Dr. Asz
That planet tho...
The main concern with oxygen concentrations above 23% is the possibility that materials which would normally not ignite at normal oxygen levels, would be prone to combustion.
An Oxygen-rich atmosphere is also somewhat corrosive. Rust is the oxidation of metals. Fire is fast or rapid oxidation. (So, I guess techncially fire is real fast rust!)
I dont think there will be much industry on a planet with that much O2. I dont think a planet would form with that much oxygen.
...
But awesome tutorial!
Ladies and gentlemen, this is one of the steps that our aszazeroth is doing to make another brilliant planet in his collection, below us you can clearly see a meteor crater... Later, our crew will bring you the dinner, enjoy the ride.
:shiner:
The planet gas composition came out of a small program that I used on to "generate" solar systems. It sort of accretes matter from a pseudo-proto-stellar nebula to form the star (input parameter) and a host of planetary bodies with a lot of physical parameters (output table). Basically gravity and location from the star will determine what gases are "trapped" in the gravity well and for this particular case, apparently a lot of oxygen was trapped. I agree with the highly corrosive nature of the atmosphere. In pure O2 atmospheres aluminum bars burn like wodden logs (ref: a cool NASA movie I saw once).
To compensate for this, I will make the colony and industry sub-surface and sub-terranian or habitat structured. The overall gain here is the pure deposits of precious metals that can be extracted with minimal refinery. For some more spice to the story we can speculate if the roid actaully was natural or they are mining the wreckage of an alien spaceship
Thanks ALL for the nice comments.
Indeed we do.
Oh, BTW... the plugin works for GIMP too.
Go here. for more info.
Thanks mate for this tutorial (and pointing me to the planet map gen!).
-albert
Fig 5.1 : Base palette or surface colors.
Time to do a test-drive in your're favorite 3D application again, to check out the size of features.
Fig 5.2 : Test-render.
Note... there are still ways to go here, but the overall size of things looks promising. Now where are those W.I.P threads ?!
Cheers
//Dr. Asz
What distortion filters did you use?
Hmm, damn good question... been so many planets and I tend to work on some in parallel these days. For this it looks like some kind of ripple, blur and sharpen, then re-painting some of the harder edges away. Not anything fancy, just something to break up the colors and to get a palette to work from. The real work is still ahead.... and not to mention the cloud map :devil: which may even be another tutorial all together.
As for clouds, I might go lazy and just stick with some premade cloudsmaps