Greetings!
Welcome to Scifi-Meshes.com! Click one of these buttons to join in on the fun.
Quick Links
3DEnterprise D in Maya
 advancemastermb331
Posts: 0Member
advancemastermb331
Posts: 0Member


Hello everybody !
So ok, it is not very original, but after seeing a lot of Enterprise D meshes out there, some outstanding and some just great. I thought I could spare some time to try to give it a shot.
In fact I've never been able to find a version for Maya. Ok, you'll say I can always convert another one, I've done it with a lot of meshes. But now I wanted to do it from scratch.
So the modeling will be based on the beautiful version by Prologic's 9 to help me with the mesh flow. And the textures will be based on Tobias Richters version and some screen caps (for example from the new pics of the remastered version.)
I will make the texturing and the modeling at the same time. I know this is not really great but I find this easier for me to assign materials during the process and not at the end.
So here is the first pic, the top section of the saucer with windows. (BTW if somebody know a good way to cut windows in Maya, please share it cause I can't find a really convenient way right now)
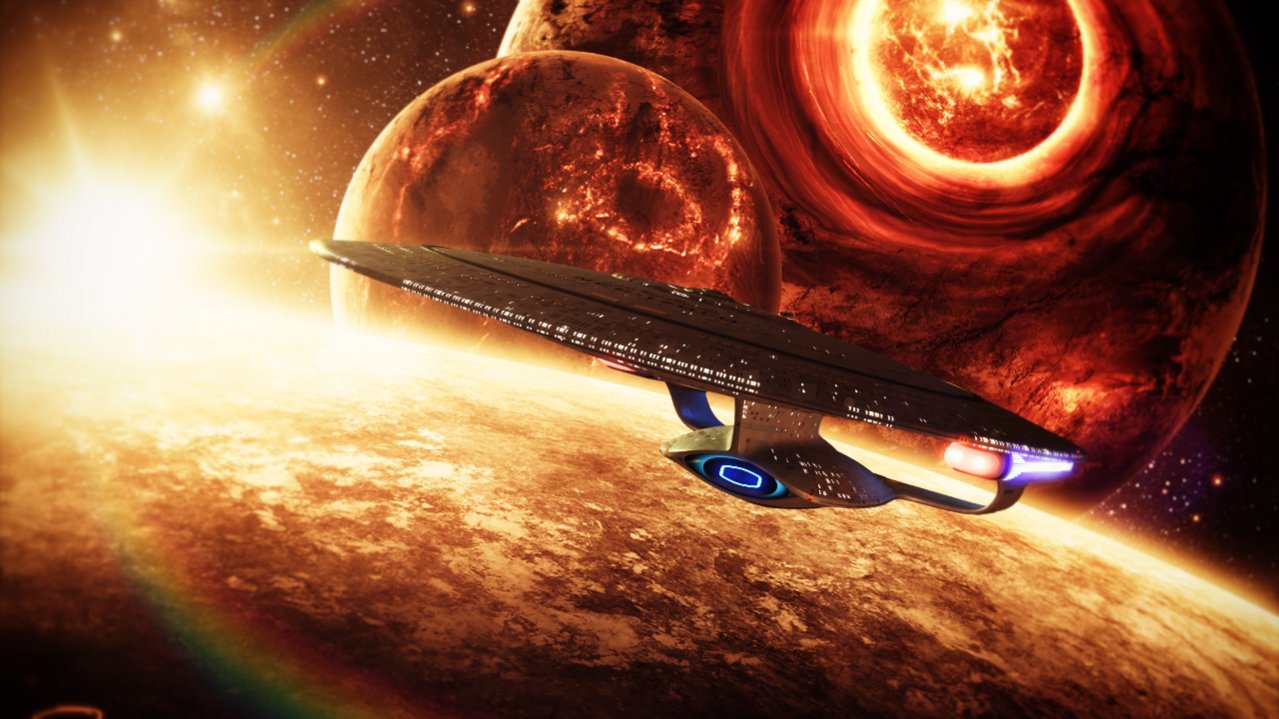
So stay tuned, and ask for other renders if you want them")
sunrise_orbit1.jpg
So ok, it is not very original, but after seeing a lot of Enterprise D meshes out there, some outstanding and some just great. I thought I could spare some time to try to give it a shot.
In fact I've never been able to find a version for Maya. Ok, you'll say I can always convert another one, I've done it with a lot of meshes. But now I wanted to do it from scratch.
So the modeling will be based on the beautiful version by Prologic's 9 to help me with the mesh flow. And the textures will be based on Tobias Richters version and some screen caps (for example from the new pics of the remastered version.)
I will make the texturing and the modeling at the same time. I know this is not really great but I find this easier for me to assign materials during the process and not at the end.
So here is the first pic, the top section of the saucer with windows. (BTW if somebody know a good way to cut windows in Maya, please share it cause I can't find a really convenient way right now)
So stay tuned, and ask for other renders if you want them
sunrise_orbit1.jpg
Post edited by advancemastermb on
Tagged:
Additional credits
- Icons from Font-Awesome
- Additional icons by Mickael Bonfill
- Banner background from Toptal Subtle Patterns
© Scifi-Meshes.com 2001-2024
Posts
2 ways that I know of.. 1 is to boolean them out best way i've found is to extract individual panels ( like after you do the sheild grid, and you extract a panel, then boolean the windows in each panel, I usually combine multipule windows, usually a whole panels worth and boolean them at the same time.. saves time and effort and usually mesh errors)
2nd is to insert some lines, or bevel the window areas, then extrude in the face, then usually bevel the edges, and window corners ( tut following, don't have access to it atm.. morning time..)
as a Maya user myself ( only of a few here, Tobias being the most avid/pro user here in my opinion!) if you have any questions i'll try to answer them.. but its usually trial and error and experiance!!
Thank you for the answer, for this model, I've done exactly as you describe in the first way. The saucer is divide in panels, and then boolean cut.
But I've seen that since Maya 2012, there is a stencil tool as in lightwave, so maybe I will try to test with it. But for now I will stay with boolean then refining the flow.
It is great to see a Maya user, it's true that we can't find a lot of them, and definitely Tobias is the best of the best.
As a matter of fact I have one question, any tips for a great space lighting in Maya?
For now, the windows are hollow. I want to add some interior parts in the futures so we'll see.
top_saucer_part_textured.jpeg top_saucer_part_textured2.jpeg
Remember, the curve of the saucer section is split where the phaser strip goes. There is the a slight level plateau before it curves down to the rim.
Can you please include randomly lit up saucer and engineering hull lip windows? Every single damn model/render I see only has ten forward lit up. I just don't find that to be realistic.
tutorial.. might not need it.. but
lighting and texturing have been my week point.. your current lighting is better than what I can do..!! Could PM Tobias to see if he has any pointers.. he's very open to questions
I'm stuck in Maya 2009 so no idea on a stencil tool.. need to upgrade one of these days!!
Looks Great!
Thank you for this point, I was not sure about it, on some blueprints there is the plateau, on others we can't really see it. I think it's better with it.
And yes every window will be randomly light up and with two different "on" color to match the "Generations" look. I will try to add interiors for the rim (as the windows are wide enough) and a complete ten forward...If I have time to model it:D
Thank you for the tuto
I've already PM Tobias and he gave some tips that I used for these renders^^
You really may consider switching to a post 2011 version of Maya, there are a lot of great new tools which can be very useful
Yeah you are right, maybe a little less bump. This is my problem, I can never decide, one day I will think it's too much, then the next day I will say that it is not but I think I will decrease it a bit.
And for everybody else, thank you very much, stay tuned for the next steps, I think I will finish the main shape of the saucer by tomorrow, then I will start adding all the details on it. I want to completely finish the saucer before starting the engineering hull.
Ok, the bump is still too strong, I will fix that^^
bridge_module.jpeg
Excellent. Thread subscribed, I shall be watching you progress with great interest!
Also, are you just using my textures as a test to see how it looks? They will never fit any other mesh 100% correctly as they were designed for Prologic's mesh.
JMoney
Any event, the saucer is looking gooders!
I'm not seeing this on the filming model pics from the Christie's auction...looks like a continuous slope. Do you have any refs of this besides some of the MSDs that show it? I'd like to know since I'm starting my own version of the E-D.
Thank you very much.
For now I'm using a mix between a lot of existing textures. Yours, wiley Coyote's bridge commander enterprise D, David Metlesis's one and the orthos from Tobias. So everybody in photoshop and let's start painting my own so yeah it may look like a mix of textures.
I've done a lot of adjustments to fit my mesh, redone the bump map using illustrator to have a higher clean resolution (for the bump and the textures, I work with 8142px files now, so I can do really nice close up, especially because I want to add some interior parts), reworked the spec map cause maya don't work only with black and white specular map, uv mapping, at the end it will be brand new set of textures that I would be glad to share if you want.
I'm planing of adding a more metallic look to it by using Tobias's tutorial on how to texture the saucer of the enterprise A.
By the way I have a bit of a problem, I'm not able to find which is the "true" color of this beauty. Sometime it's blue, sometime it's gray, so any hints?
Finished the bottom too, so here is a shot from above.
I'm planing on adding a "real" captain yacht.
I've finished the lifeboats but I forgot to uv-map them before cloning all around so... Just one question, what is the label order? Is it random?
Anybody with a type 6 shuttle mesh in obj or fbx to test for the interior of the main shuttle bay?
saucer_part_metal_texture.jpeg saucer_part_bottom.jpeg
and oh.. the link busted thing is that the attachments your putting up arn't working for me( don't know if its the same for everybody) so I can't see anything.. again I ll try on my work computer to see if its busted there too..
Oh sorry, I thought it was for the fact that you've add another image to the tutorials on picasa... English is not my first language so sometime I don't understand well.
It would be great if you could share the shuttles, and greater because they are in Maya format
I send you a PM with my e-mail address, so you could maybe send a zip or a rar.
Is it ok for the images now?
LOL thank you very much, I've spend a lot of my recent night on it I can admit that. And the saucer is not the part of this ship that is the most difficult, a lot of cloning. For now I have to clean the windows holes, there are some little problems with some of them and and all the details. I don't know how I will do the sensor array all around the rim cause I can't find good references...
I think I will not be able to continue this week end, I have a lot to do, but I will continue on monday for sure.
In the meantime, I'll give you a little test bonus^^
stay tuned
Just a small update, I realized that I forgot the thrusters on the rim, so here they are.
top_saucer_part_3.jpeg
It's hard to say. I've never seen a picture clear enough to read them.
I've seen realy up close pics of the hatch details on the Ent-D model sold at Christies, the labels are a random placement of 3 or 4 different numbers.
My OCD would not allow that, so I sequentially numbered the hatches on my Dorsal orthographic.
I numbered them row by row, starting on the starboard and moving left till that row ended and starting on the next row, again on the starboard.
I hope these pics illustrate it well enough
Thank you for the hint. I think for now I will let it without marking just to see the render and then I will try to use the methode described by Tobias in his version of this ship. And I think your numbering is quite good.
So the little bonus, I had this converted version of Admiral Kamikaze Bacon briefing room on my hard drive and I couldn't resist
briefing_room_real.jpeg
And a little close-up. The textures of the bridge module are not finished yet so be cool
briefing_room_closeup.jpeg
Thanks,
JMoney