Home › NemVia › Best Of...

Greetings!
Welcome to Scifi-Meshes.com! Click one of these buttons to join in on the fun.
Badges


NemVia
About
- Username
- NemVia
- Joined
- Visits
- 27
- Last Active
- Roles
- Member
- Points
- 192
- Posts
- 71
- Homepage
- http://www.NemVia.org
- Badges
- 5
-
My 1/8 Scale BTTF Delorean (WIP)
deadmaster wrote: »wow nice model.
Thanks Deadmaster… here's another update.....
NOVEMBER UPDATES - 2019
Hey everyone! Well, still no word on when I'll receive my missing issues which are now Issues 75, 76 and 77. I really don't know what Eaglemoss will be sending me until I get my next automated order. They did send me Issue 74 which is the issue that has the hinge panel for the passenger side gull wing door, so I was able to get that into place, and I also received Issues 79, 80 and 81. 79 & 80 are the passenger side rear panel and trim assemblies, which are very easy to assemble. Issue 80 also has similar parts to Issue 78 which are the trim pieces for the rear panels as well as the mounting brackets for some of the lighting effects. Issue 81 has a part called the "engine surround" which will eventually be filled up with wiring and more greeblies. I have 17 new pics added to the 1/8 scale BTTF DeLorean page which includes the pics and parts for Issue 74 which is now in sequential order. Now, depending on when my next shipment will get here will determine if there will be an update for December. My busy season begins next month so I might not have too much time or energy to get anything done. If not, there will be a big update on January of 2020. Who knows. Well, that's it for this update. Keep checking the website and we'll see you next update!
Mark
https://www.nemvia.org/apps/photos/photo...=205996566
http://www.NemVia.org

-
Re: ST:TMP Drydock (WIP)
January Updates - 2018
Hello everyone! My apologies for the delays. I really have been working on my build, but Life just keeps getting in the way of my progress. Hopefully things will be a little better now that my peak season at work has calmed down.
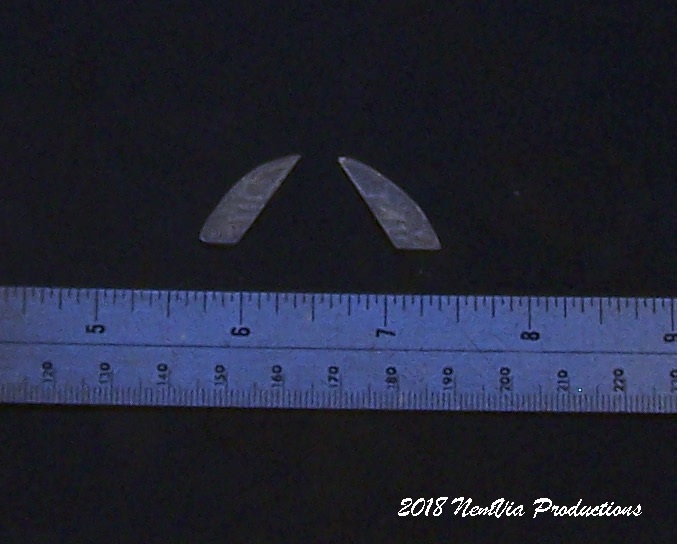
For my project updates I have cast resin pieces for the outside details of the hanger bay lighting effects. I had to make the pieces transparent so you can see the actual lighting effects. I'm in the process of opaqueing the castings to prevent light leaks.
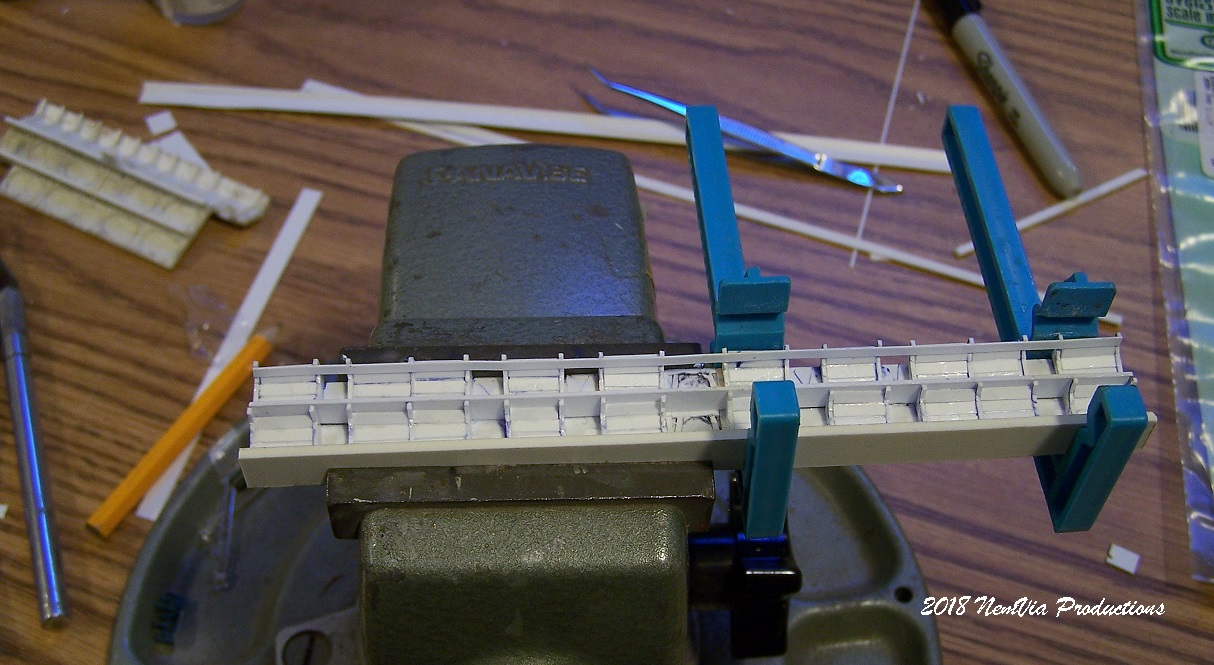
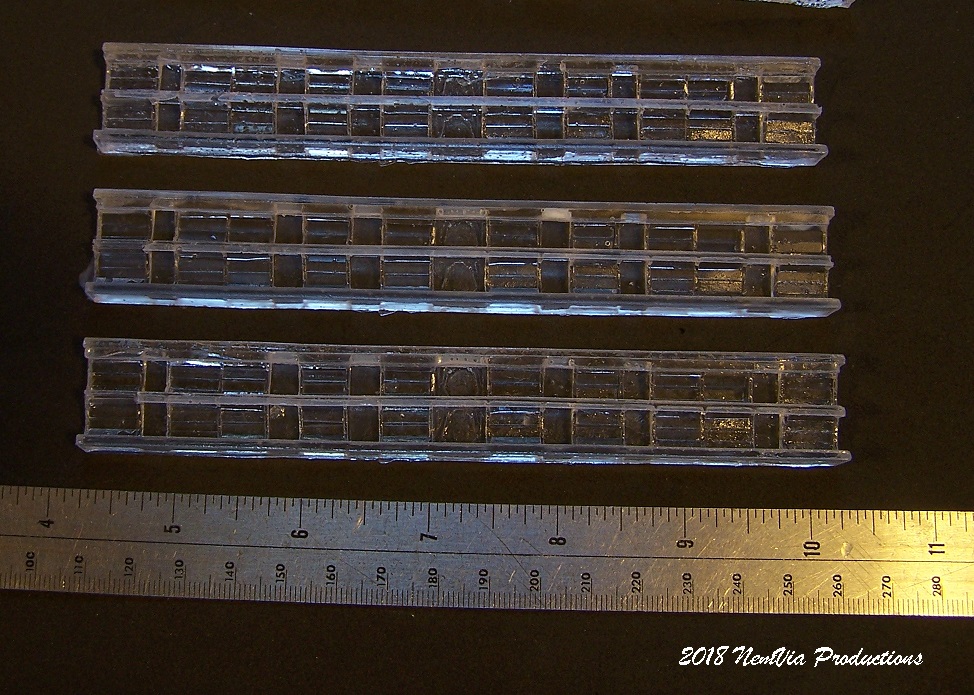
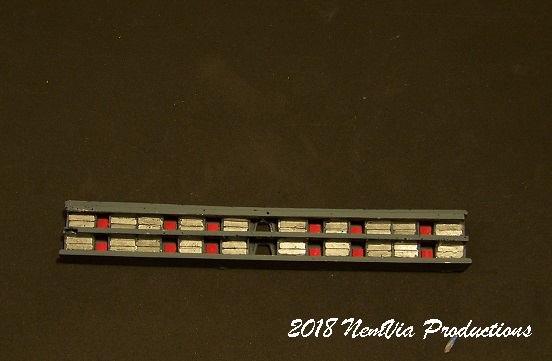
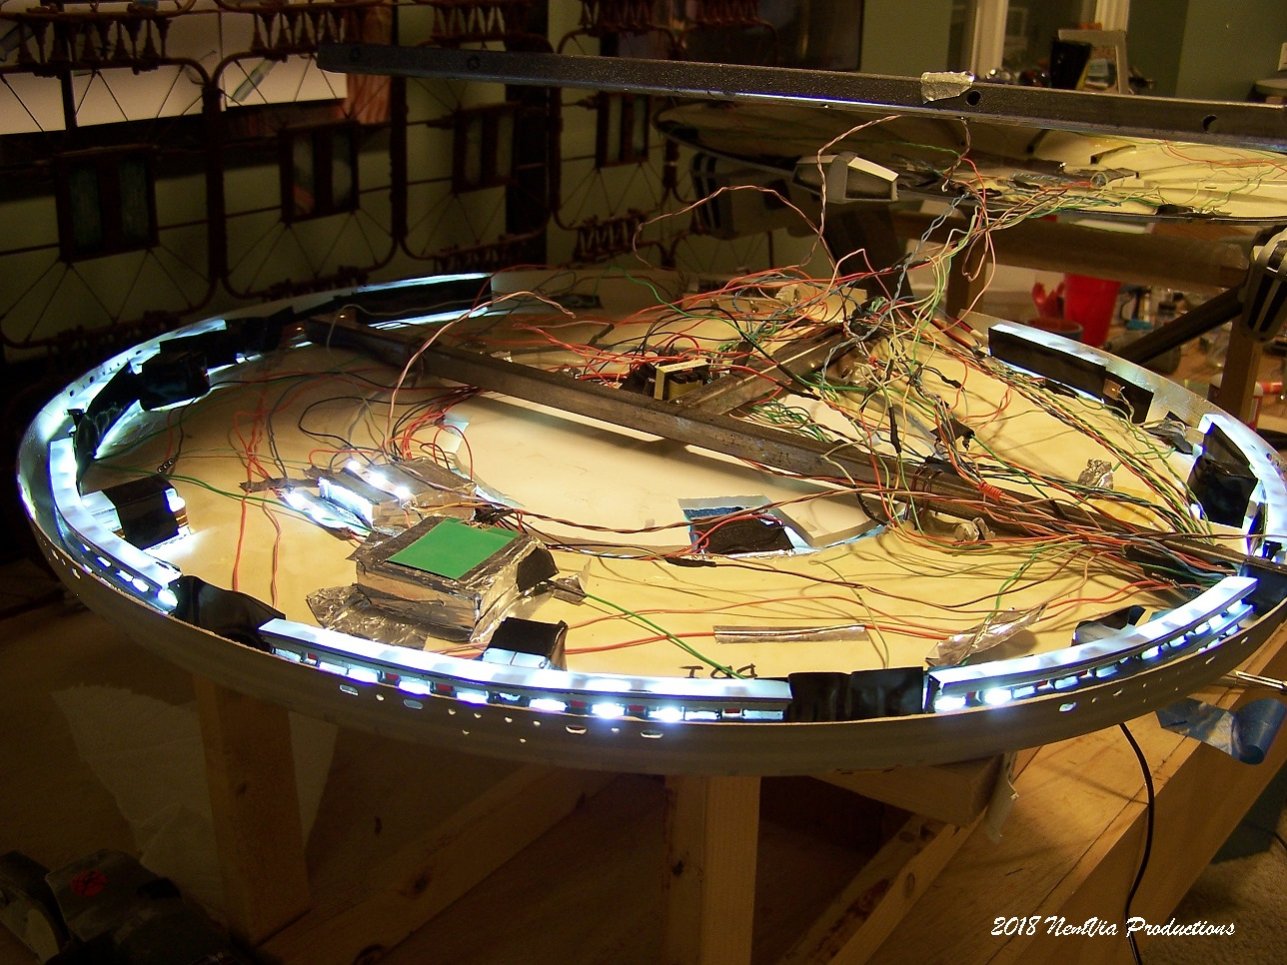
I was asked by my client to put some different lighting into the saucer section of the ship. So, I pulled all of the fluorescent lighting and ballasts out and I replaced them with LED lighting strips. This was a very good idea because the lighting will have a longer lifetime in the model. I also put some white styrene strips into the saucer sections behind the viewports to reflect the lighting better. I was originally going to insert some pictures of the corridors onto the strips but there was not enough depth to the pictures. So, I decided to do what I was originally going to do with the corridors and that was to build 3D versions of them. I built one master of the corridor section and made molds so that I could cast as many replicas as needed. I cast them in clear resin so that I could have the lower panels of the corridors lit as seen in the movies. After I cast all of the pieces I masked off all of the light panels. I then sprayed the first color which was FLAT WHITE. This would help reflect some of the lighting to make it appear more even. I then sprayed them FLAT BLACK to hide any light leaks. Next I sprayed them a medium BLUE/GRAY for the tops and bottoms of the corridors. Finally I hand panted the rest of the panels ALUMINUM, for the monochromatic look. After this I sprayed some flat pieces of styrene FLAT RED and then cut several pieces of them, all the same length, to use as the doors to the crews quarters. After all of this was done I then placed all of the finished corridors into an oven at 170F for ten minutes. This allowed the styrene to be pliable and I could then bend them into the shape of the outer rim of the saucer., Next I had to use a belt sander to sand down the tops and bottoms of the corridors to get rid of both the burrs from the casting process and to make them fit into the saucer. I aligned the corridors so they could be seen through the viewports.
Since the back sides of the castings were not painted, I added the LED strips to the backs of each of the corridor strips. Then I put electrical tape over the backs of the strips to prevent too much light from shining back into the model and ruining other lighting effects in the saucer. It was a lot of work, but worth the effort to give the corridors a little more 3D depth to them when looking through the viewports. To further help with the light leaks I found these foam rubber sheets at a hobby store and cut them into long strips and cemented them all along the perimeter of the upper saucer piece. This should help block light from showing through the seams of the upper and lower saucer pieces.
I have 16 New pics which can be viewed in the Members Gallery page under the January updates Aâ 2018 album.
I can now finally seal up the saucer and get ready to permanently add the Enterprise into itAâs new home in the Dock. Again, thanks for your patience with this build and I apologize for the long wait for this update. Hopefully I can now get this build finished. See you next update.
http://www.NemVia.net

-
My 1/8 Scale BTTF Delorean (WIP)
MARCH UPDATES - 2019
Greetings Fellow Modelers.
Just got back from 2 weeks vacation in a place that was nice and warm. Had to take a break from this awful cold weather in the Midwest. So, now after some recharging of the batteries from a good rest, I can deal with life again for a little while.
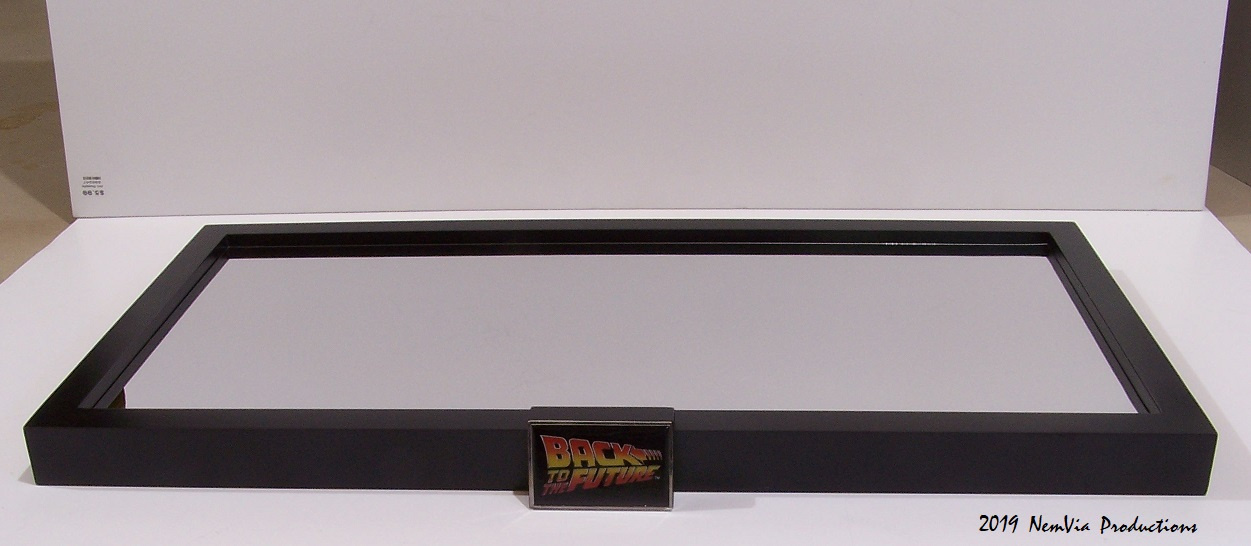
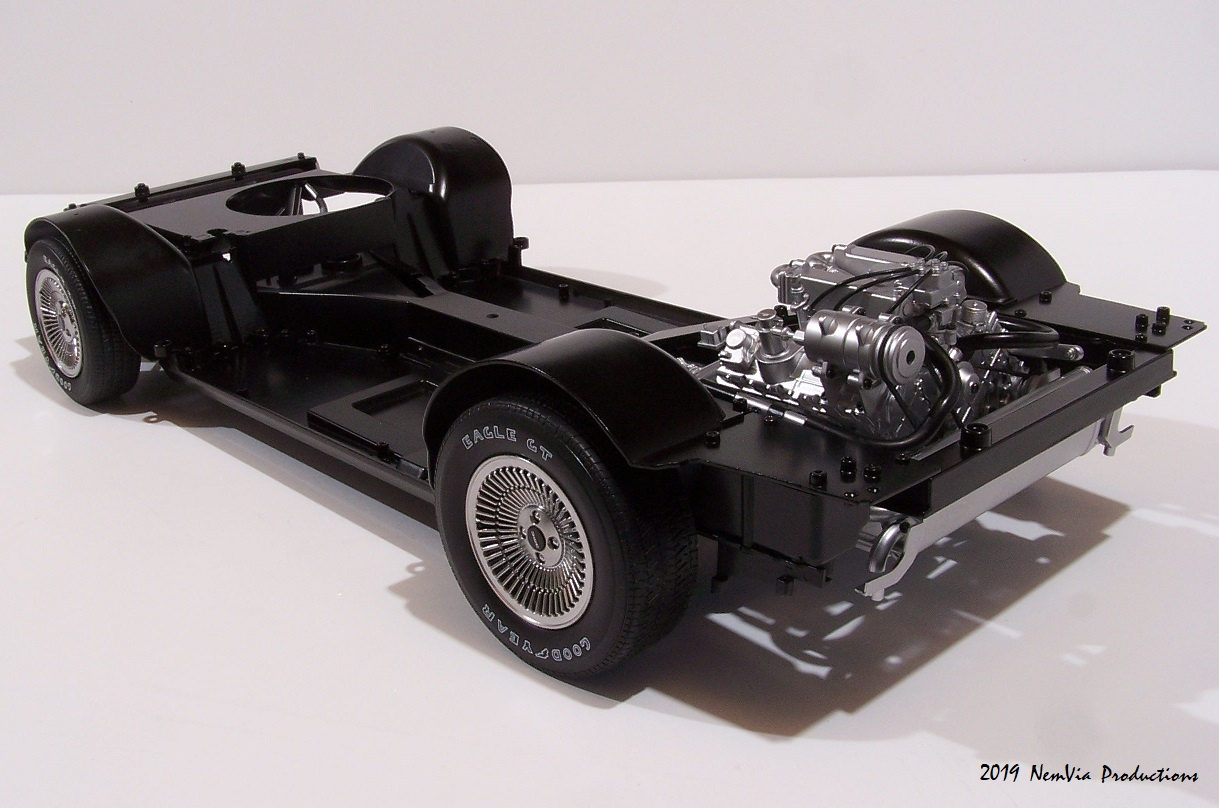
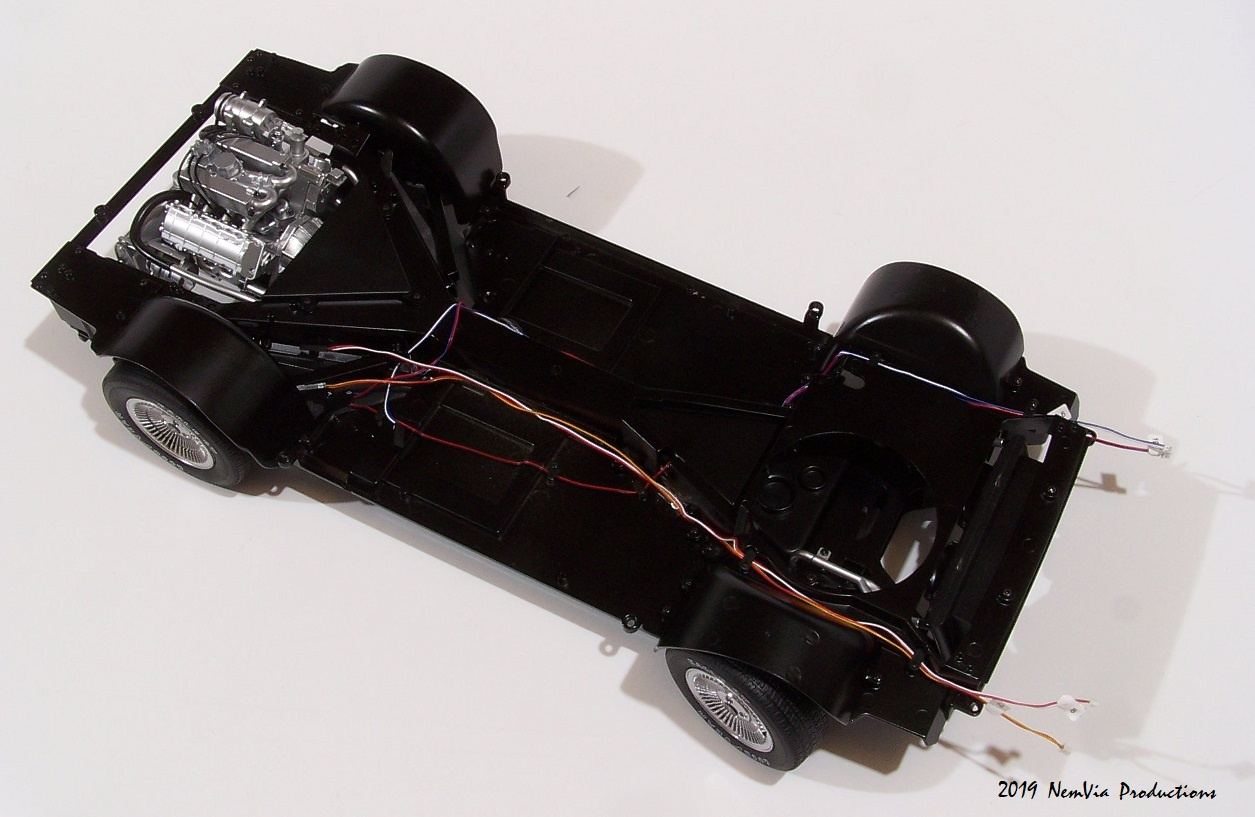
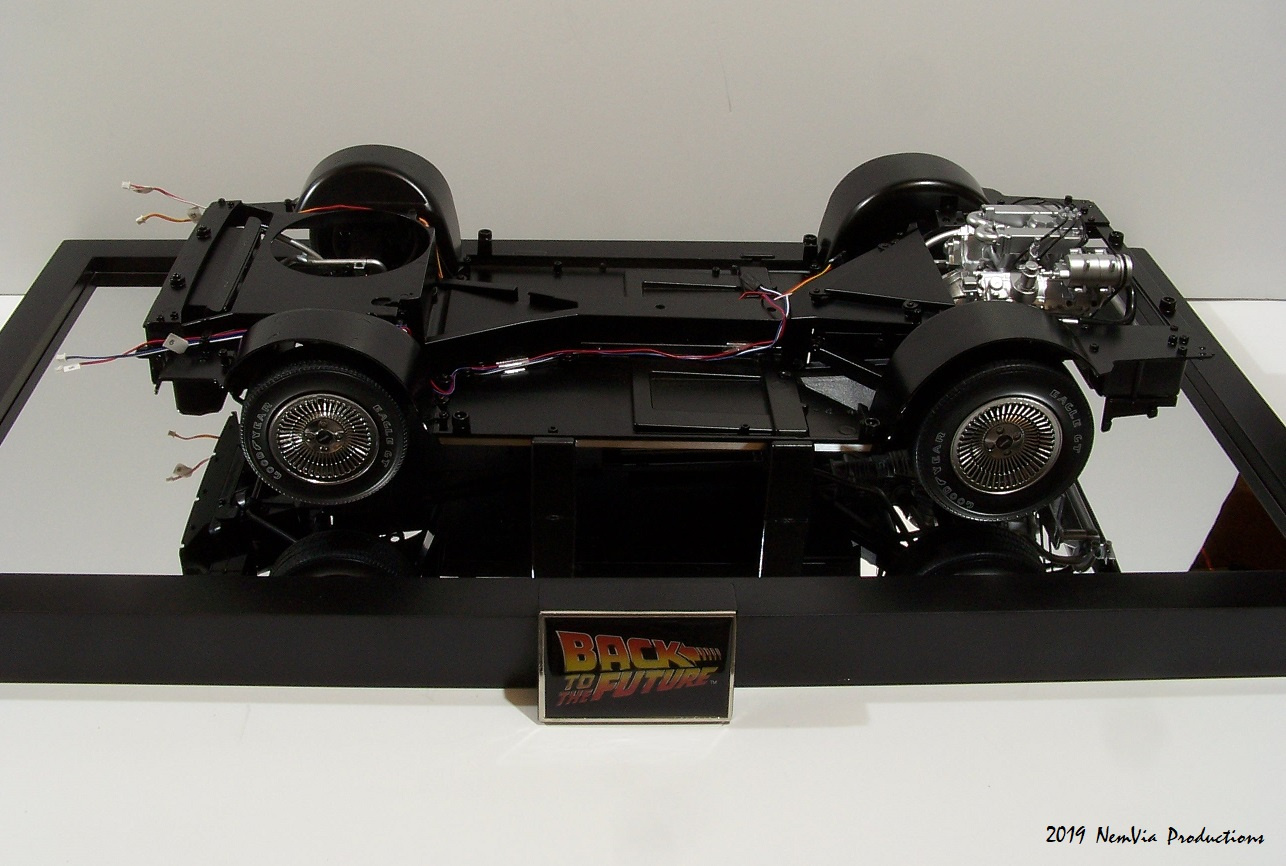
This month's update is a bonus update. Before I went on VACA, I received Issues 31 - 34 and assembled them, photographed them and then all I needed to do was edit them when I came back from our trip. At the beginning of the month, or on March 6th, I received Issues 35 - 38. So you can see the updates for 8 of the Issues this month. Also, the box I received for my shipment was unusually large this time and I couldn't really figure out why at first. But, then I checked my billing manifest and found that the 3rd and final "FREE" gift was included with this delivery which I forgot about. Eaglemoss sent me the Display Base for the DeLorean. It looks pretty sharp. Measures 27" x 14" x 1.5" and has a mirrored surface to display the underneath of the car and a BACK TO THE FUTURE display plate on the front. Issue 38 came with 4 mounting brackets for the car to sit on, but they don't hold the car high enough for hover mode. Maybe they're will be 4 more coming in the future that are a little higher up. Whish I had a Flux Capacitor so I could find out..... Hah... Anyway, I was also surprised that the front and rear wheel wells were metal pieces instead of plastic. The only Issue I had with these concerned the rear wheel wells. I found that in order to get them screwed in place I needed to first screw in the front part of the wells to the Chassis, then put the 2nd and 3rd screws in until they were flush with the Chassis. The "suspension" parts kind of hold the wheel wheels up and away from the frame. IF you try to put the screws in from back to front it's a little more difficult. Just letting anyone whose building this kit know how to get these parts in place. With these 8 Issues, some of the wiring has arrived along with the Battery Box and lid which are cleverly and appropriately hidden in the "fuel" tank. It looks like in the next Issue (39) some more wiring items will be arriving. I'm looking forward to it. There are 43 "New" pics in the "1/8 Scale BTTF DeLorean" page, starting on page 3 and slide number 158. For a view of the Display base, go to the bottom of page 3. As always, comments are welcome. See you next Month.
Mark
http://www.NemVia.org
Additional credits
- Icons from Font-Awesome
- Additional icons by Mickael Bonfill
- Banner background from Toptal Subtle Patterns
© Scifi-Meshes.com 2001-2024