Home › Freak › Best Of...
Greetings!
Welcome to Scifi-Meshes.com! Click one of these buttons to join in on the fun.
Badges


Freak
About
- Username
- Freak
- Joined
- Visits
- 1,853
- Last Active
- Roles
- Member
- Points
- 1,088
- Posts
- 4,361
- Blender
- Blender
- Photoshop
- Photoshop
- Badges
- 13
-
Freak's Trek Build's
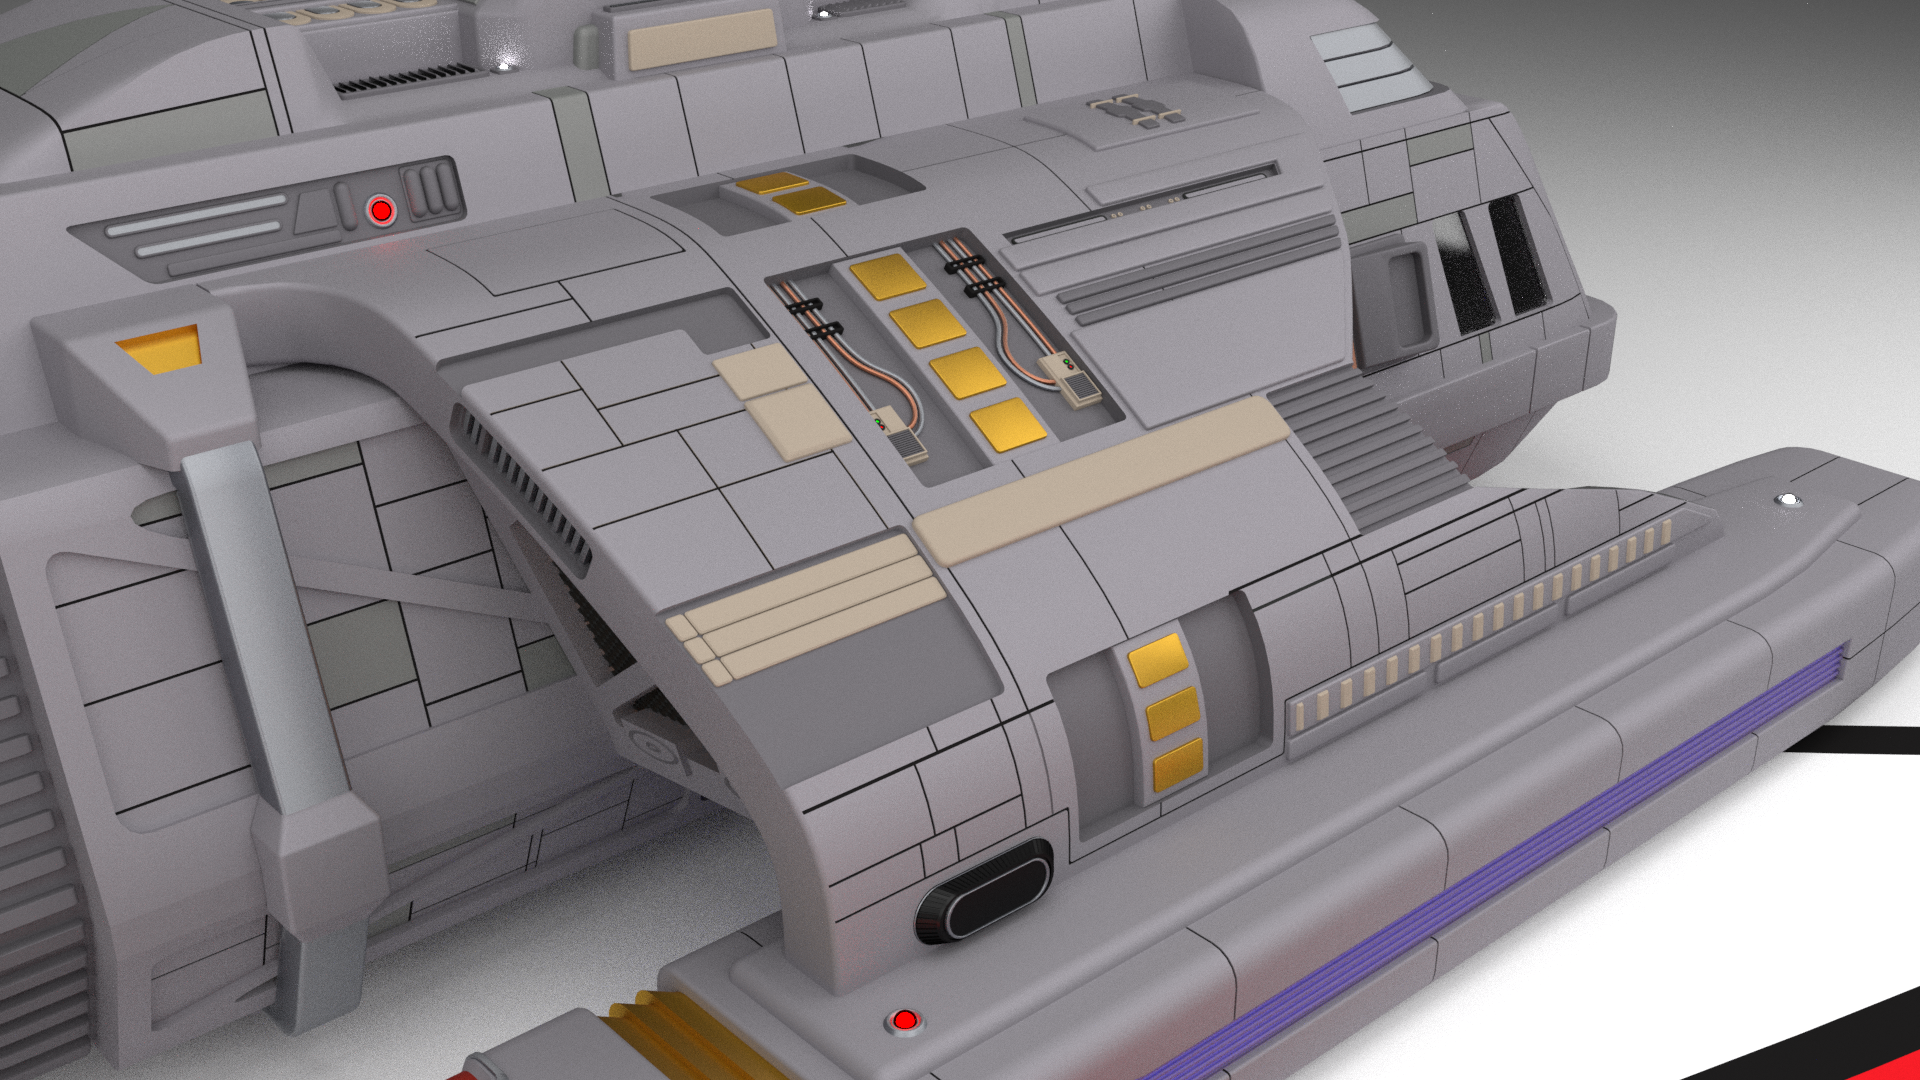
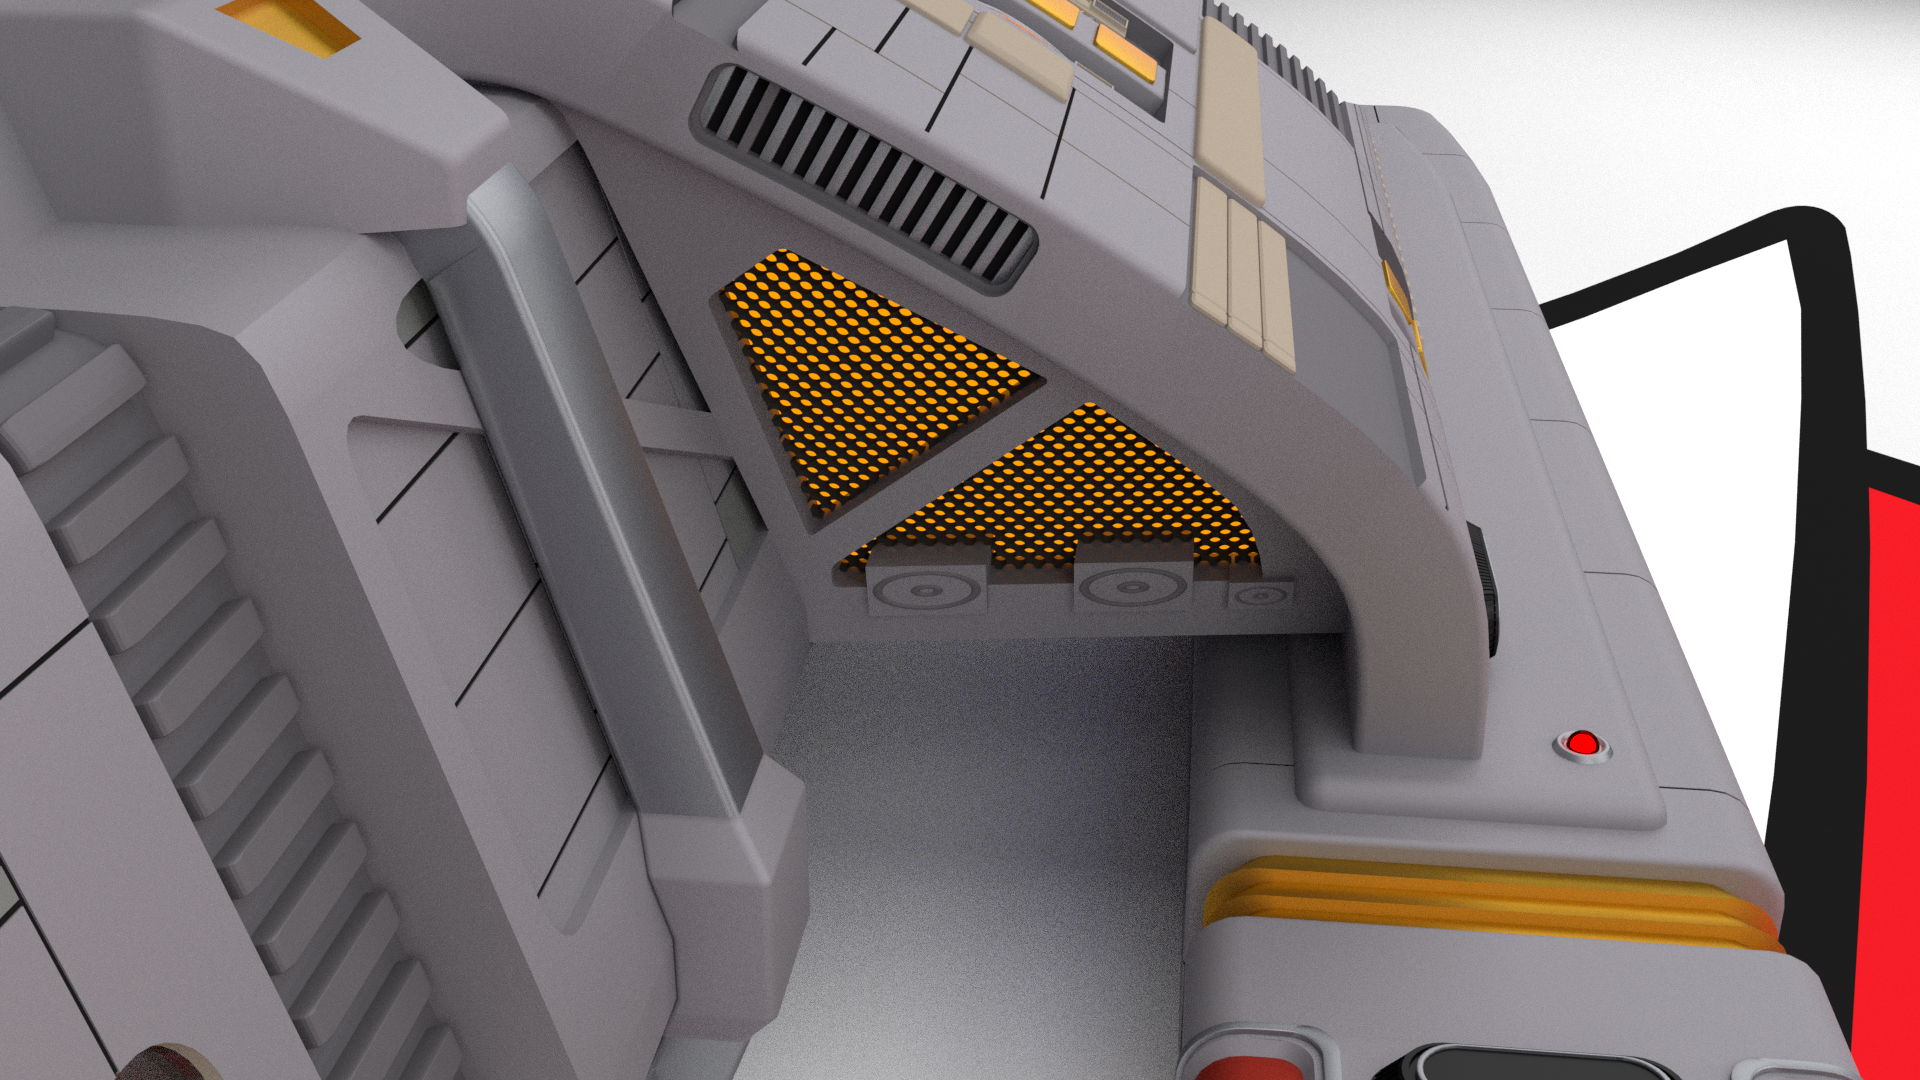
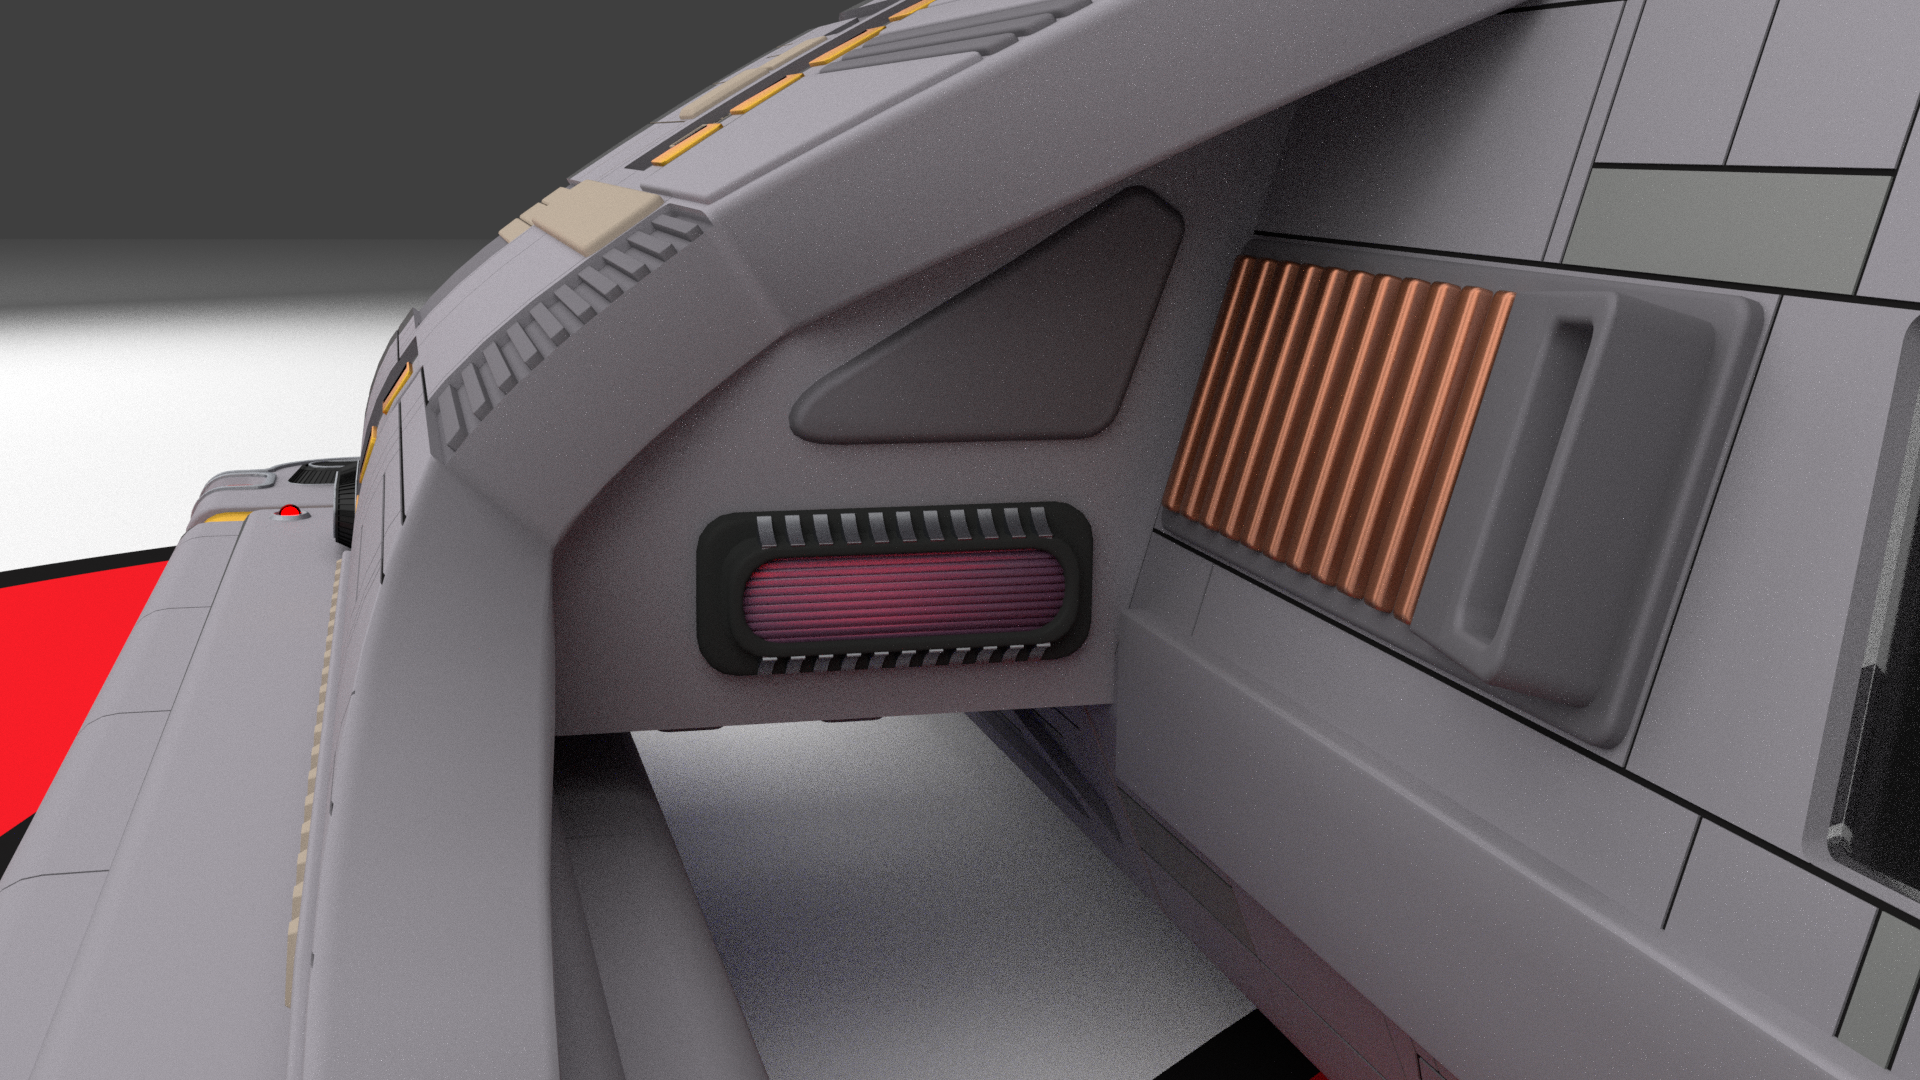
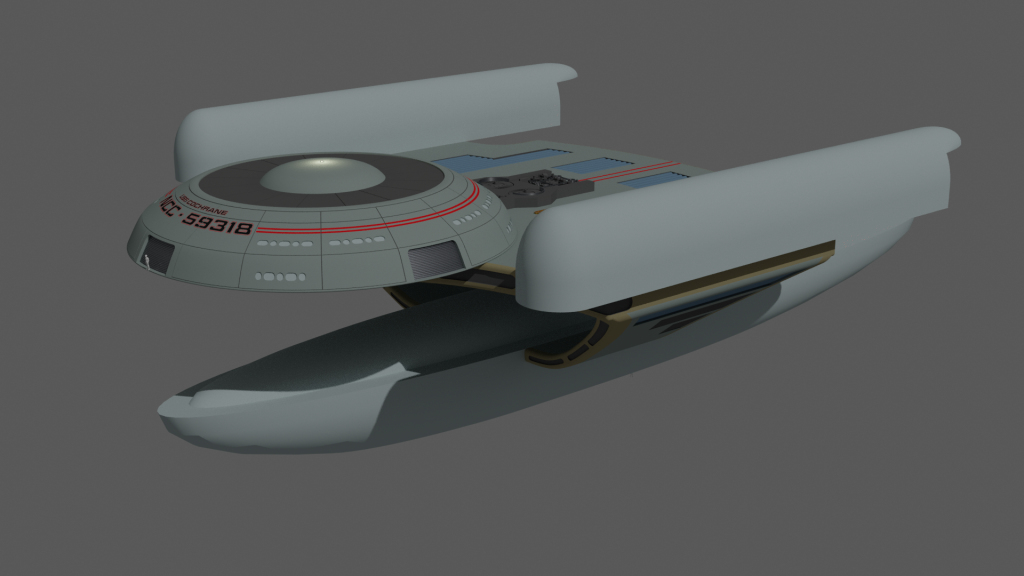
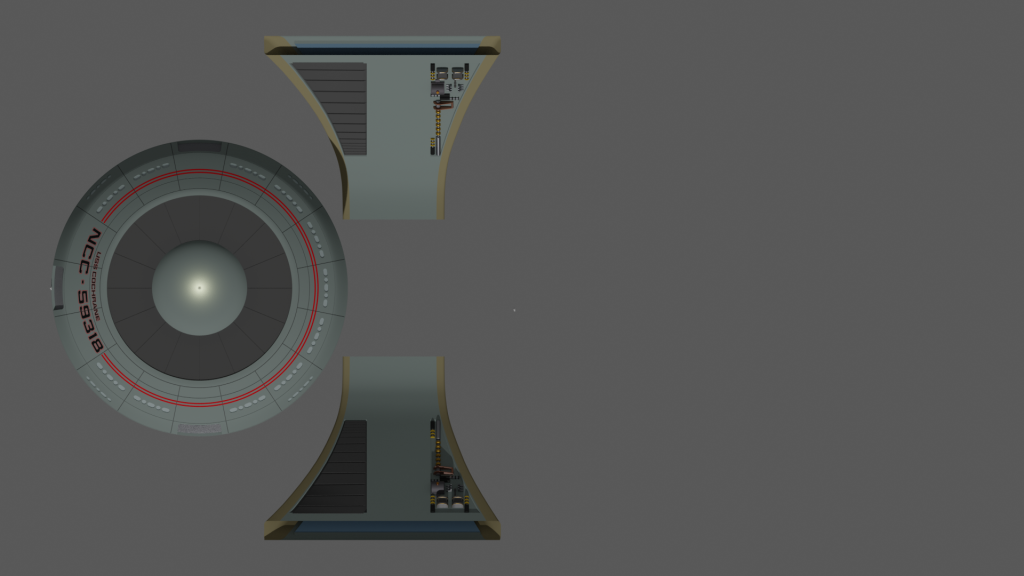
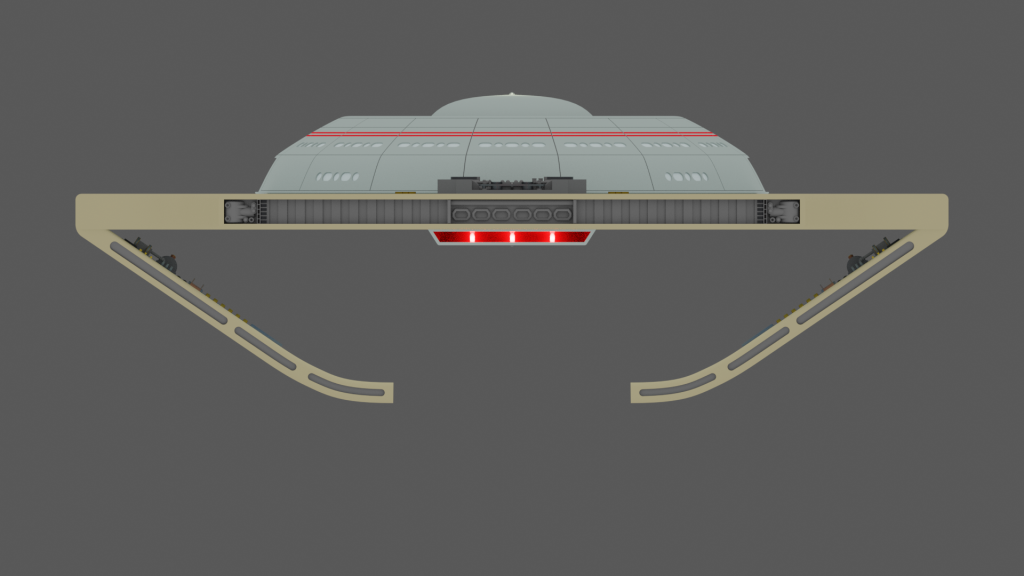
The Pylons are now done, lots of trail and errors with cutting out the panels. But it turned out fine.
The biggest difference, between mine and the official model is that on mine I have added a cut out. This cut out is for the additional pod to connect to. IE Weapons Pod, AWAC Pod or science Pod.
I just did not like something like having a connection point that is flushed with the hull. So I have added the cut out and put some gribbles in there so it look like a proper connection points
So with that, the main modelling is now done. I still need to add the reg and the Starfleet logos but that won’t take long.
I also need to fix a couple of errors again that won’t take long either.
I still have no idea how I am going to texture this thing, so that will interesting.
As for the weapons pod, yes I will be modelling that as well.

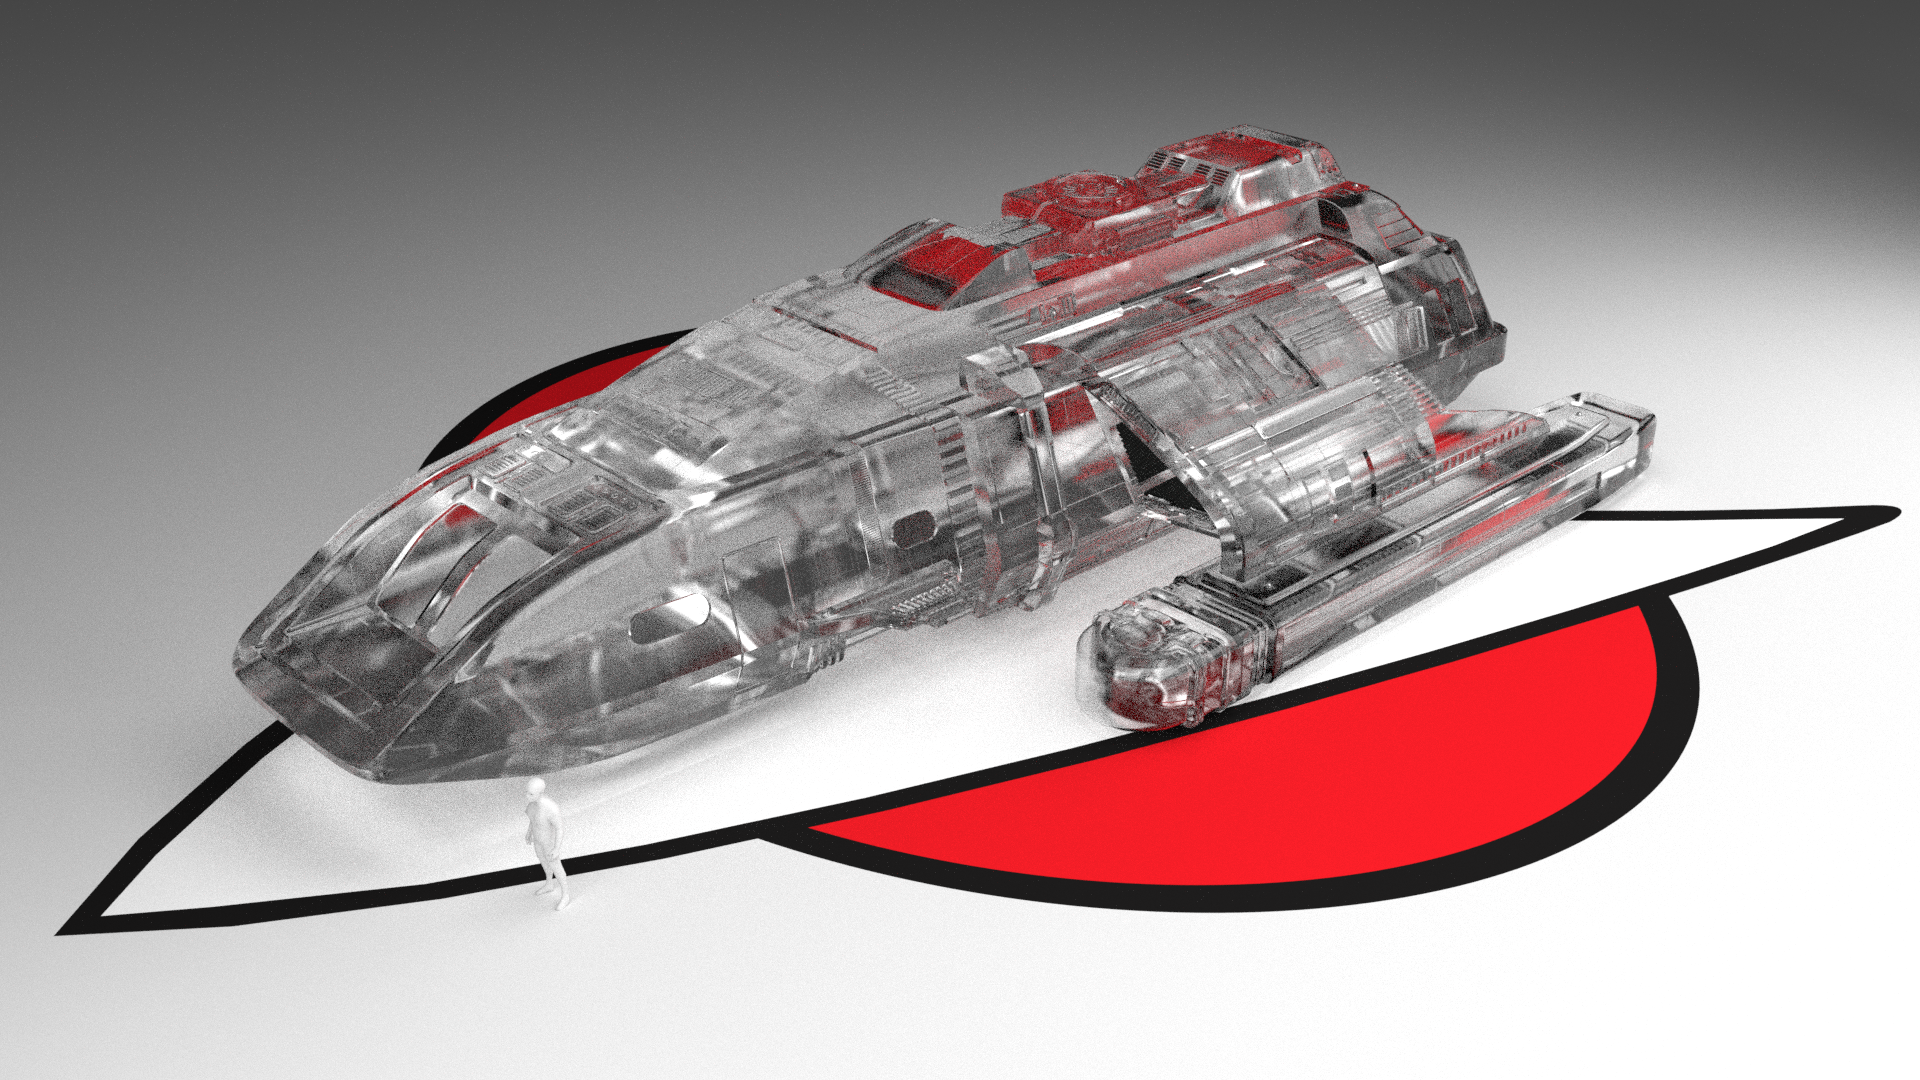
And just for fun, here is a render of ship with just glass material applied to it.


-
Freak's Trek Build's
Just a small update.
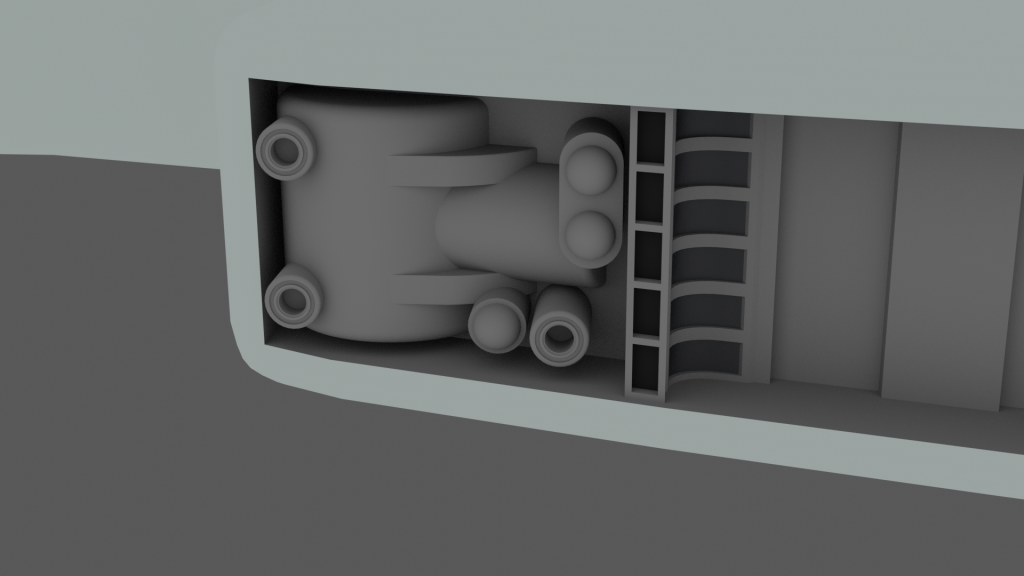
I have spent the last two days working on the rear of the secondary hull. I got most of the shape down pretty quickly.
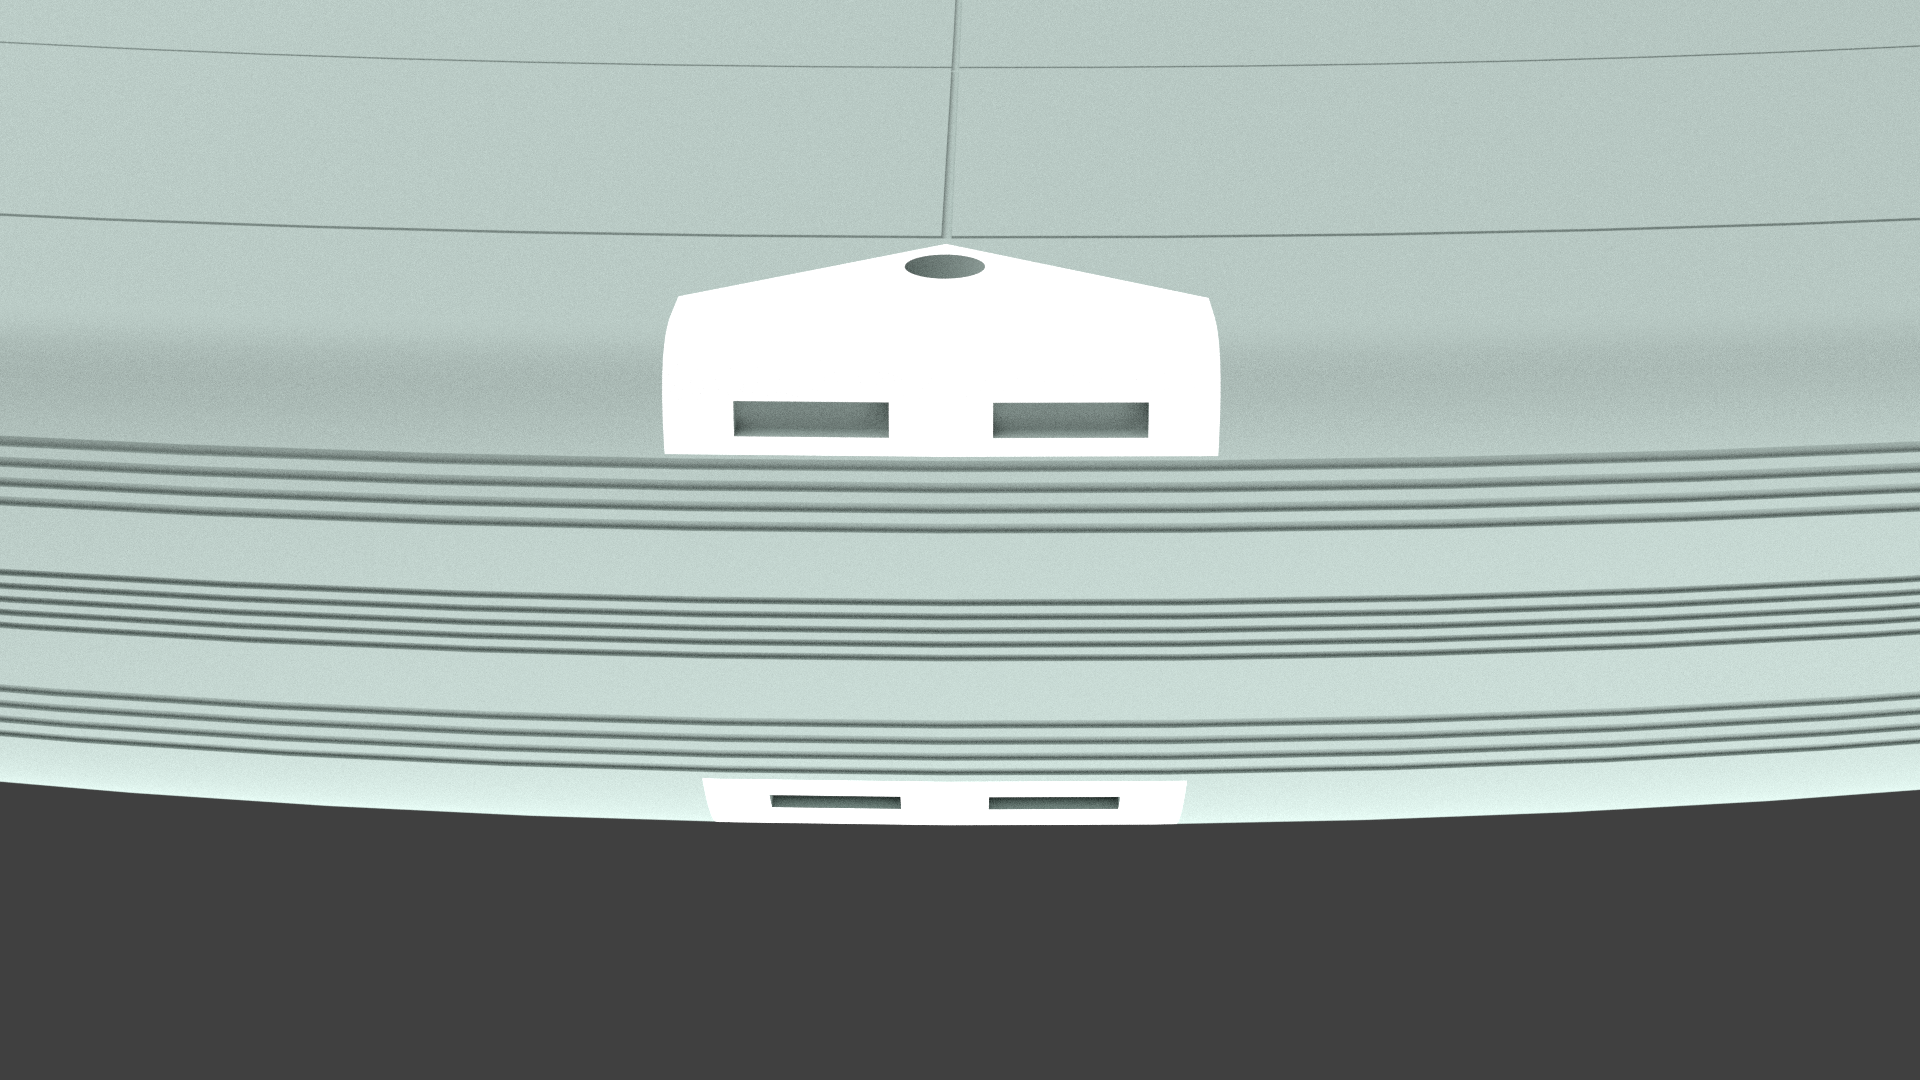
The biggest issue I had was with the “nibble” thing that sits at the back above the clamshell door of the hanger.
The shaping of that was a pain to get right, it still not right at the moment but it close to how it meant to be.
I was banging my head trying to get it right, I tired also sorts of thing but it was just not working. In the end I had to individual move each vert into place.
As I said it closer to how it should look but it still not right and driving me a little crazy so I am going to move on and work on the front half of the secondary hull.
I will also be updating my progress on the Type 6 Shuttle soon, I just need to do a few more details to the rear before I post the next update on that.


-
Freak's Trek Build's
Well it been nearly two months since I posted an update on this project. As mentioned in a pervious post I have been busy. But I am now back.
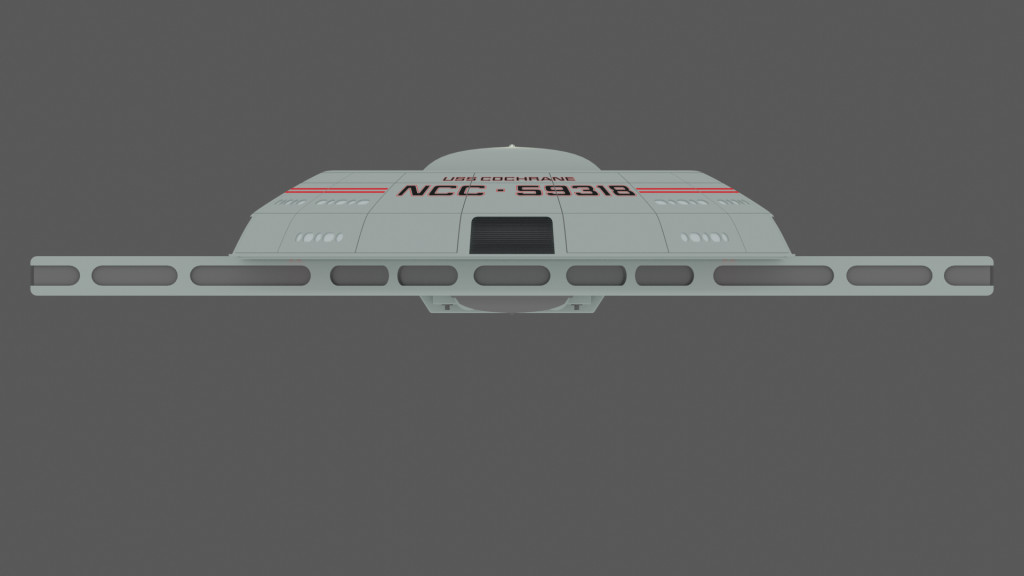
I have mainly been working on the pylons that connect the primary hull to the secondary hull. I also added a Transporter emitter onto top of the primary hull. Yes I know it’s not on the original model. But I thought I would add it here. I can always remove it.
I will next be working on the nacelles before moving onto the secondary hull.


-
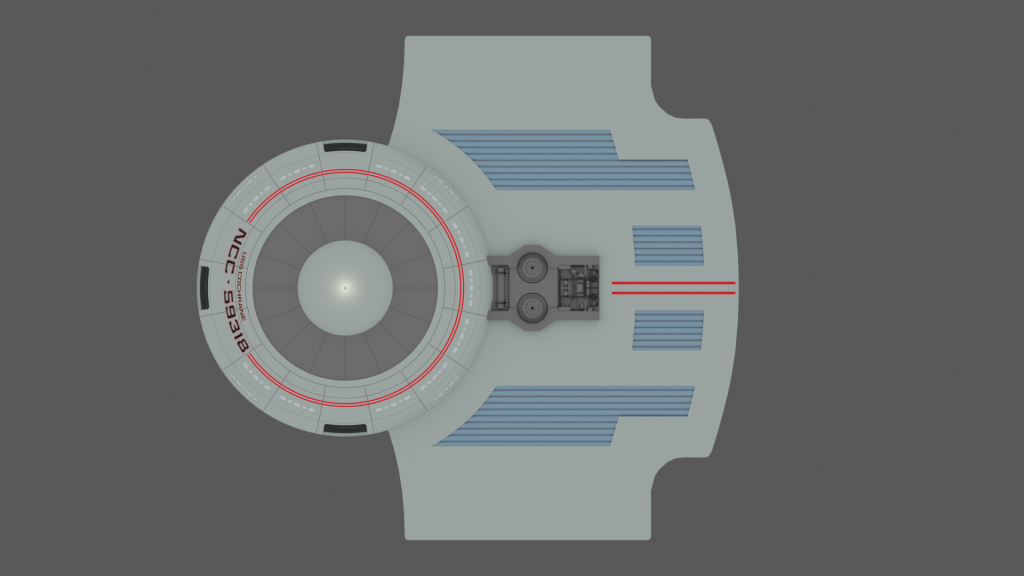
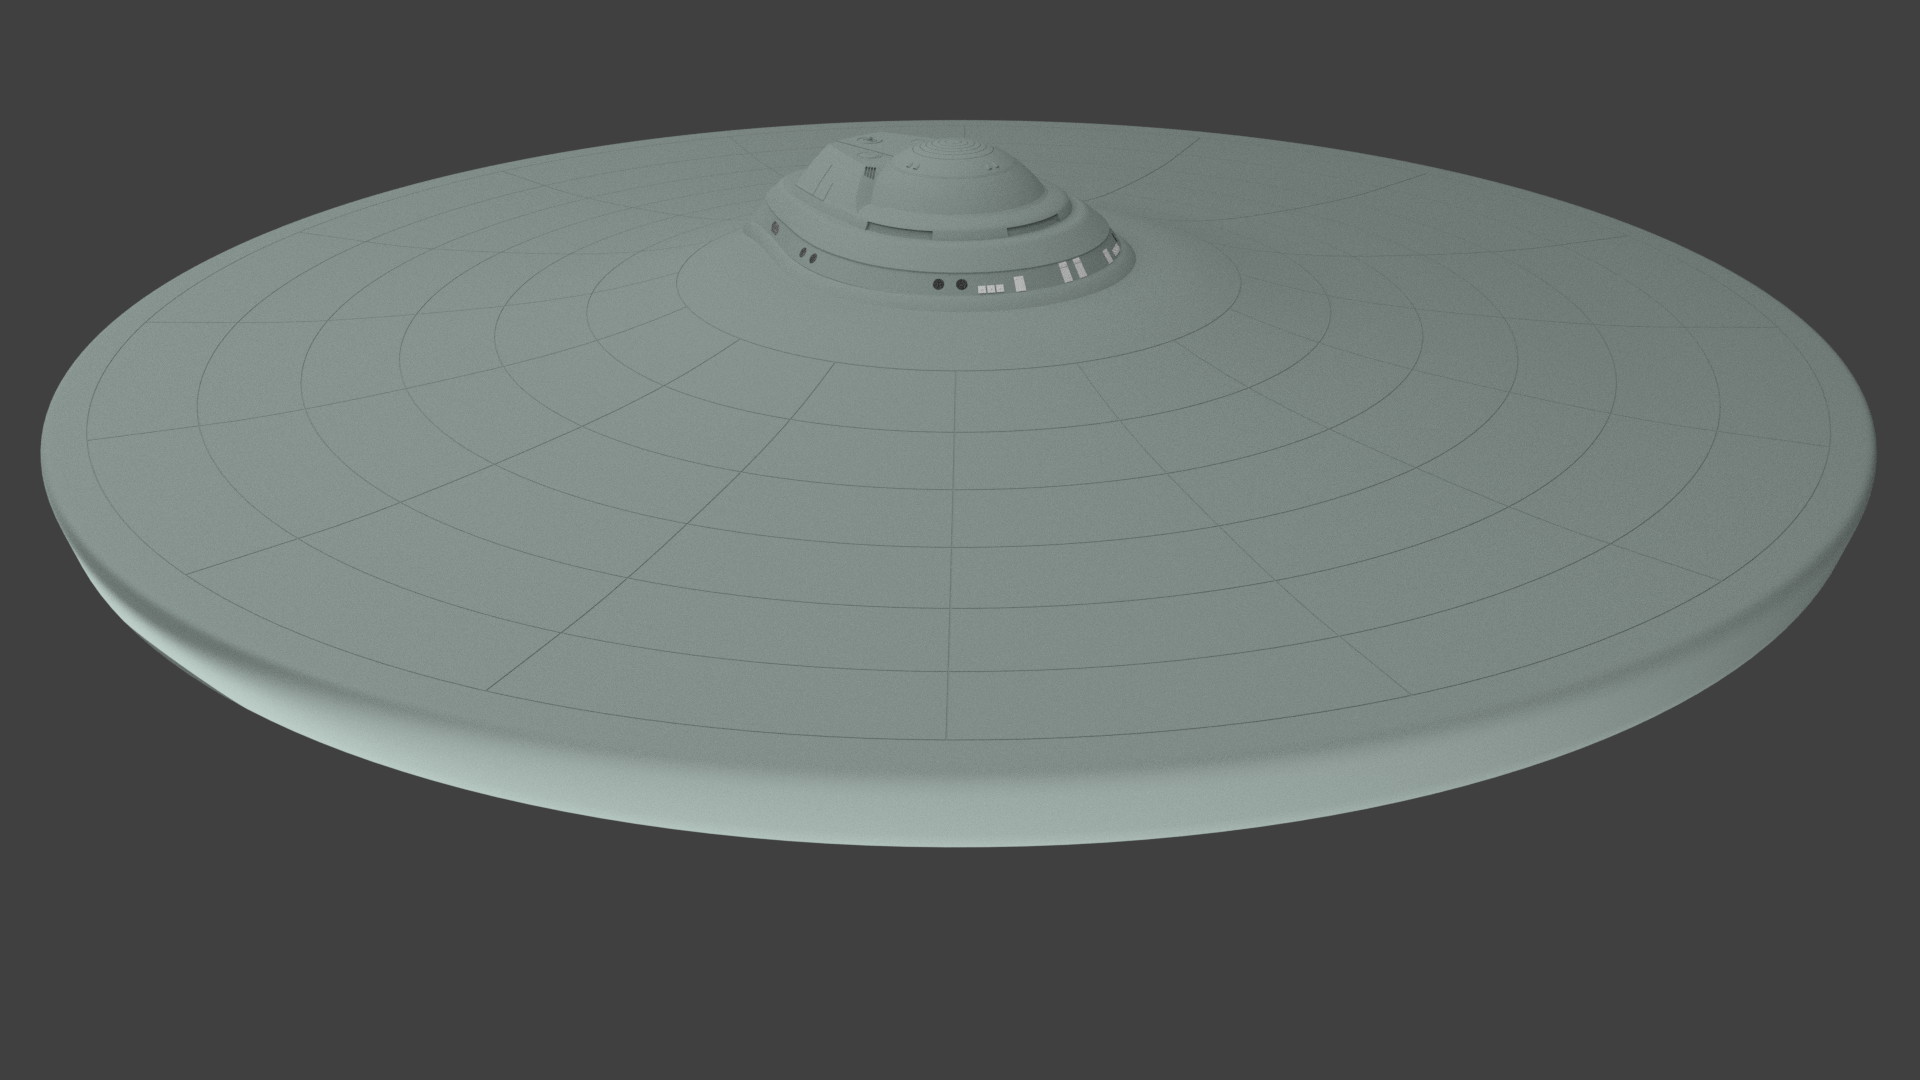
Freak's Trek Build's
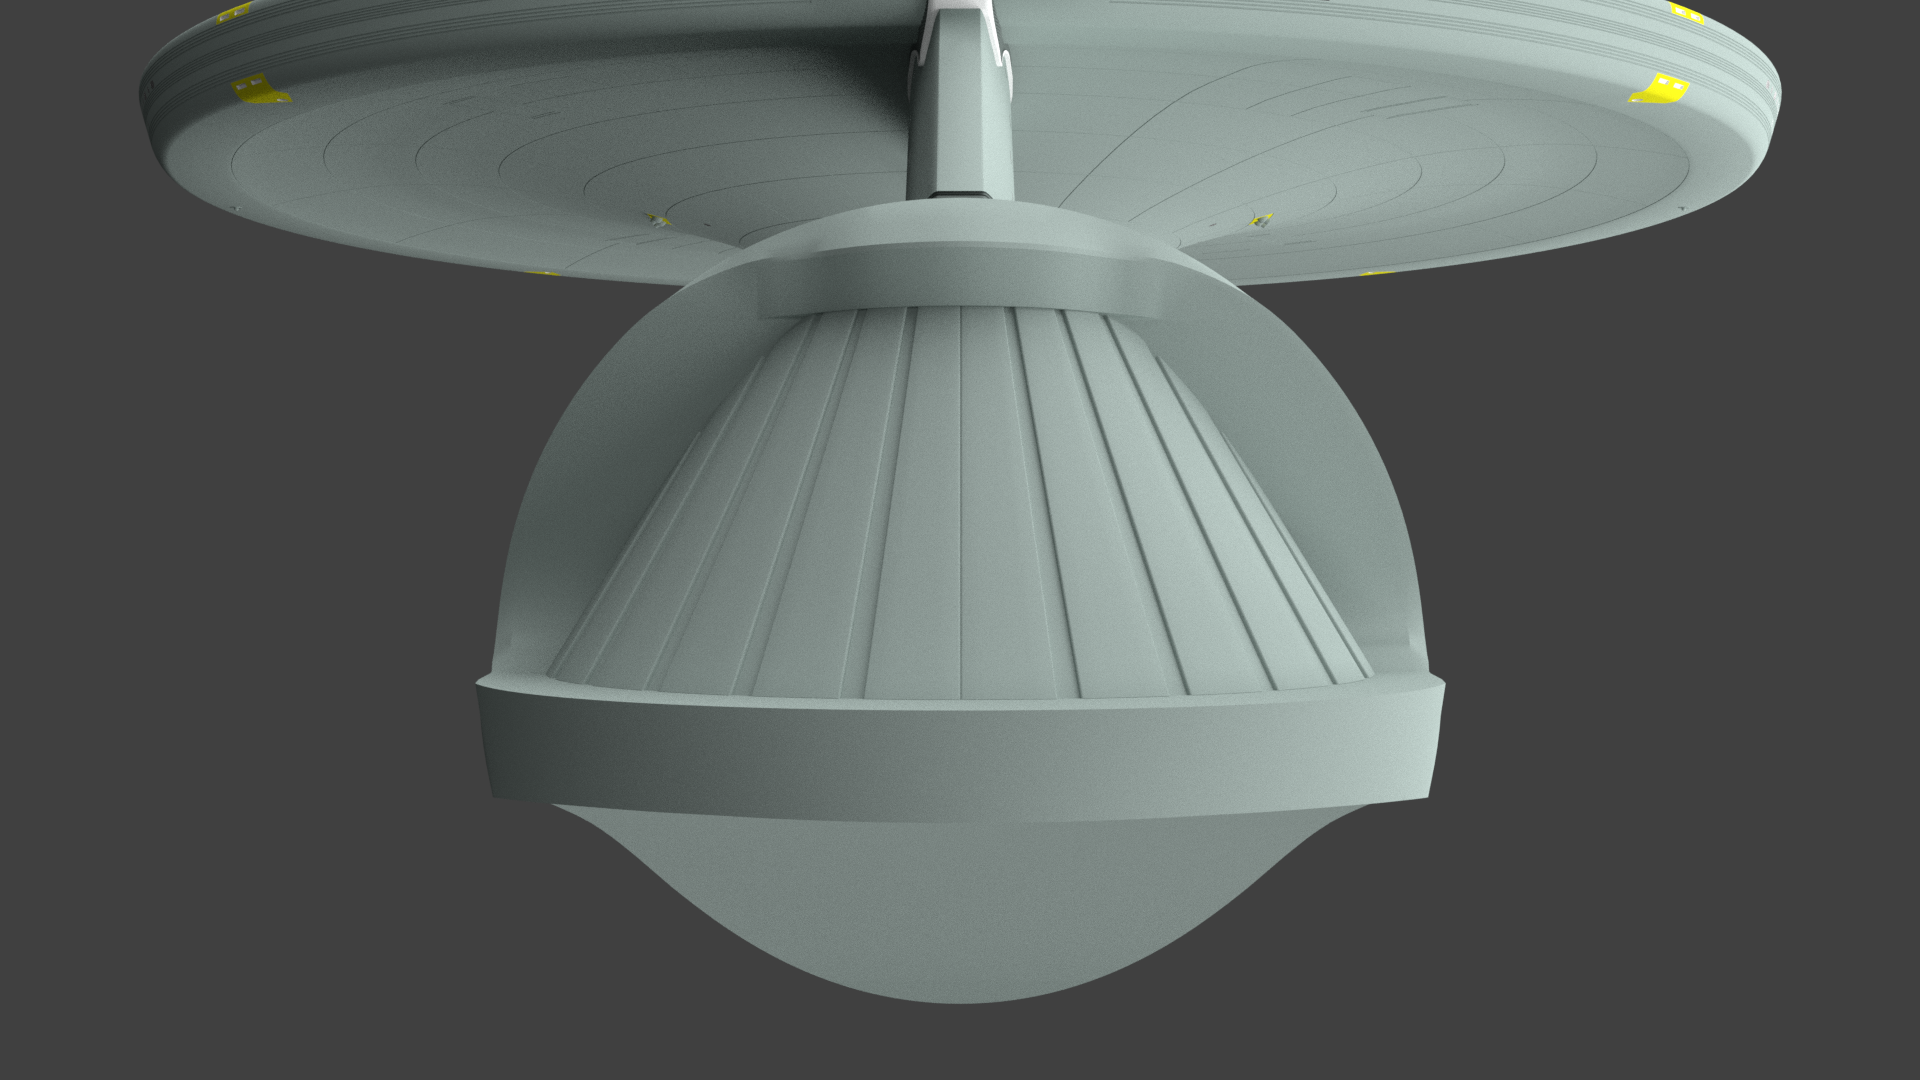
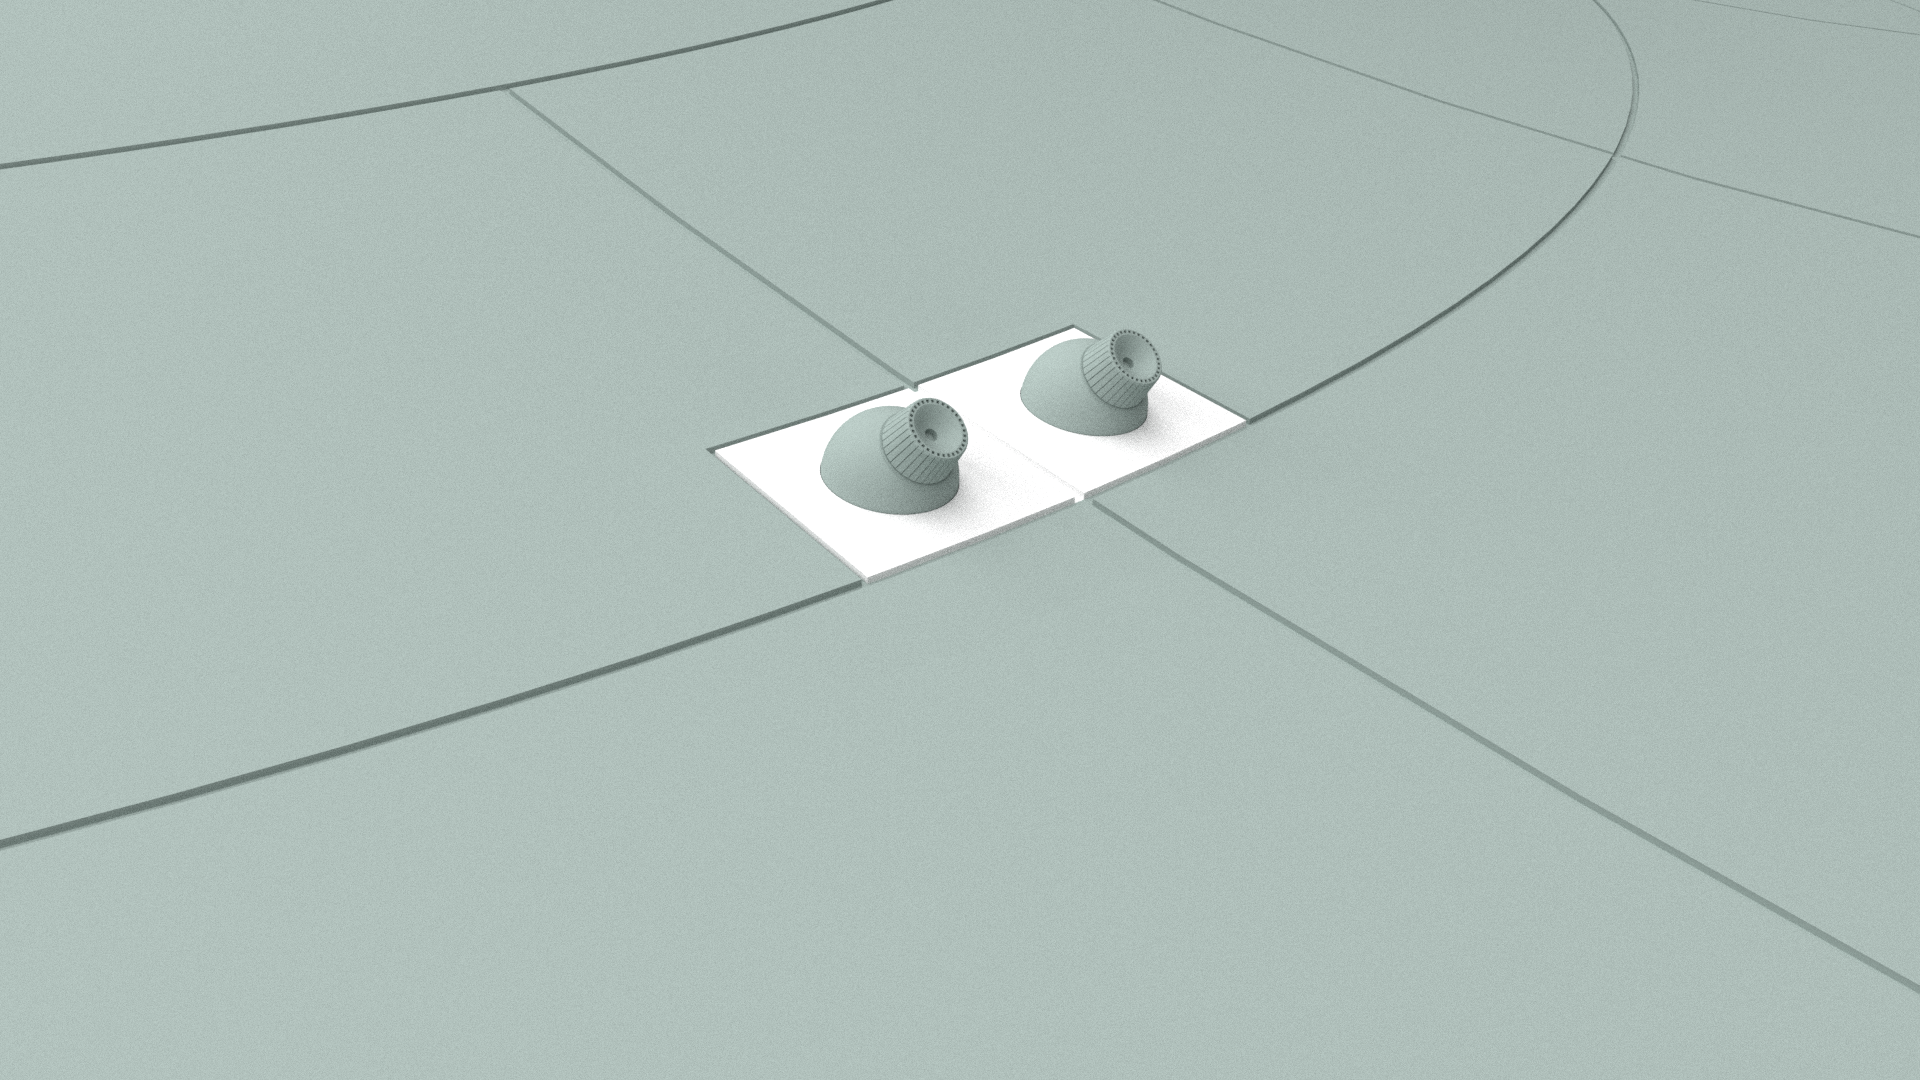
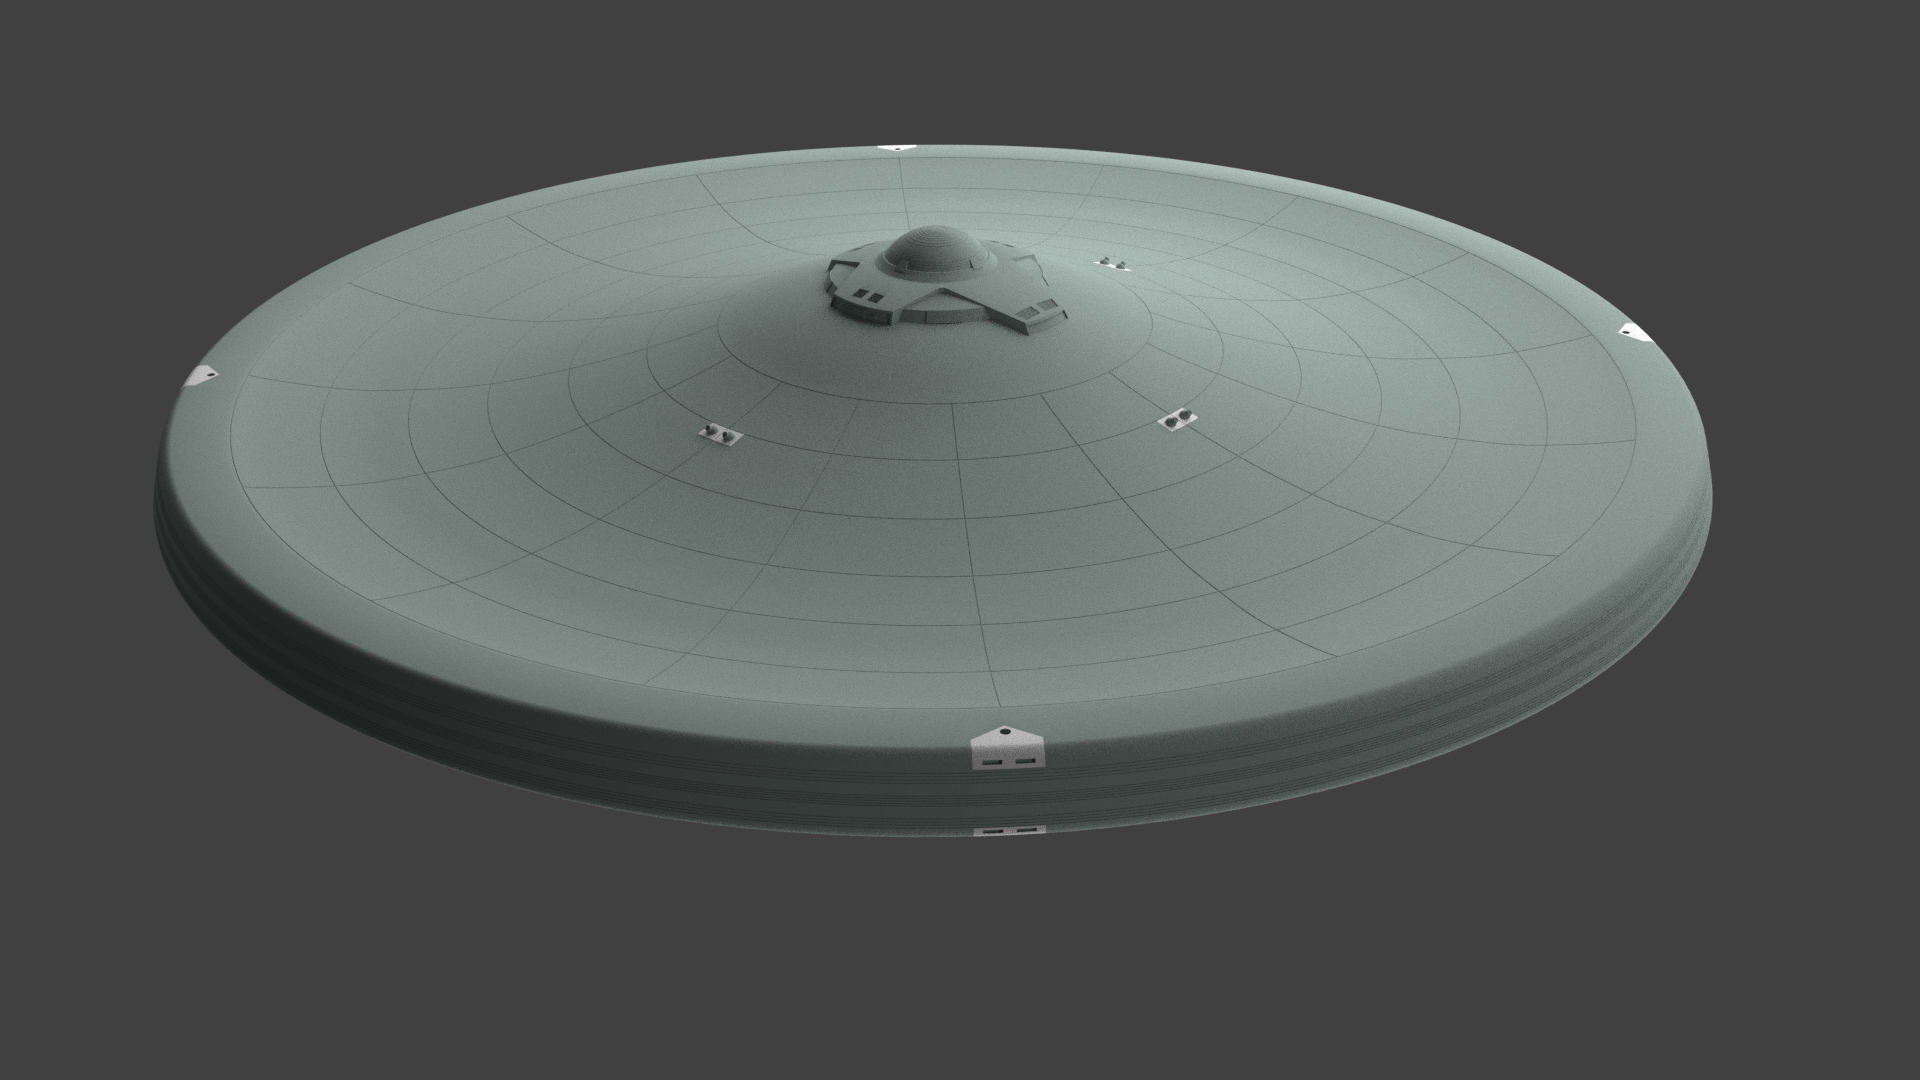
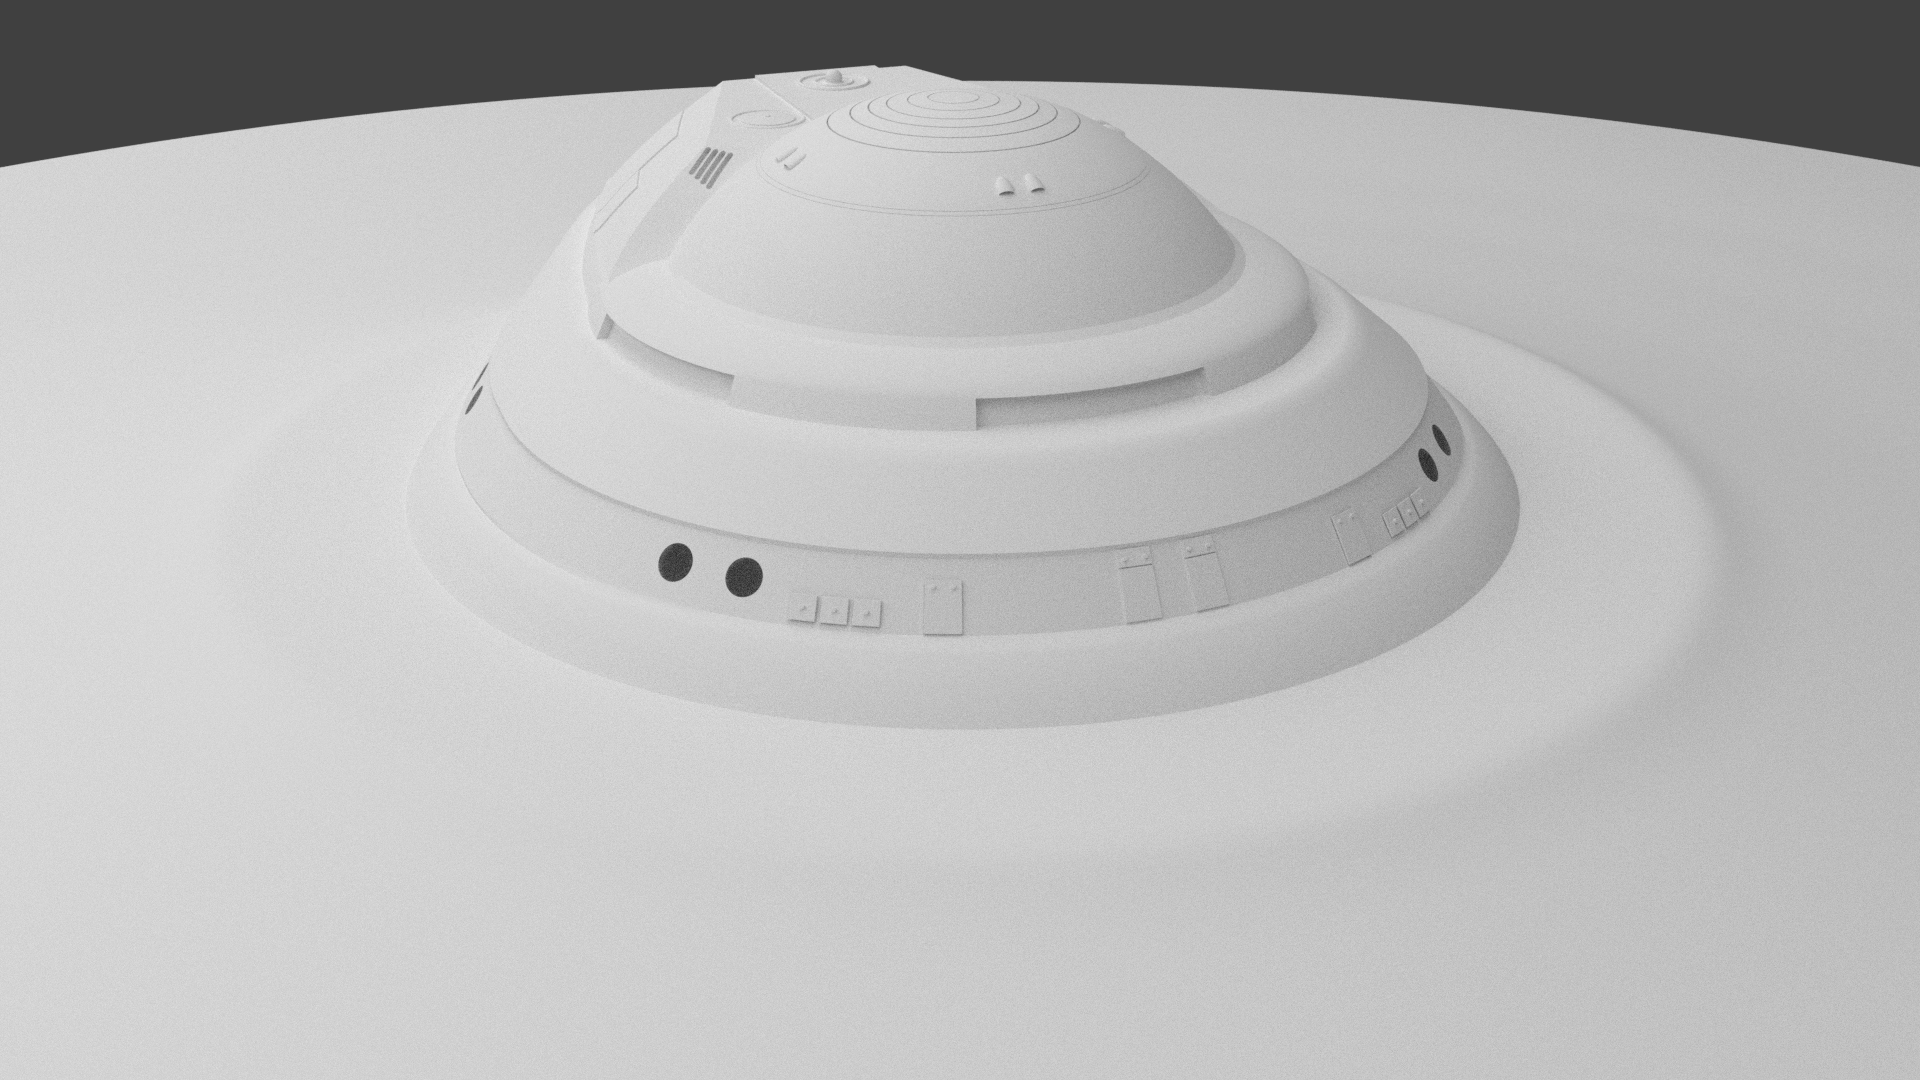
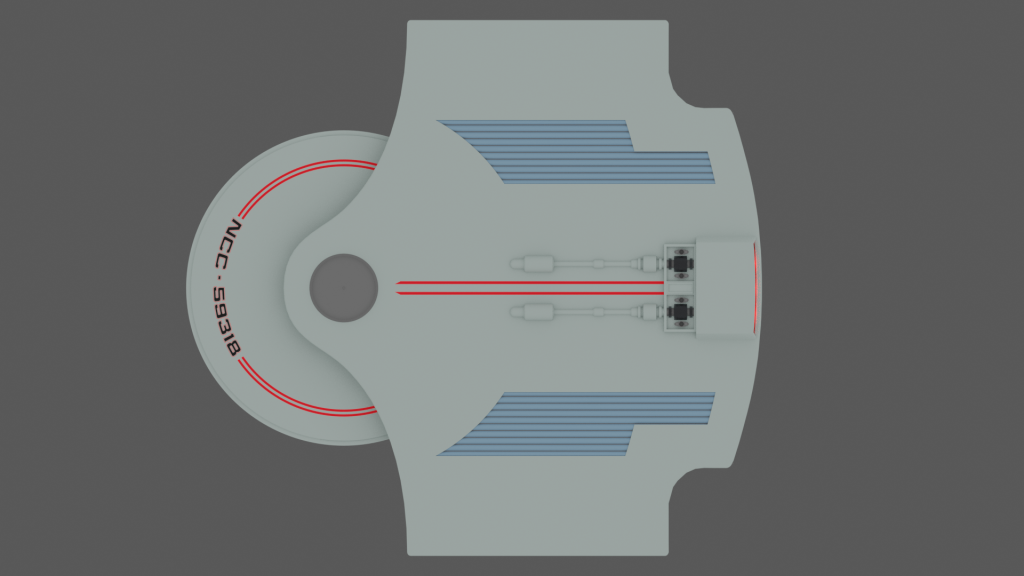
I have model out the Phaser turrets. The ones on the filming model was just a ball with a hole in it.
So I have added a bit of details to mine. They have all placed into the correct position.
I have also modelled the RCS thrusters. Again the filming model was lacking in details on this and I am not sure if I should add a bit more details to mine or just leave it as it is.
Finally I have added the cuts-outs to the rim of the saucer.
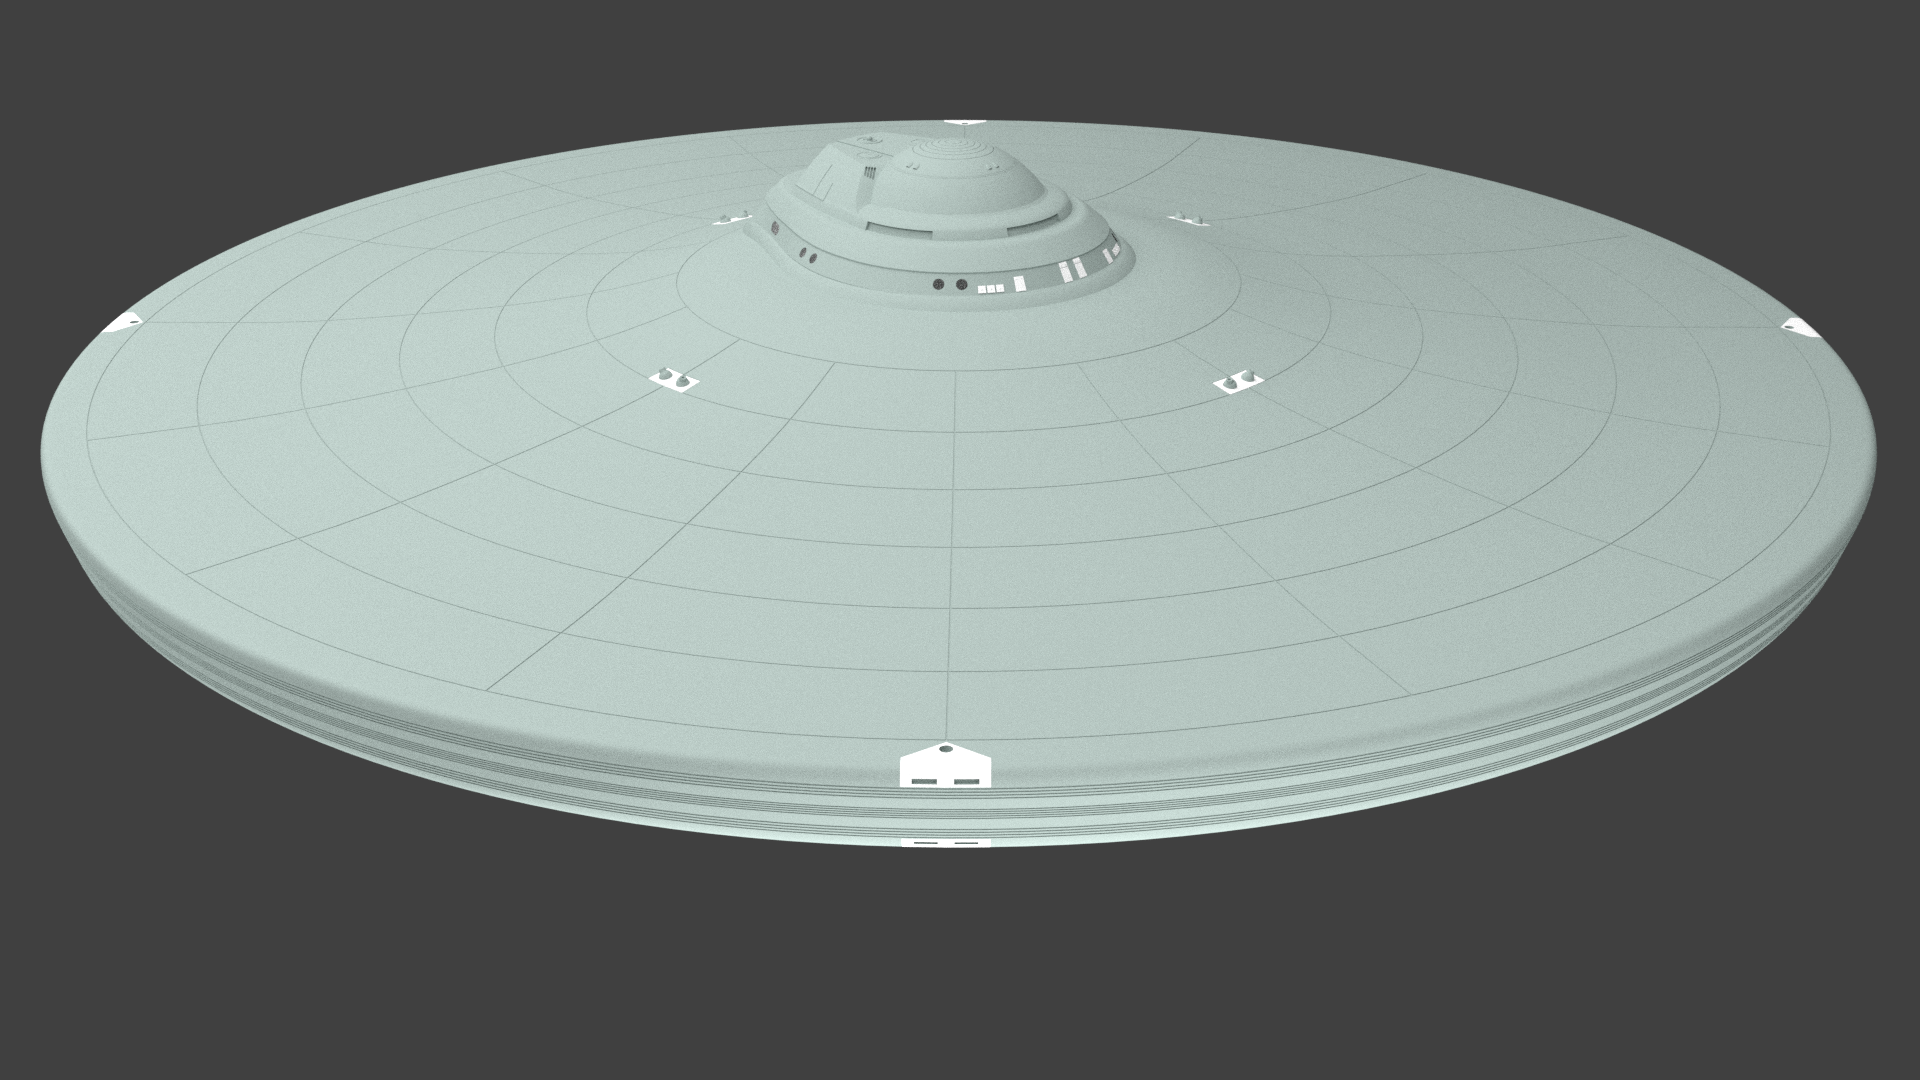
Things left to do on the saucer.
1. Finished of the grid lines and cuts out to the lower saucer.
2. Cut in the windows.
3. Model and add the Airlock to the rim of the saucer.
4. Model the Impulse Engines.
5. Model ship name.
6. Texture.
-
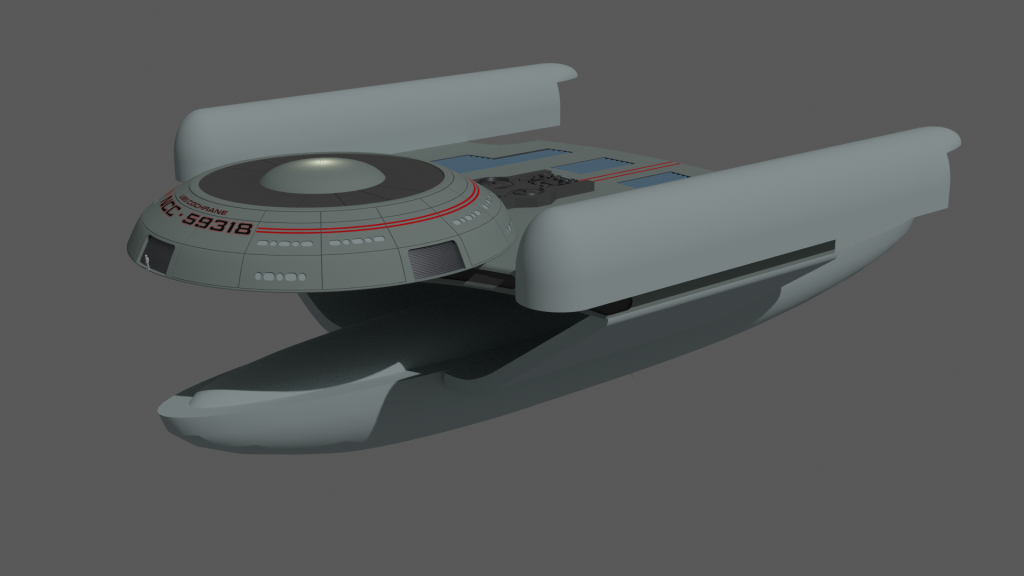
Freak's Trek Build's
I have added the details to the B/C deck.
Not to sure on the lounge windows. They don’t seem to be the right shape, and I have rebuilt them about four times. I think this is the close to what was actually used.
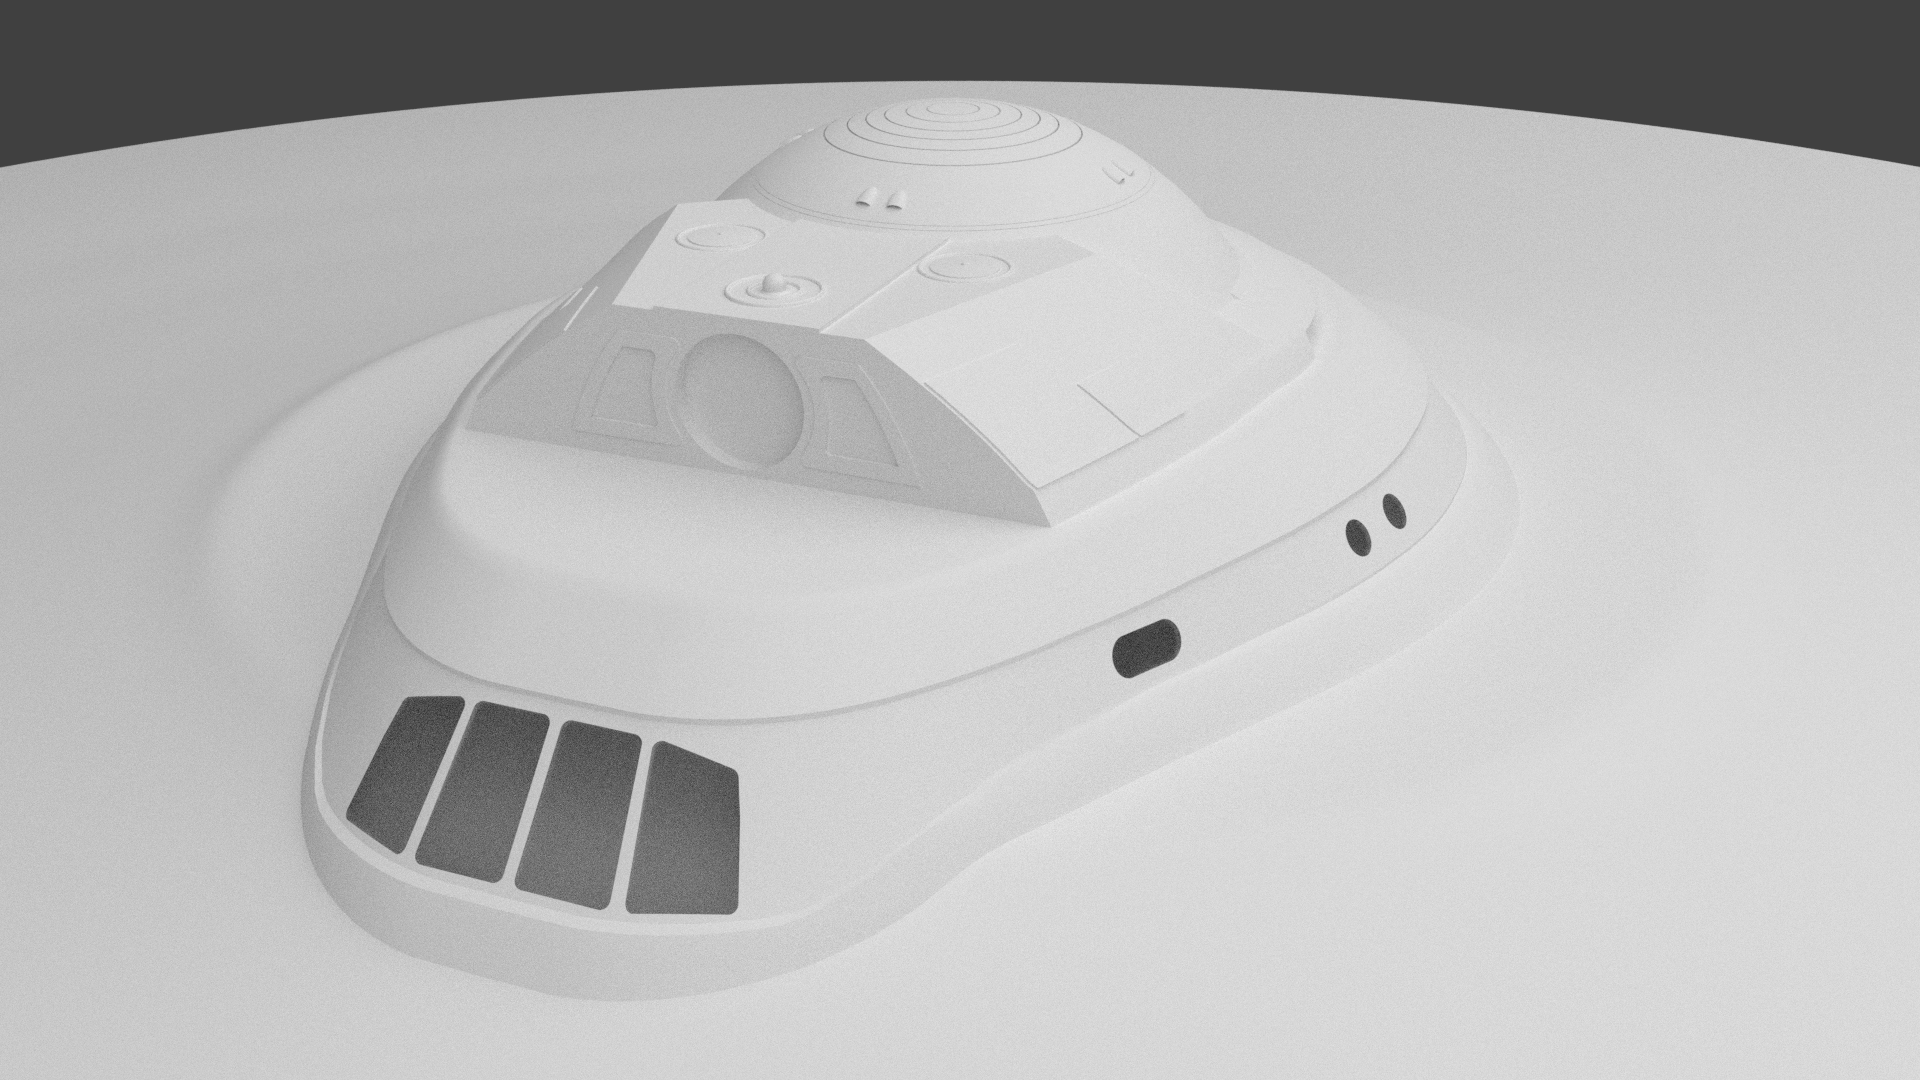
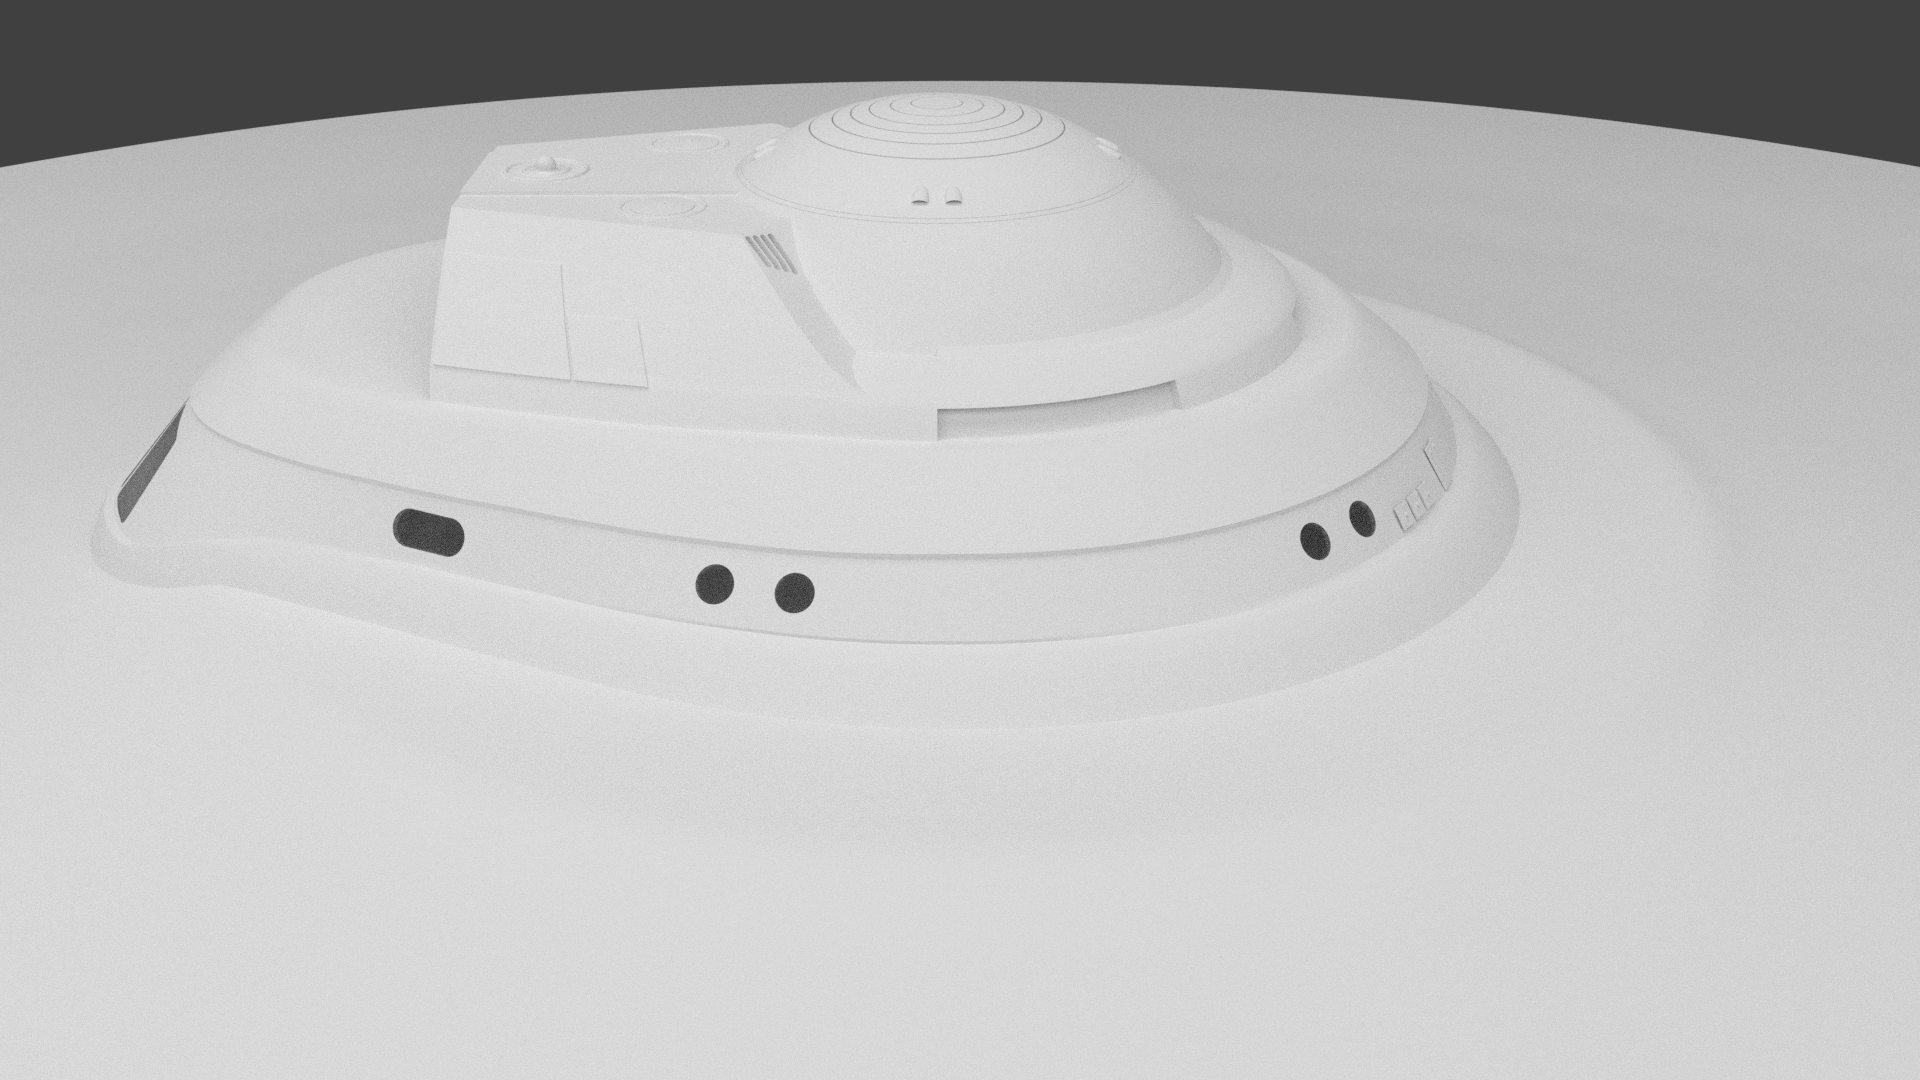
Next I am going to start work on the lower side of the saucer.

-
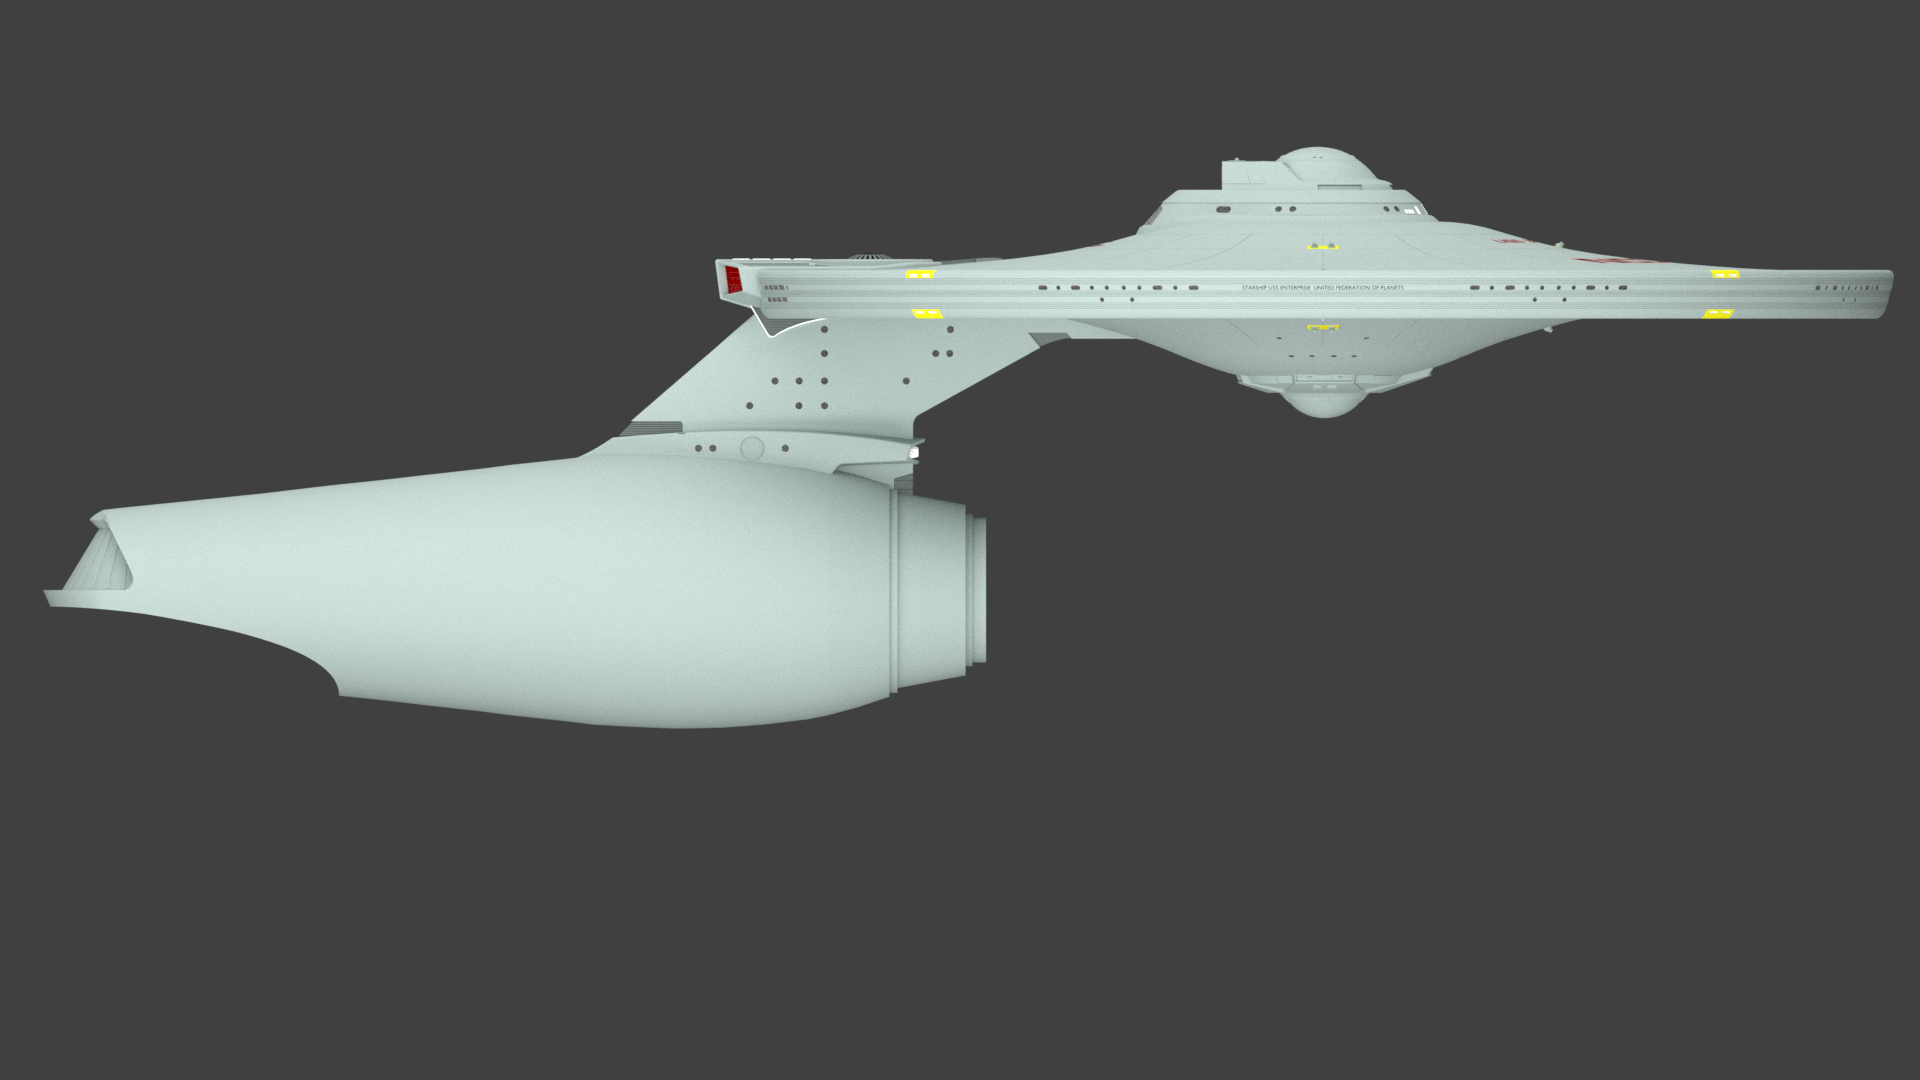
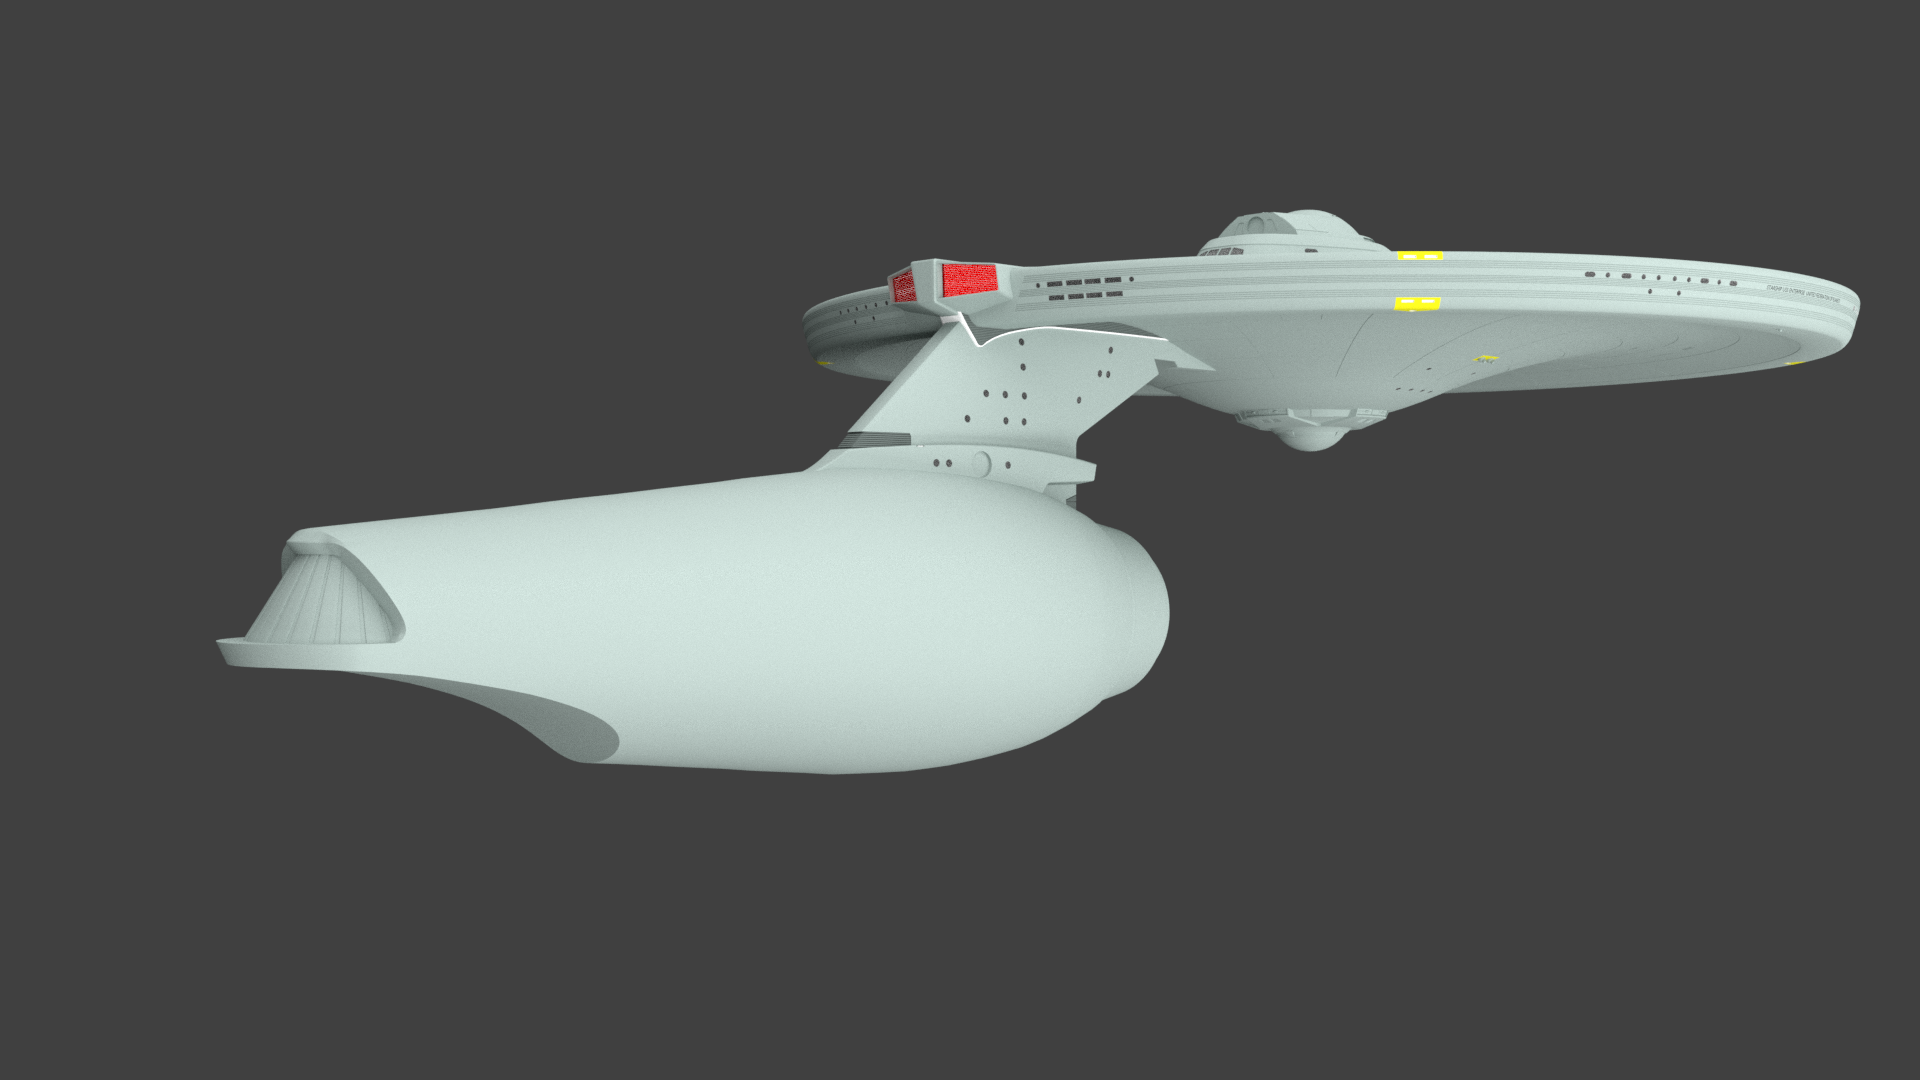
Freak's Trek Build's
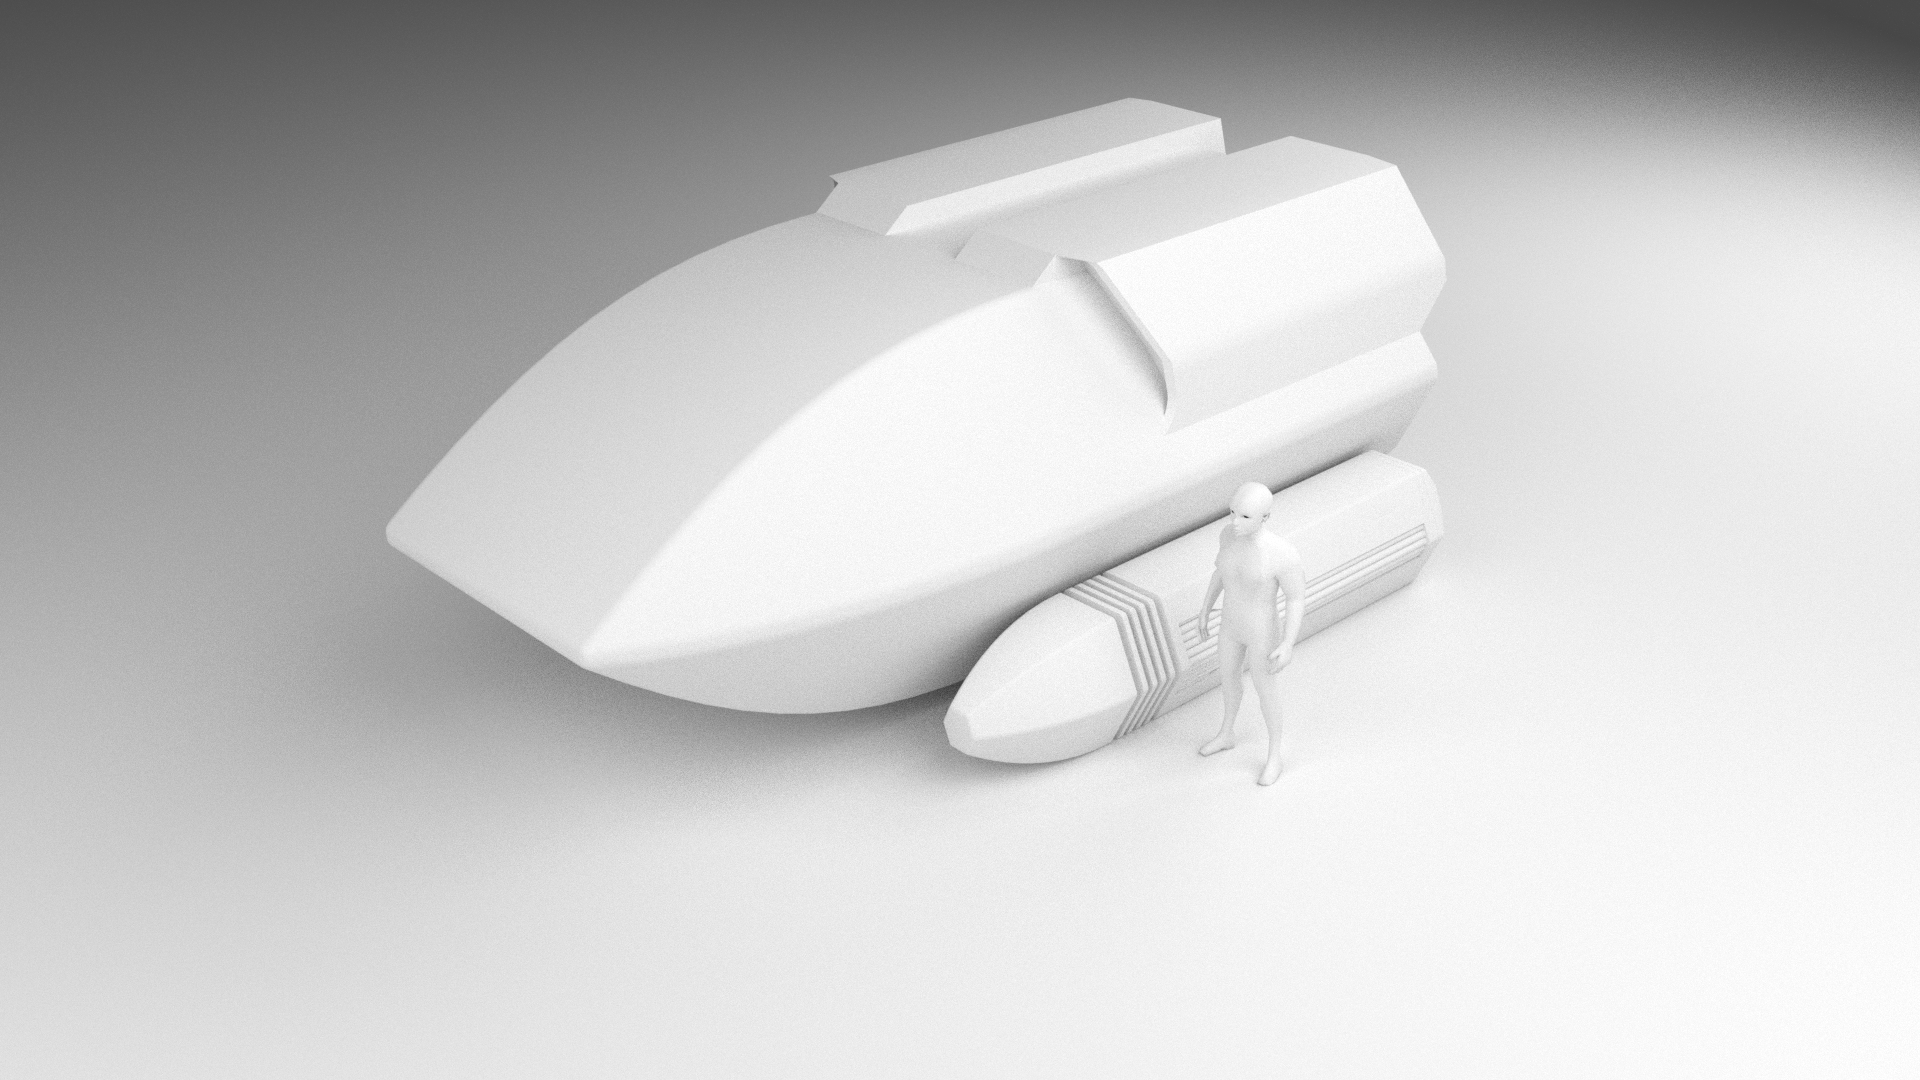
I started this straight after I had finished the Type 15 shuttle.
The Modelling of the Nacelles are done, though there is one bit of detail still to add to it.
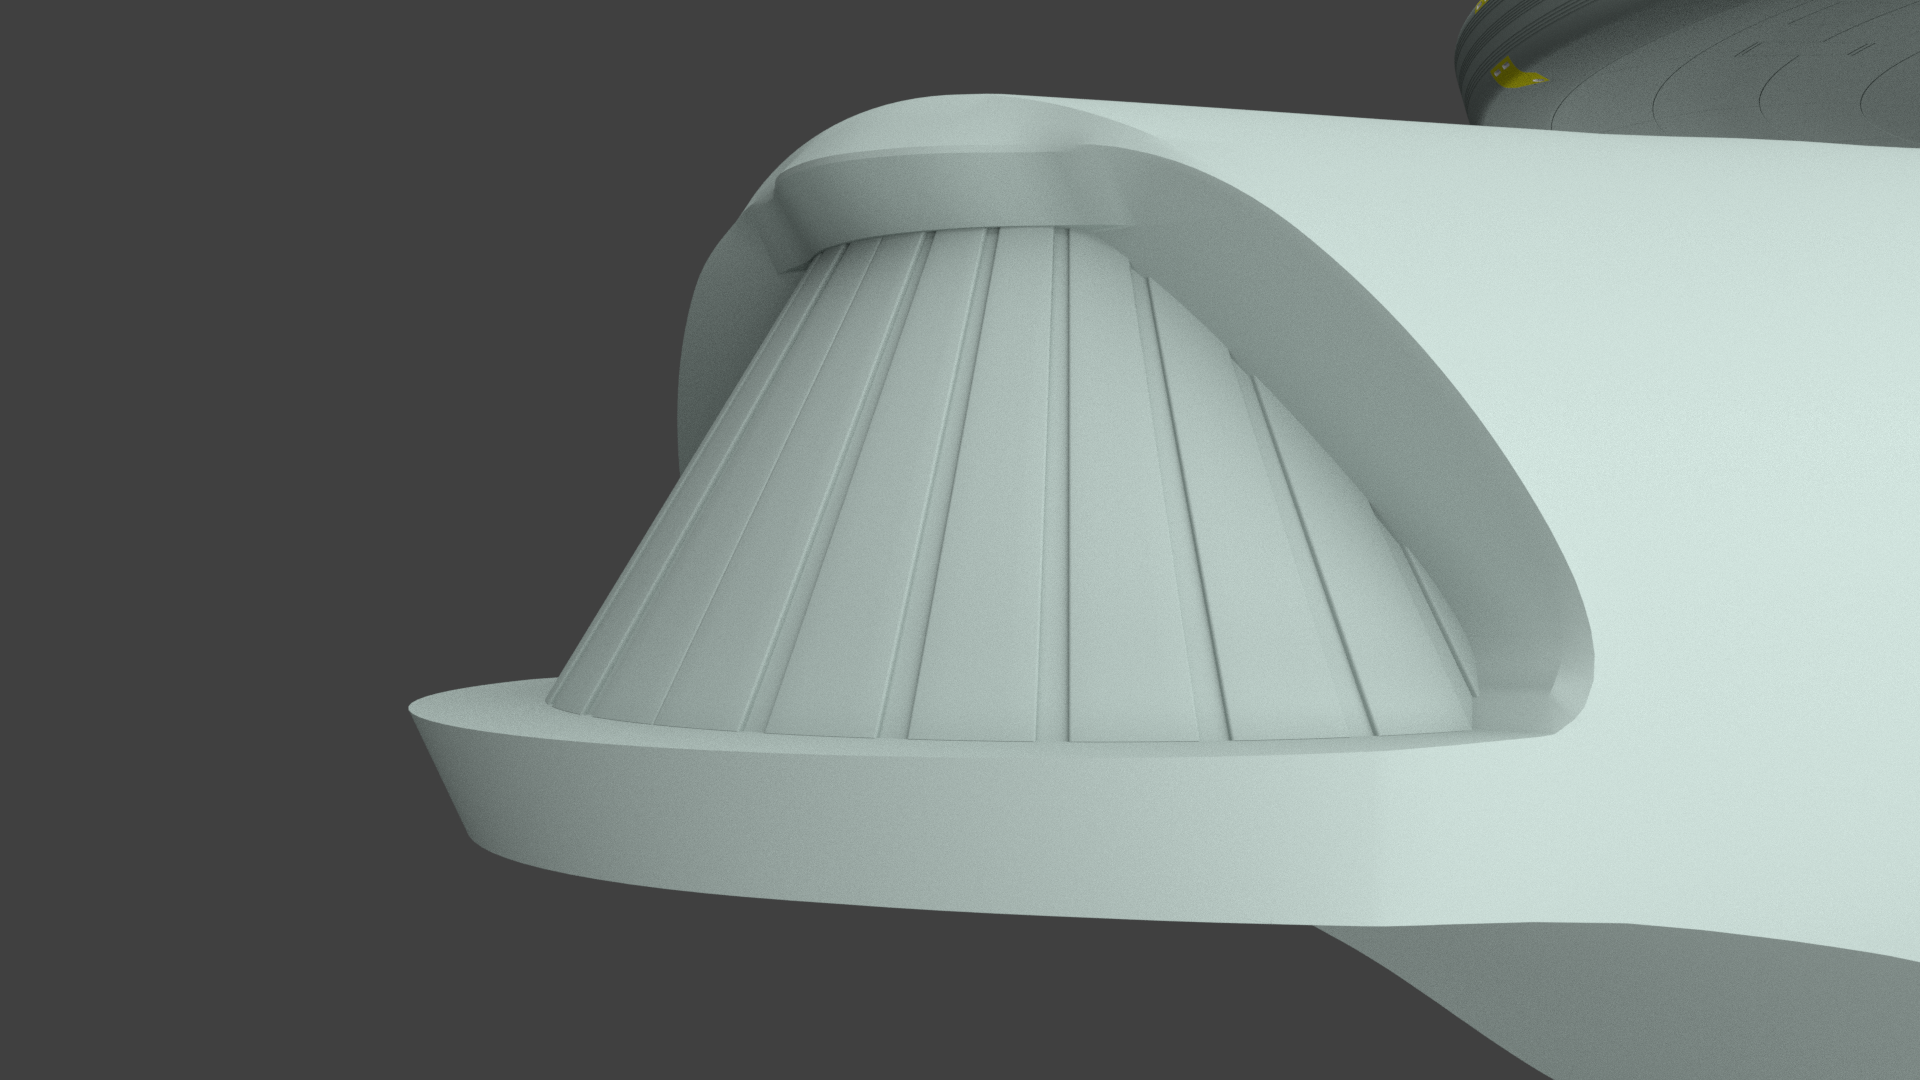
I have also blocked out the main shape of the hull and built the impulse engine housing. I found this quite pain to get right, this was mainly due to the shape for the Air Intake? at the front.
After a few false start I have got it to a point where I am happy with it.
-
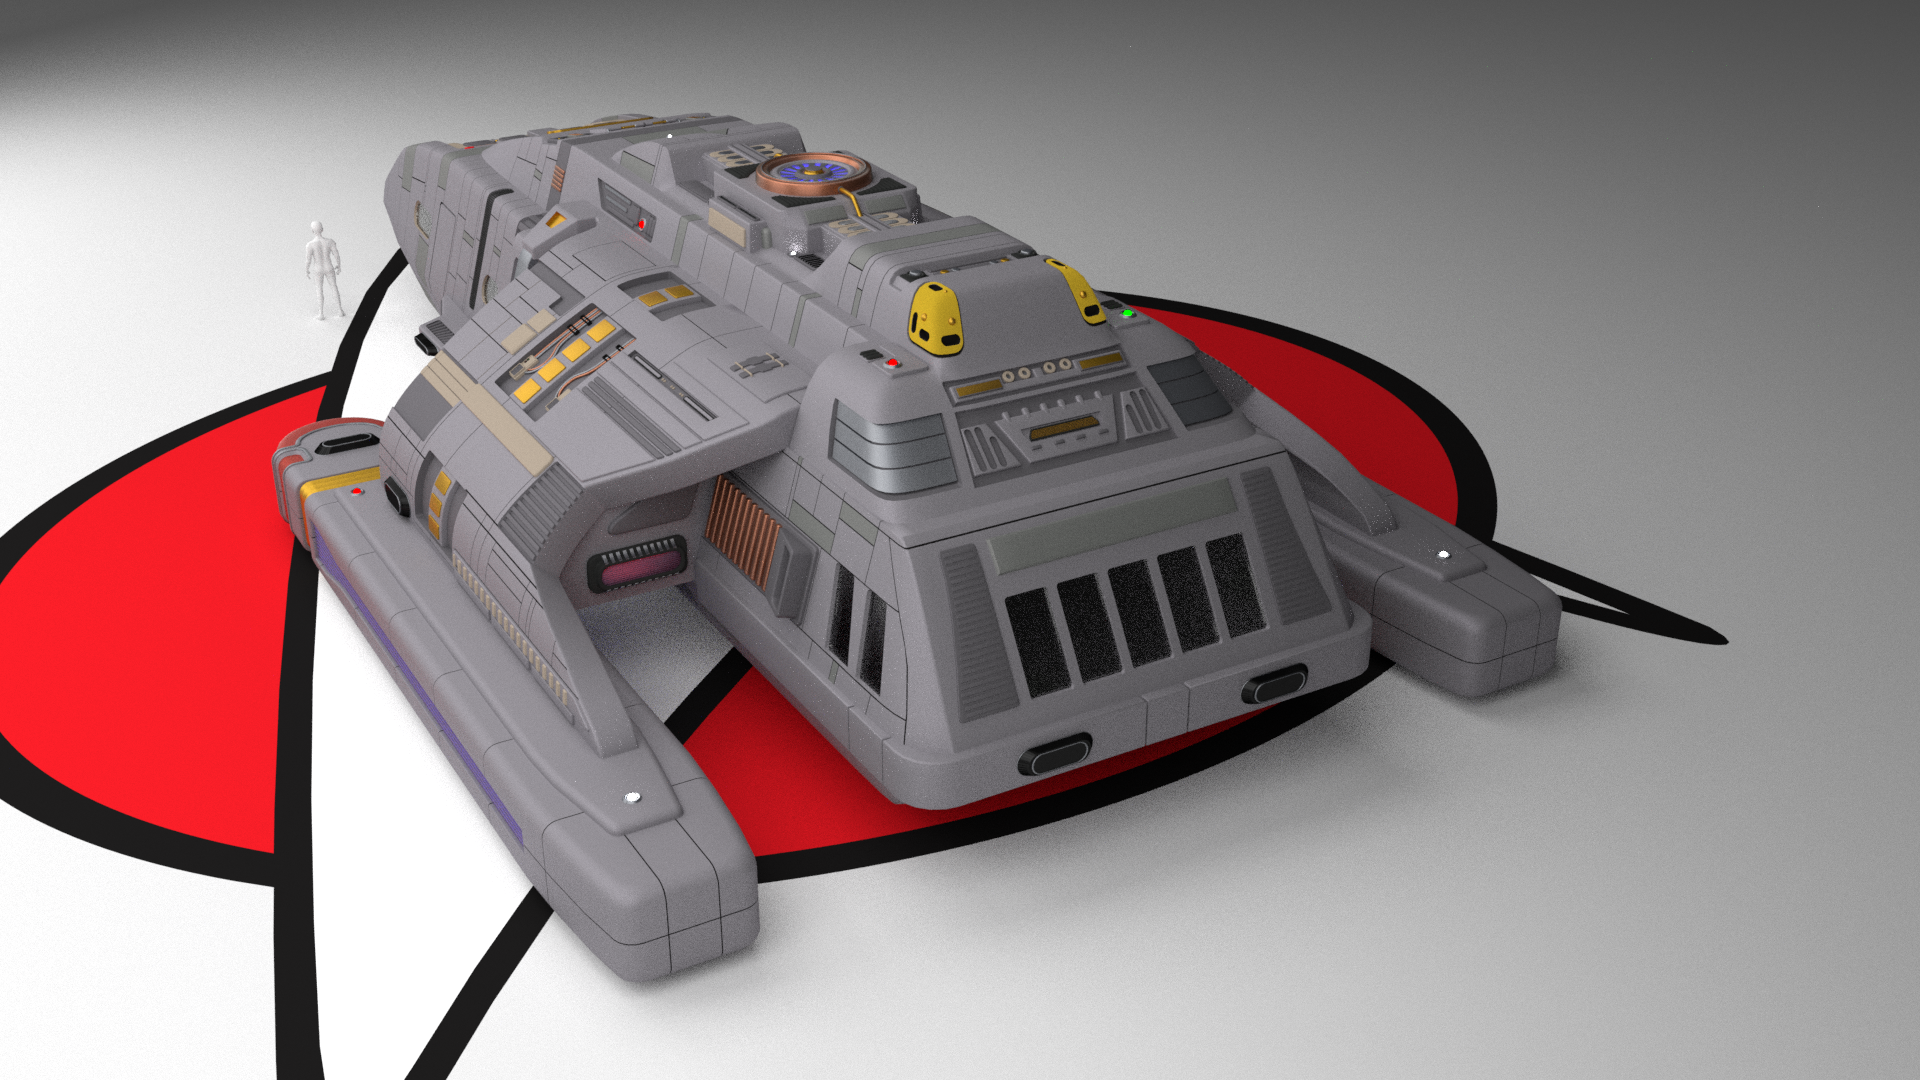
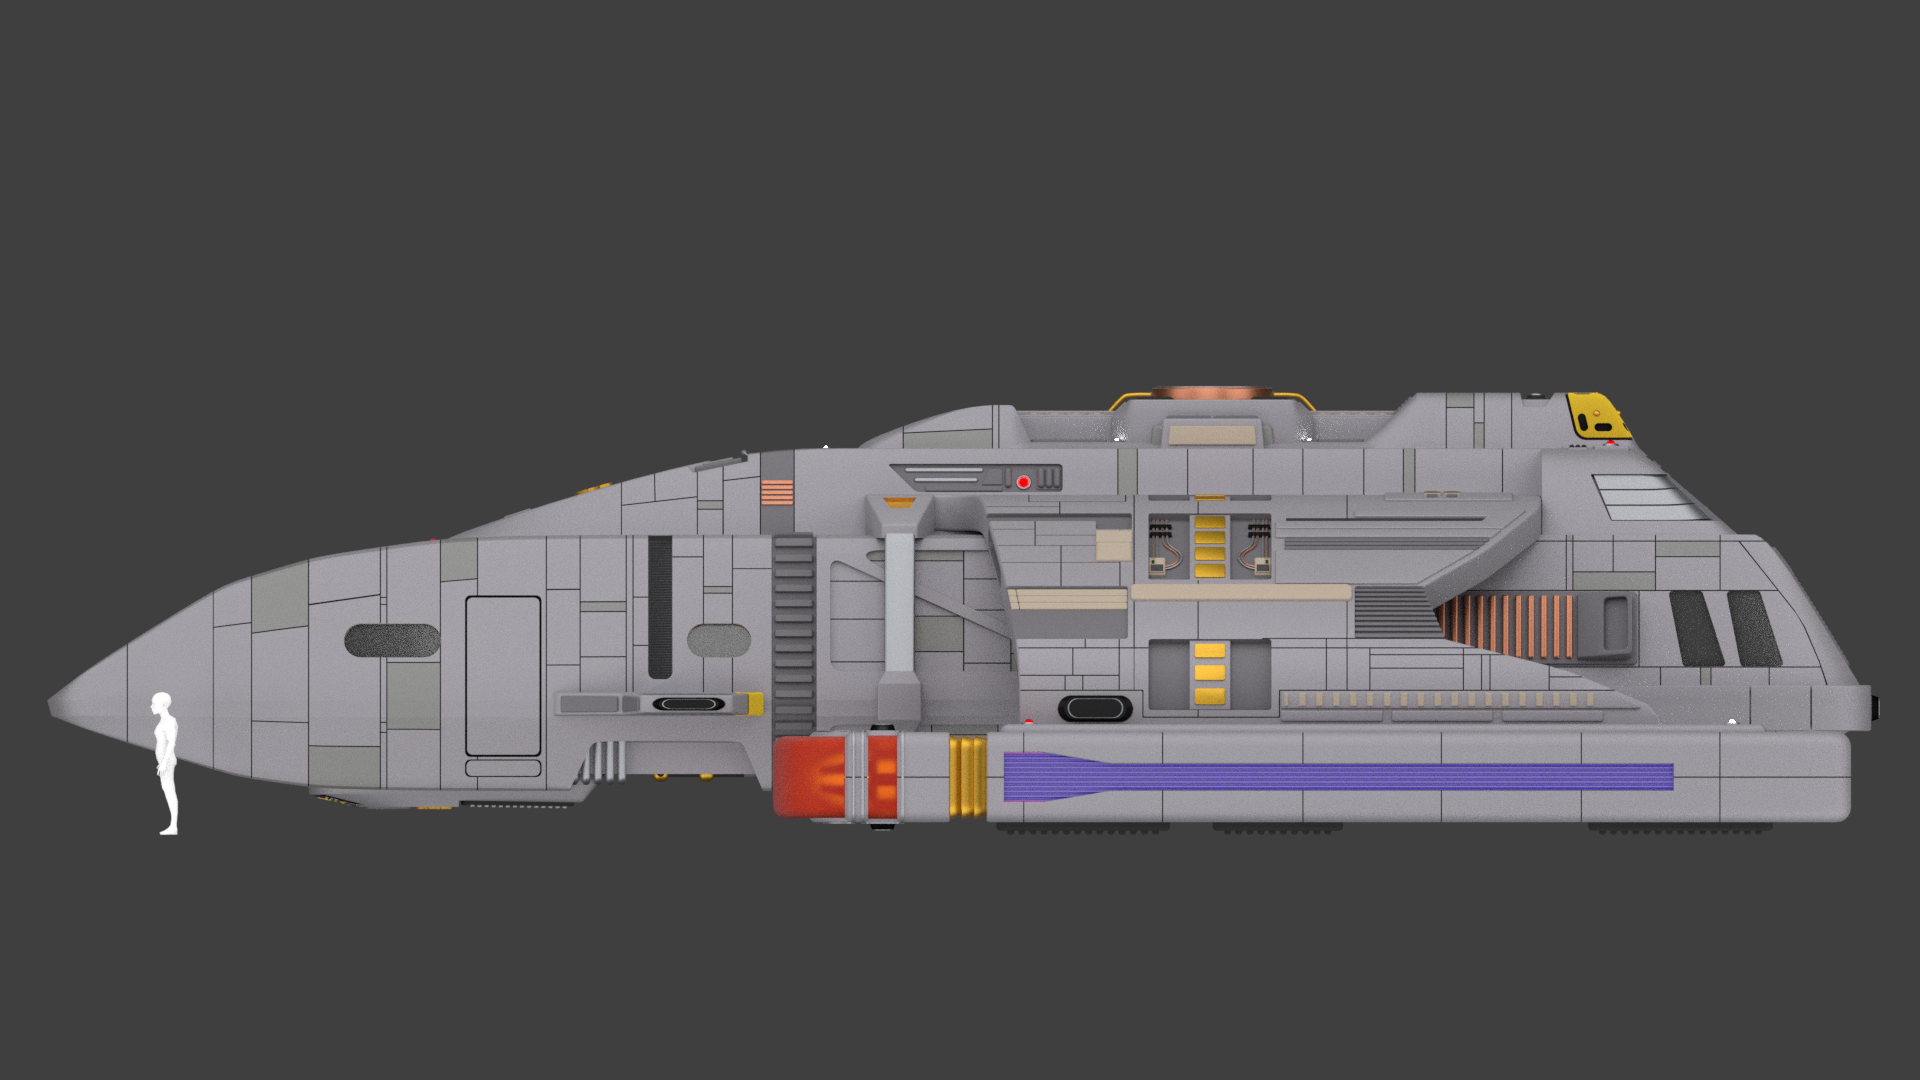
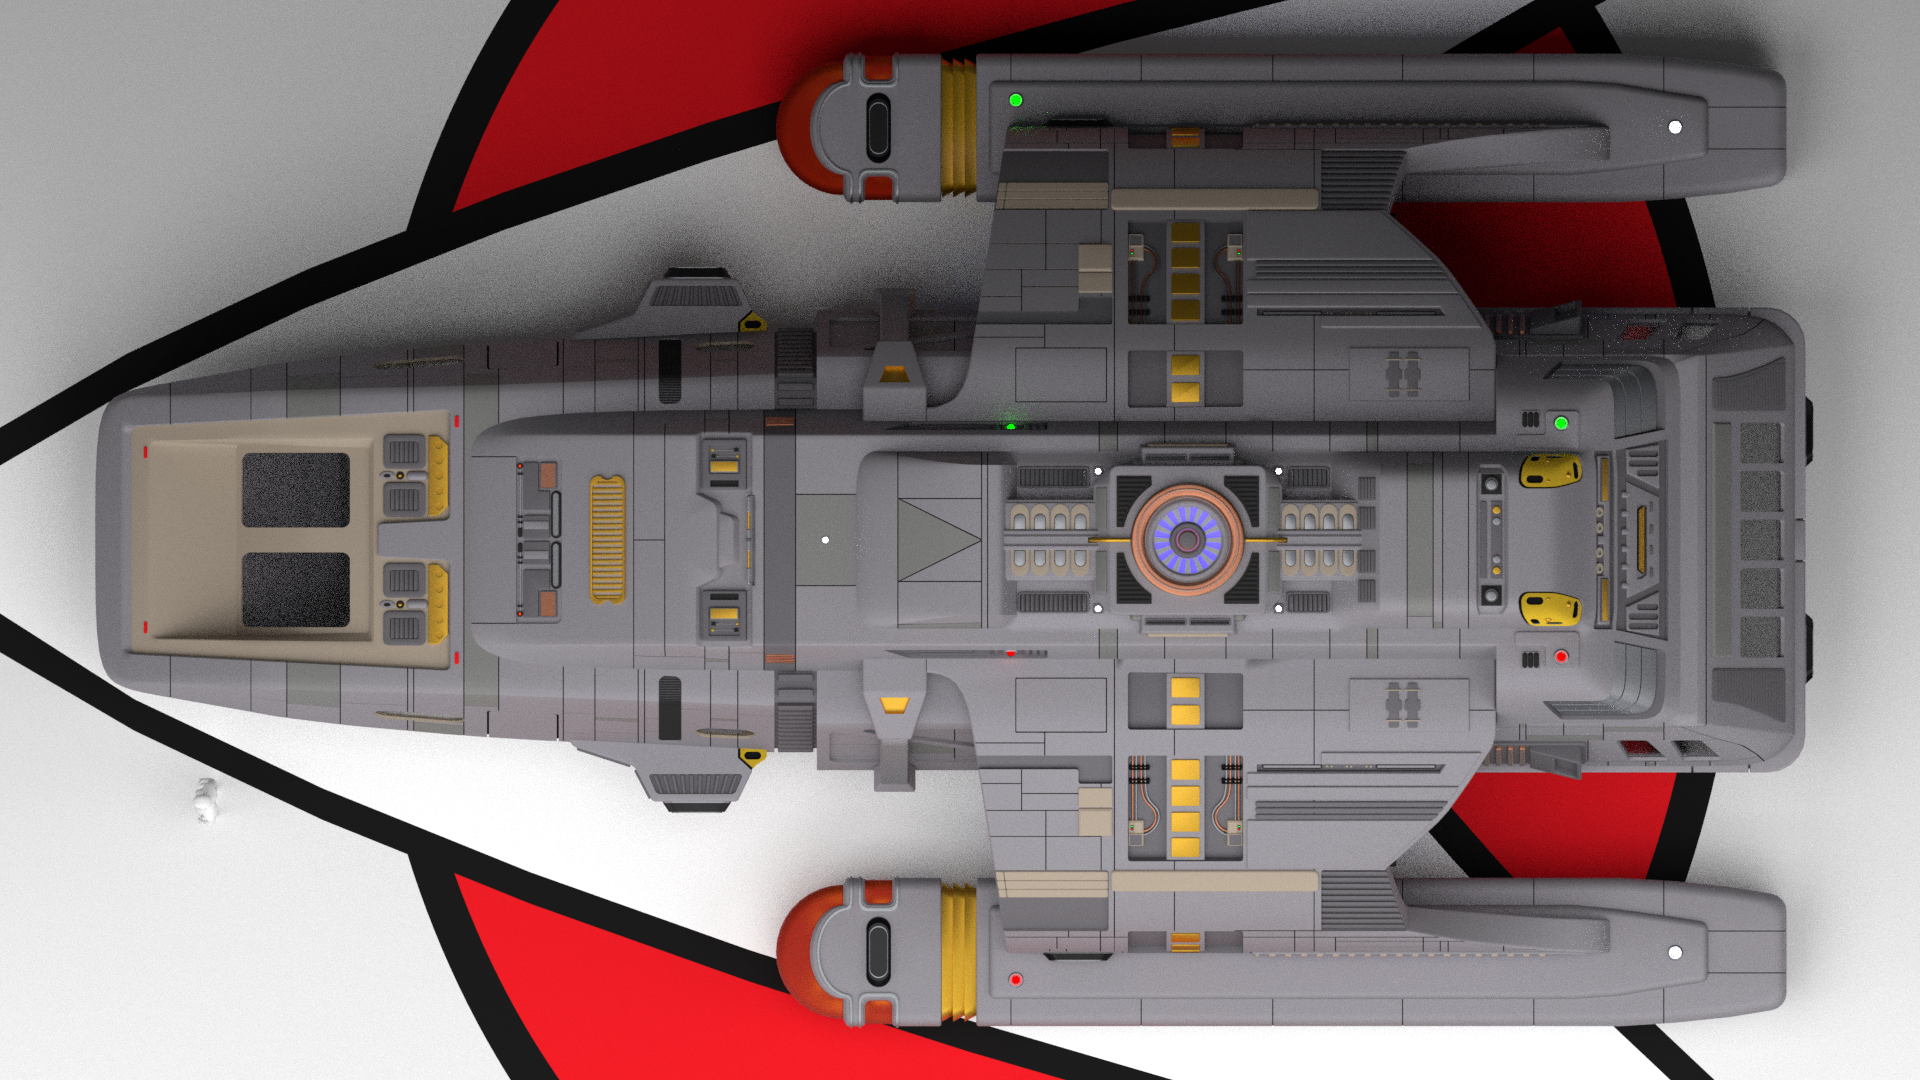
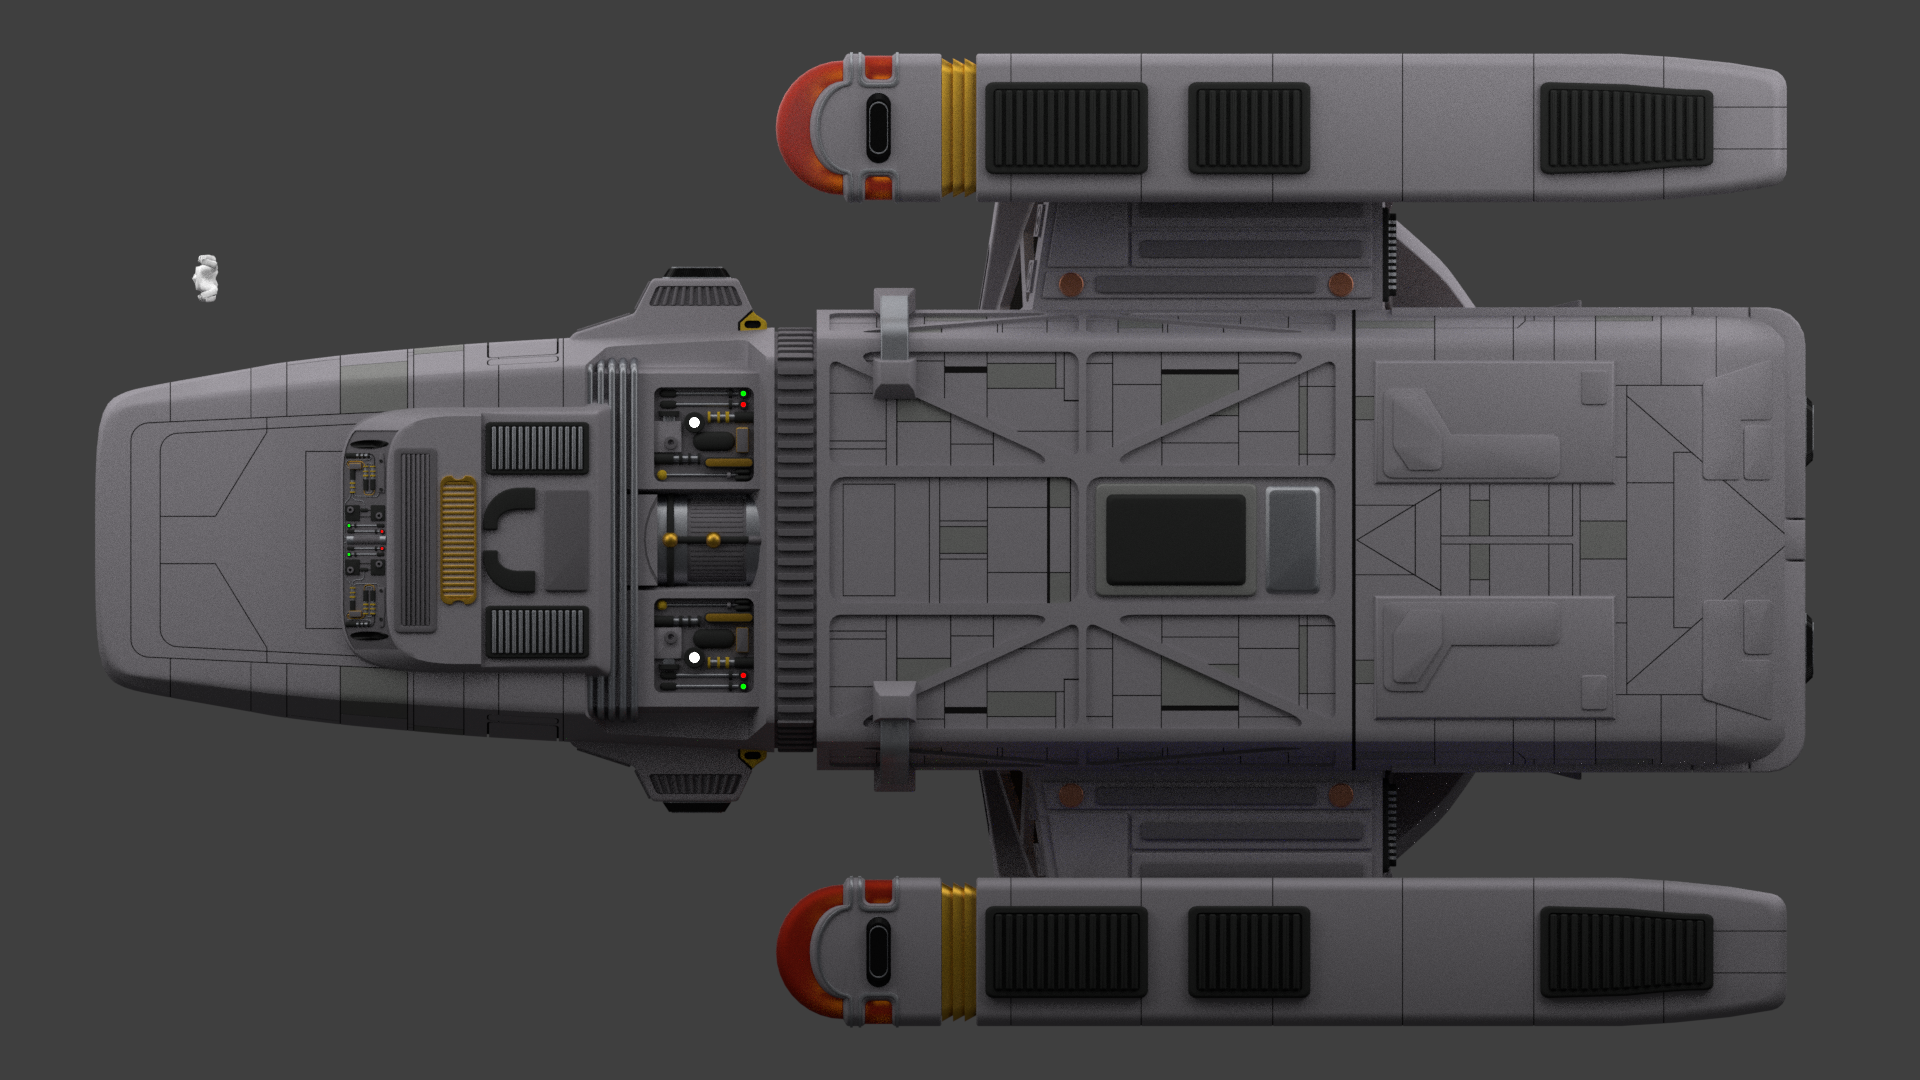
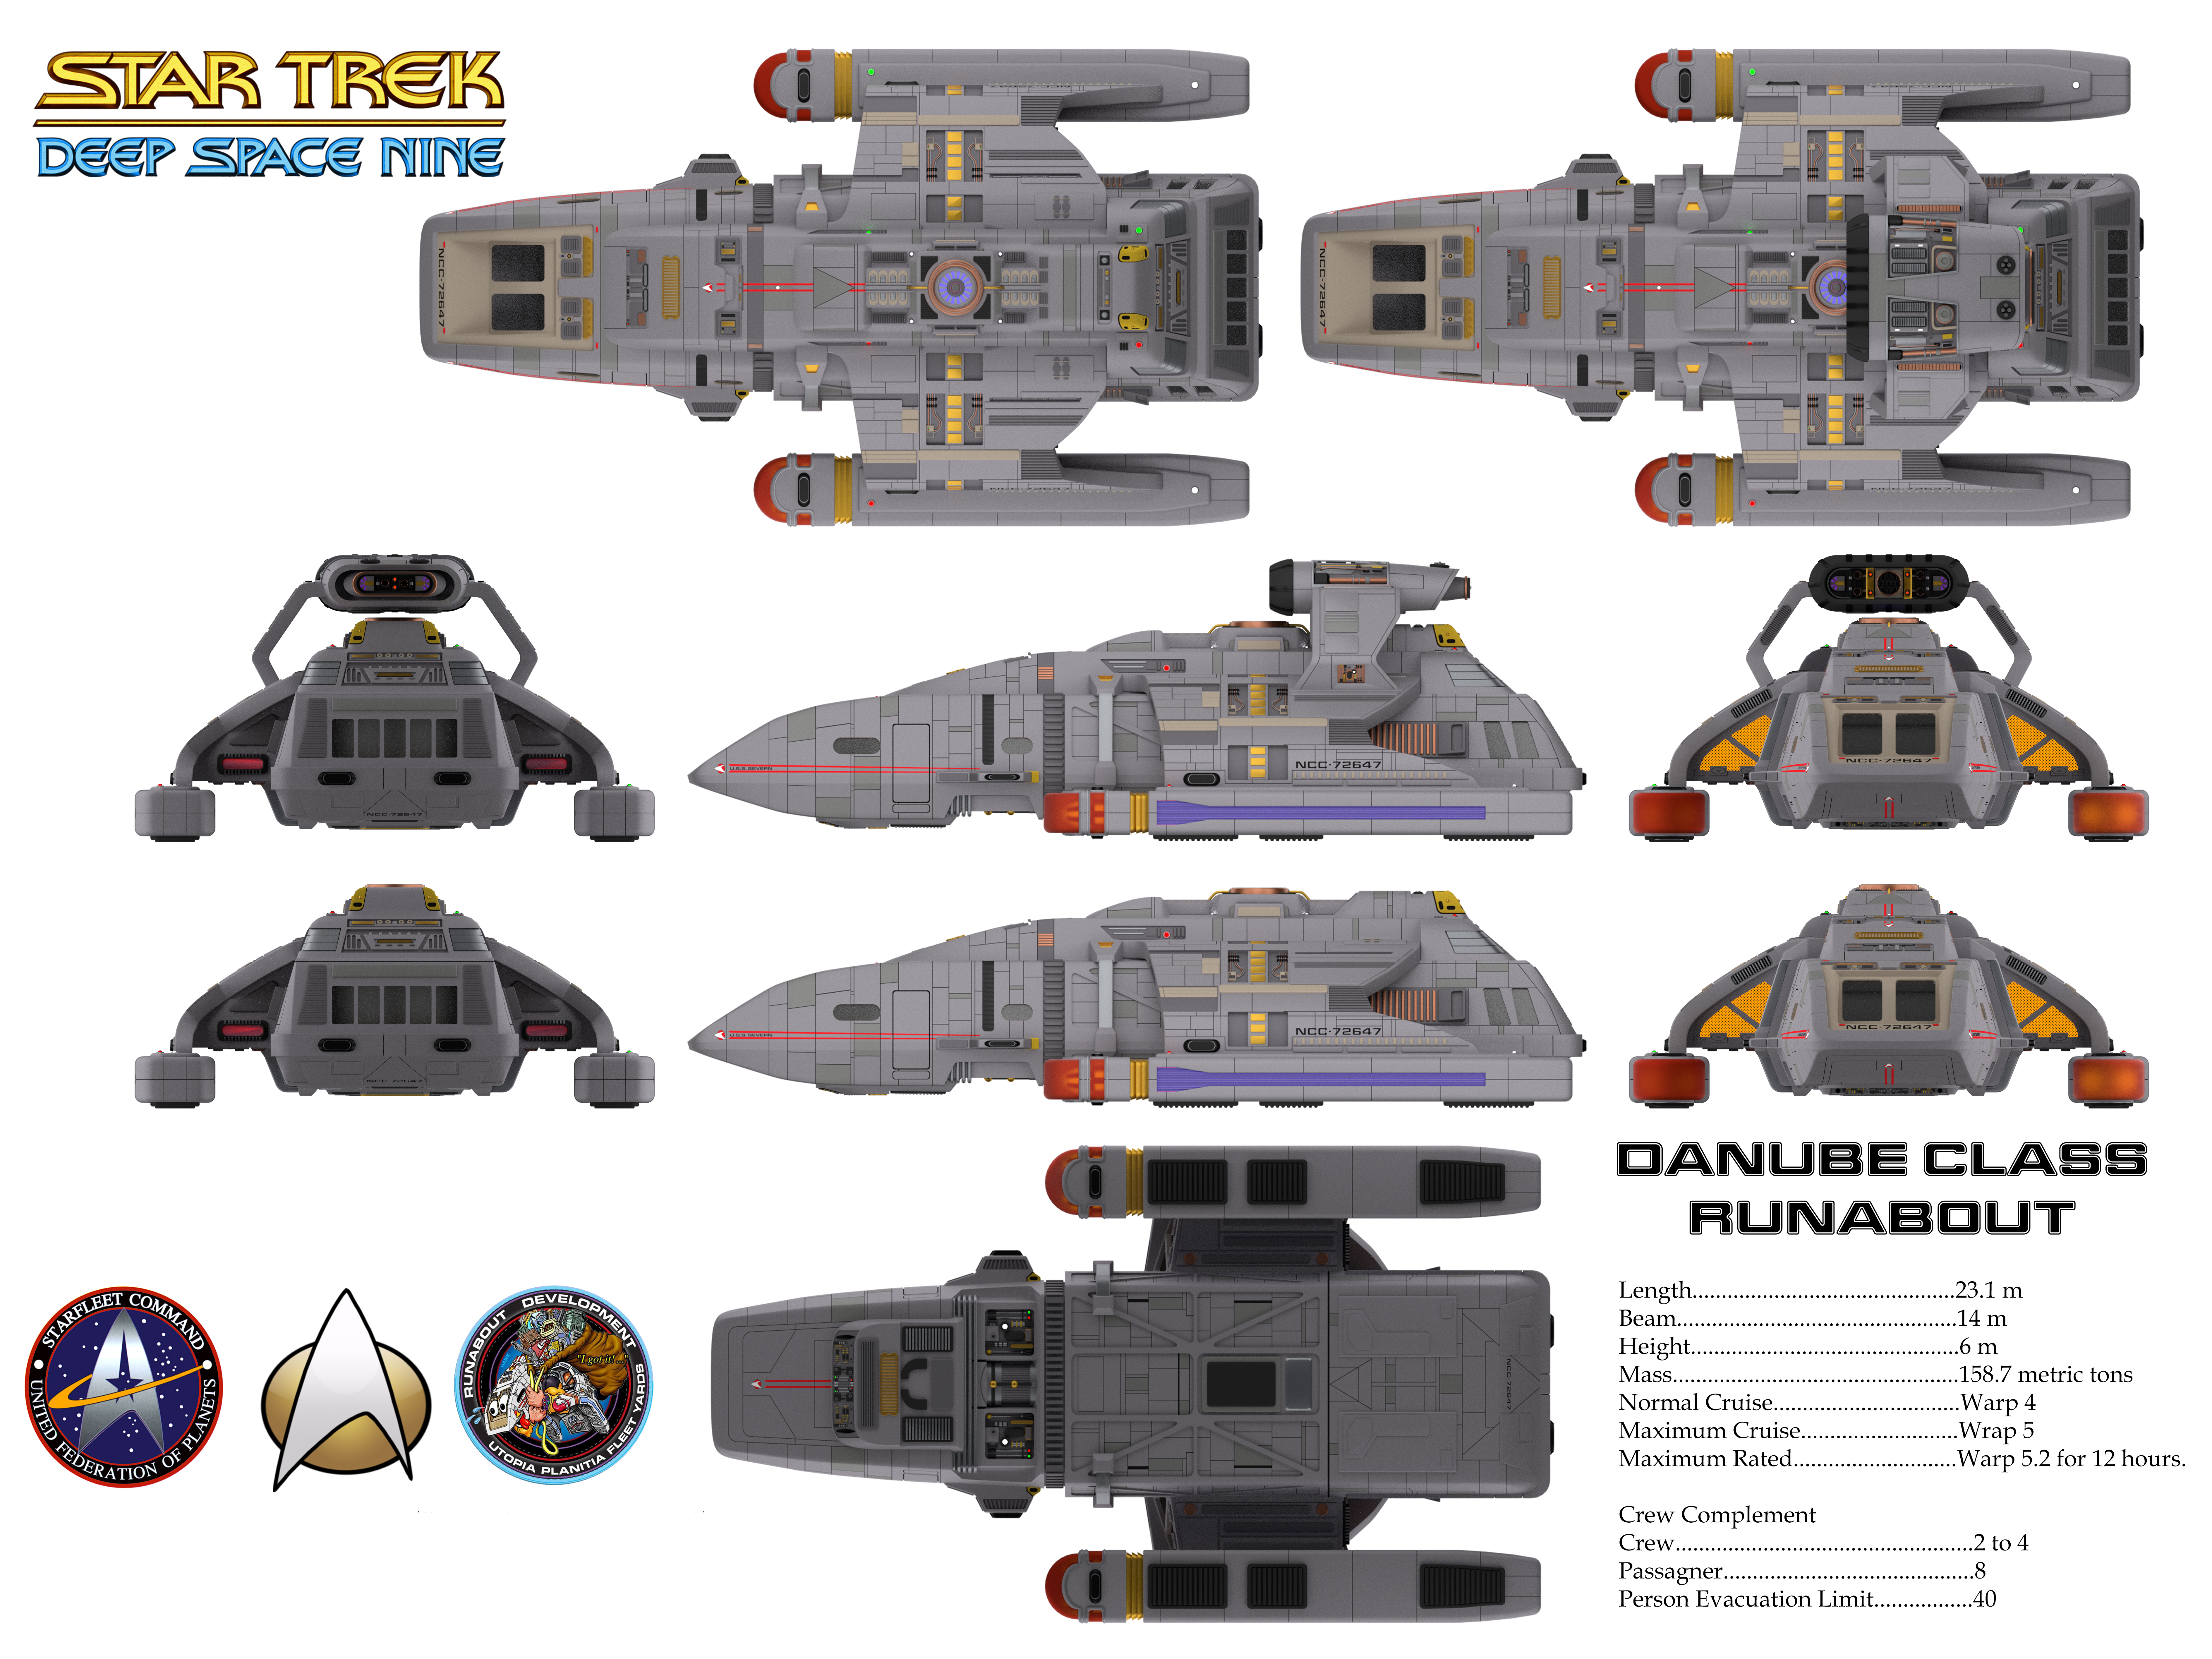
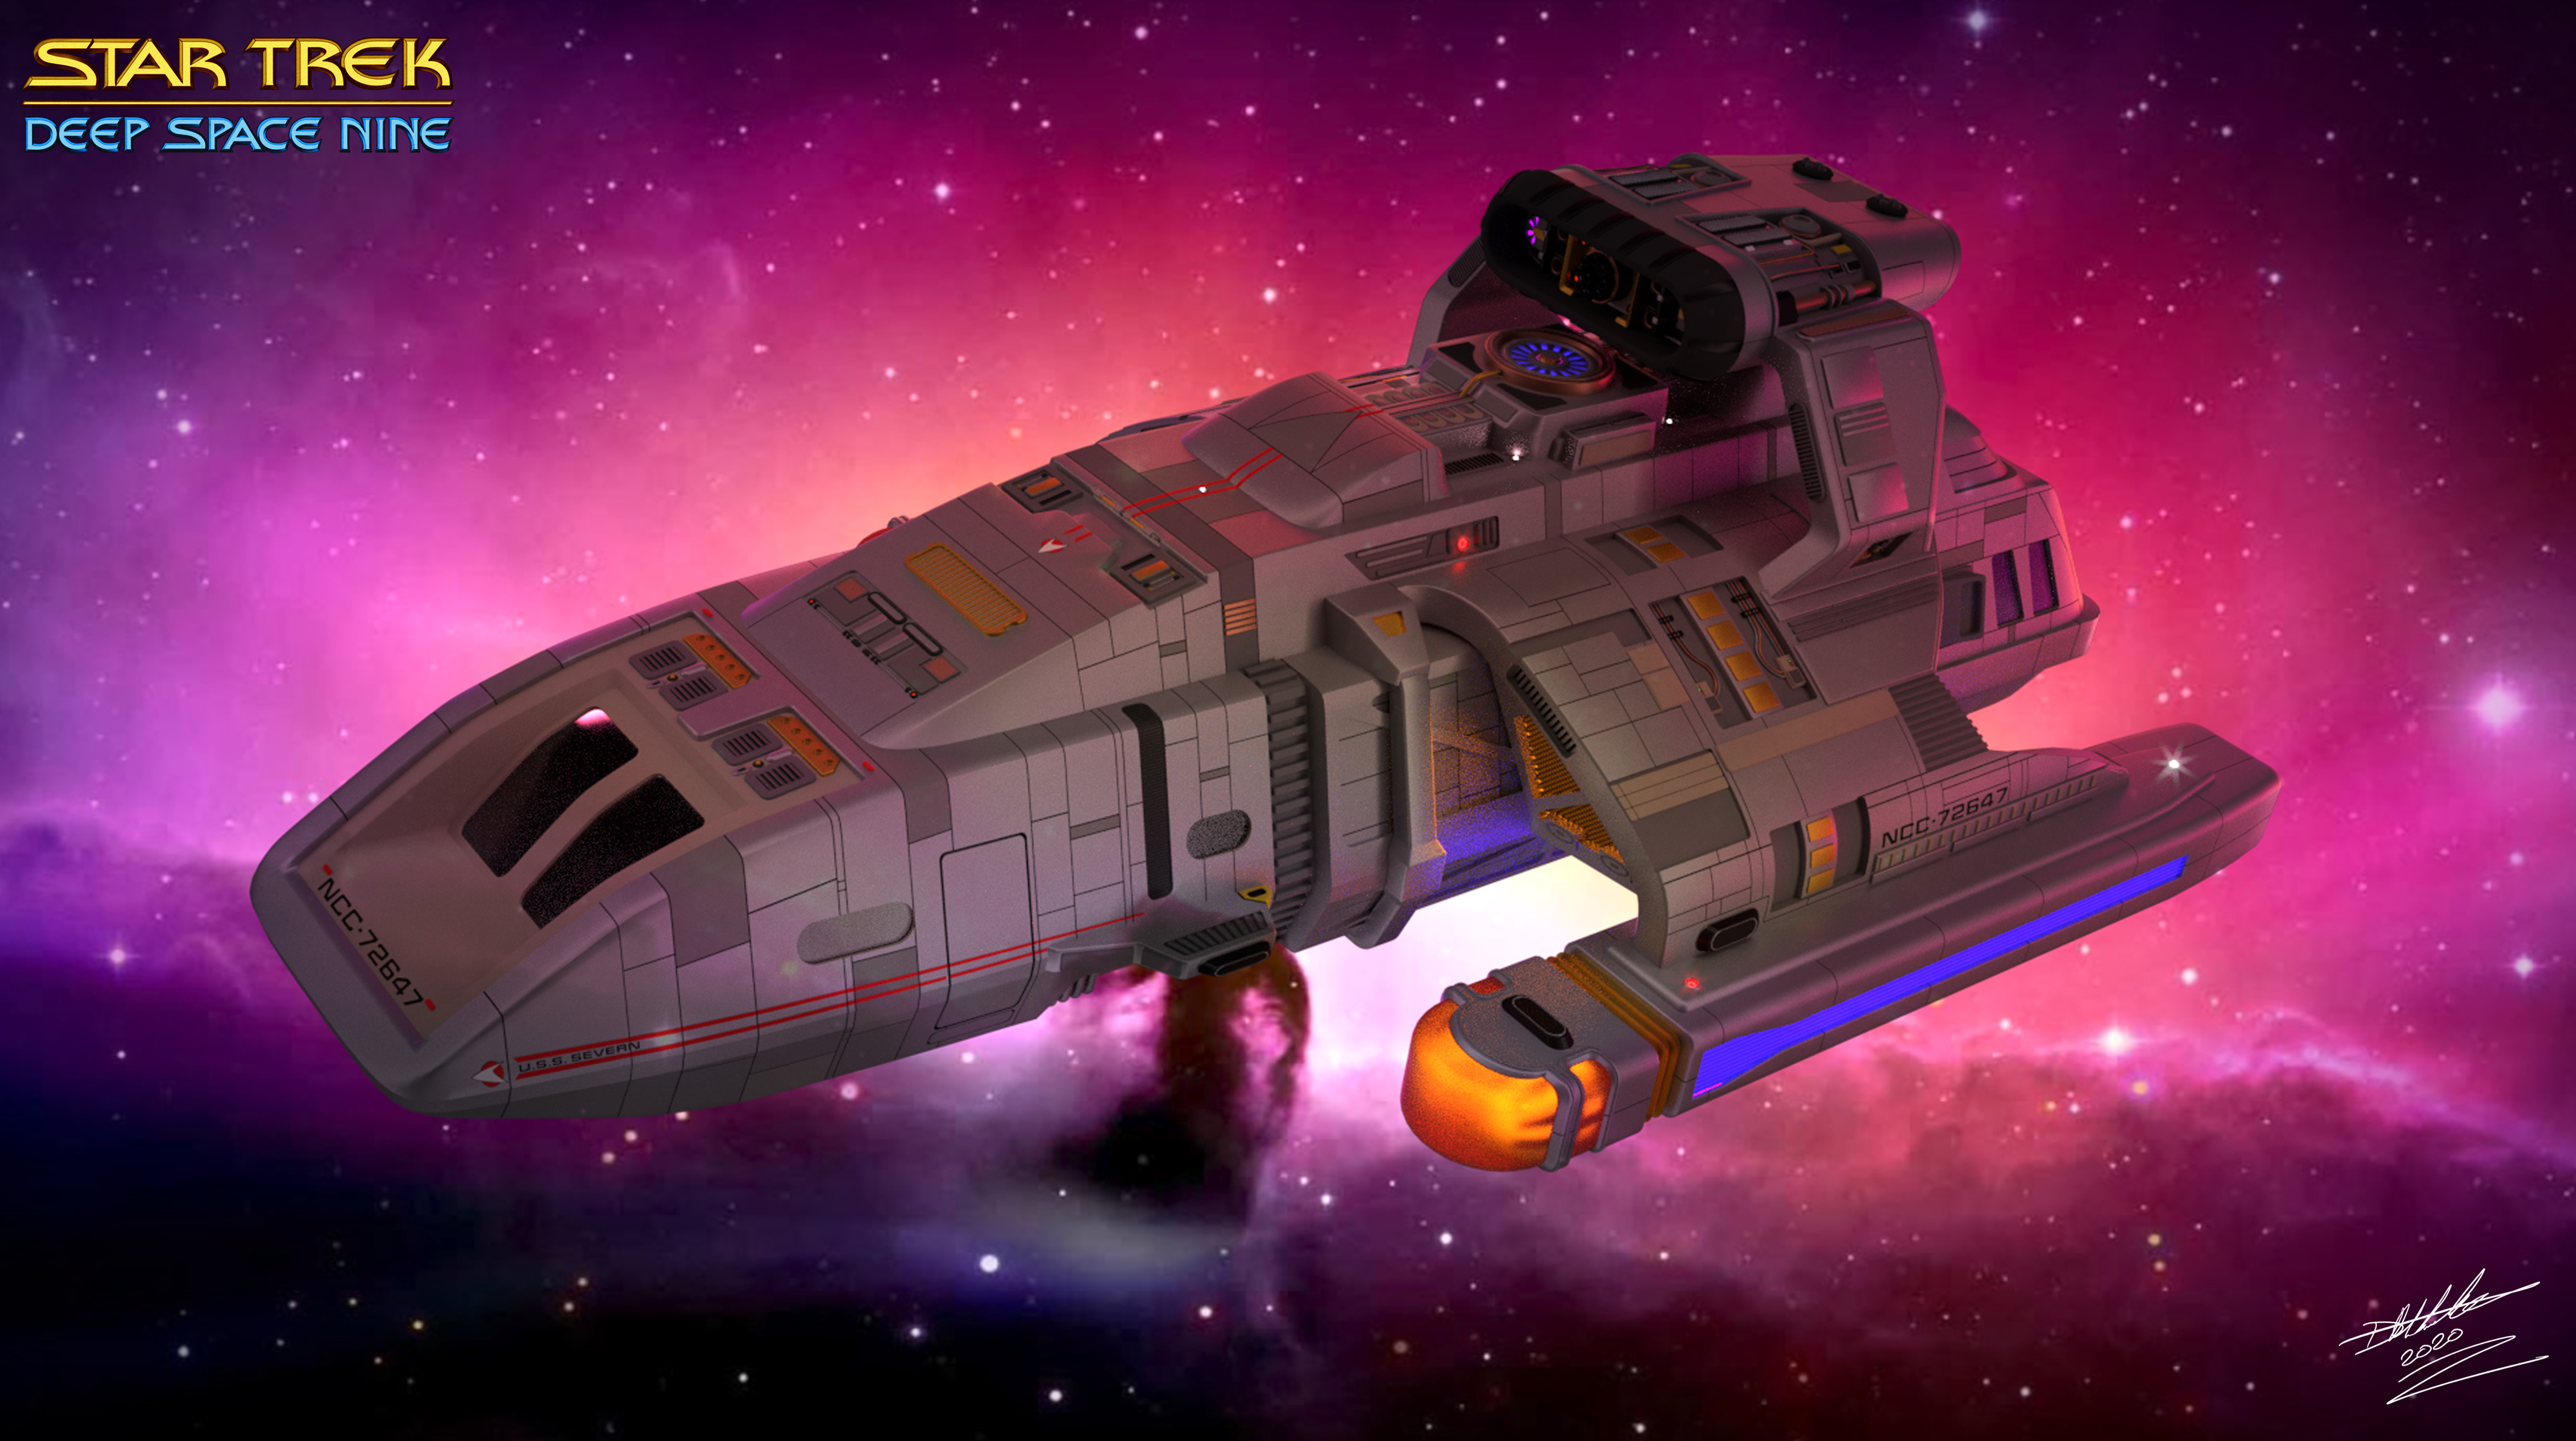
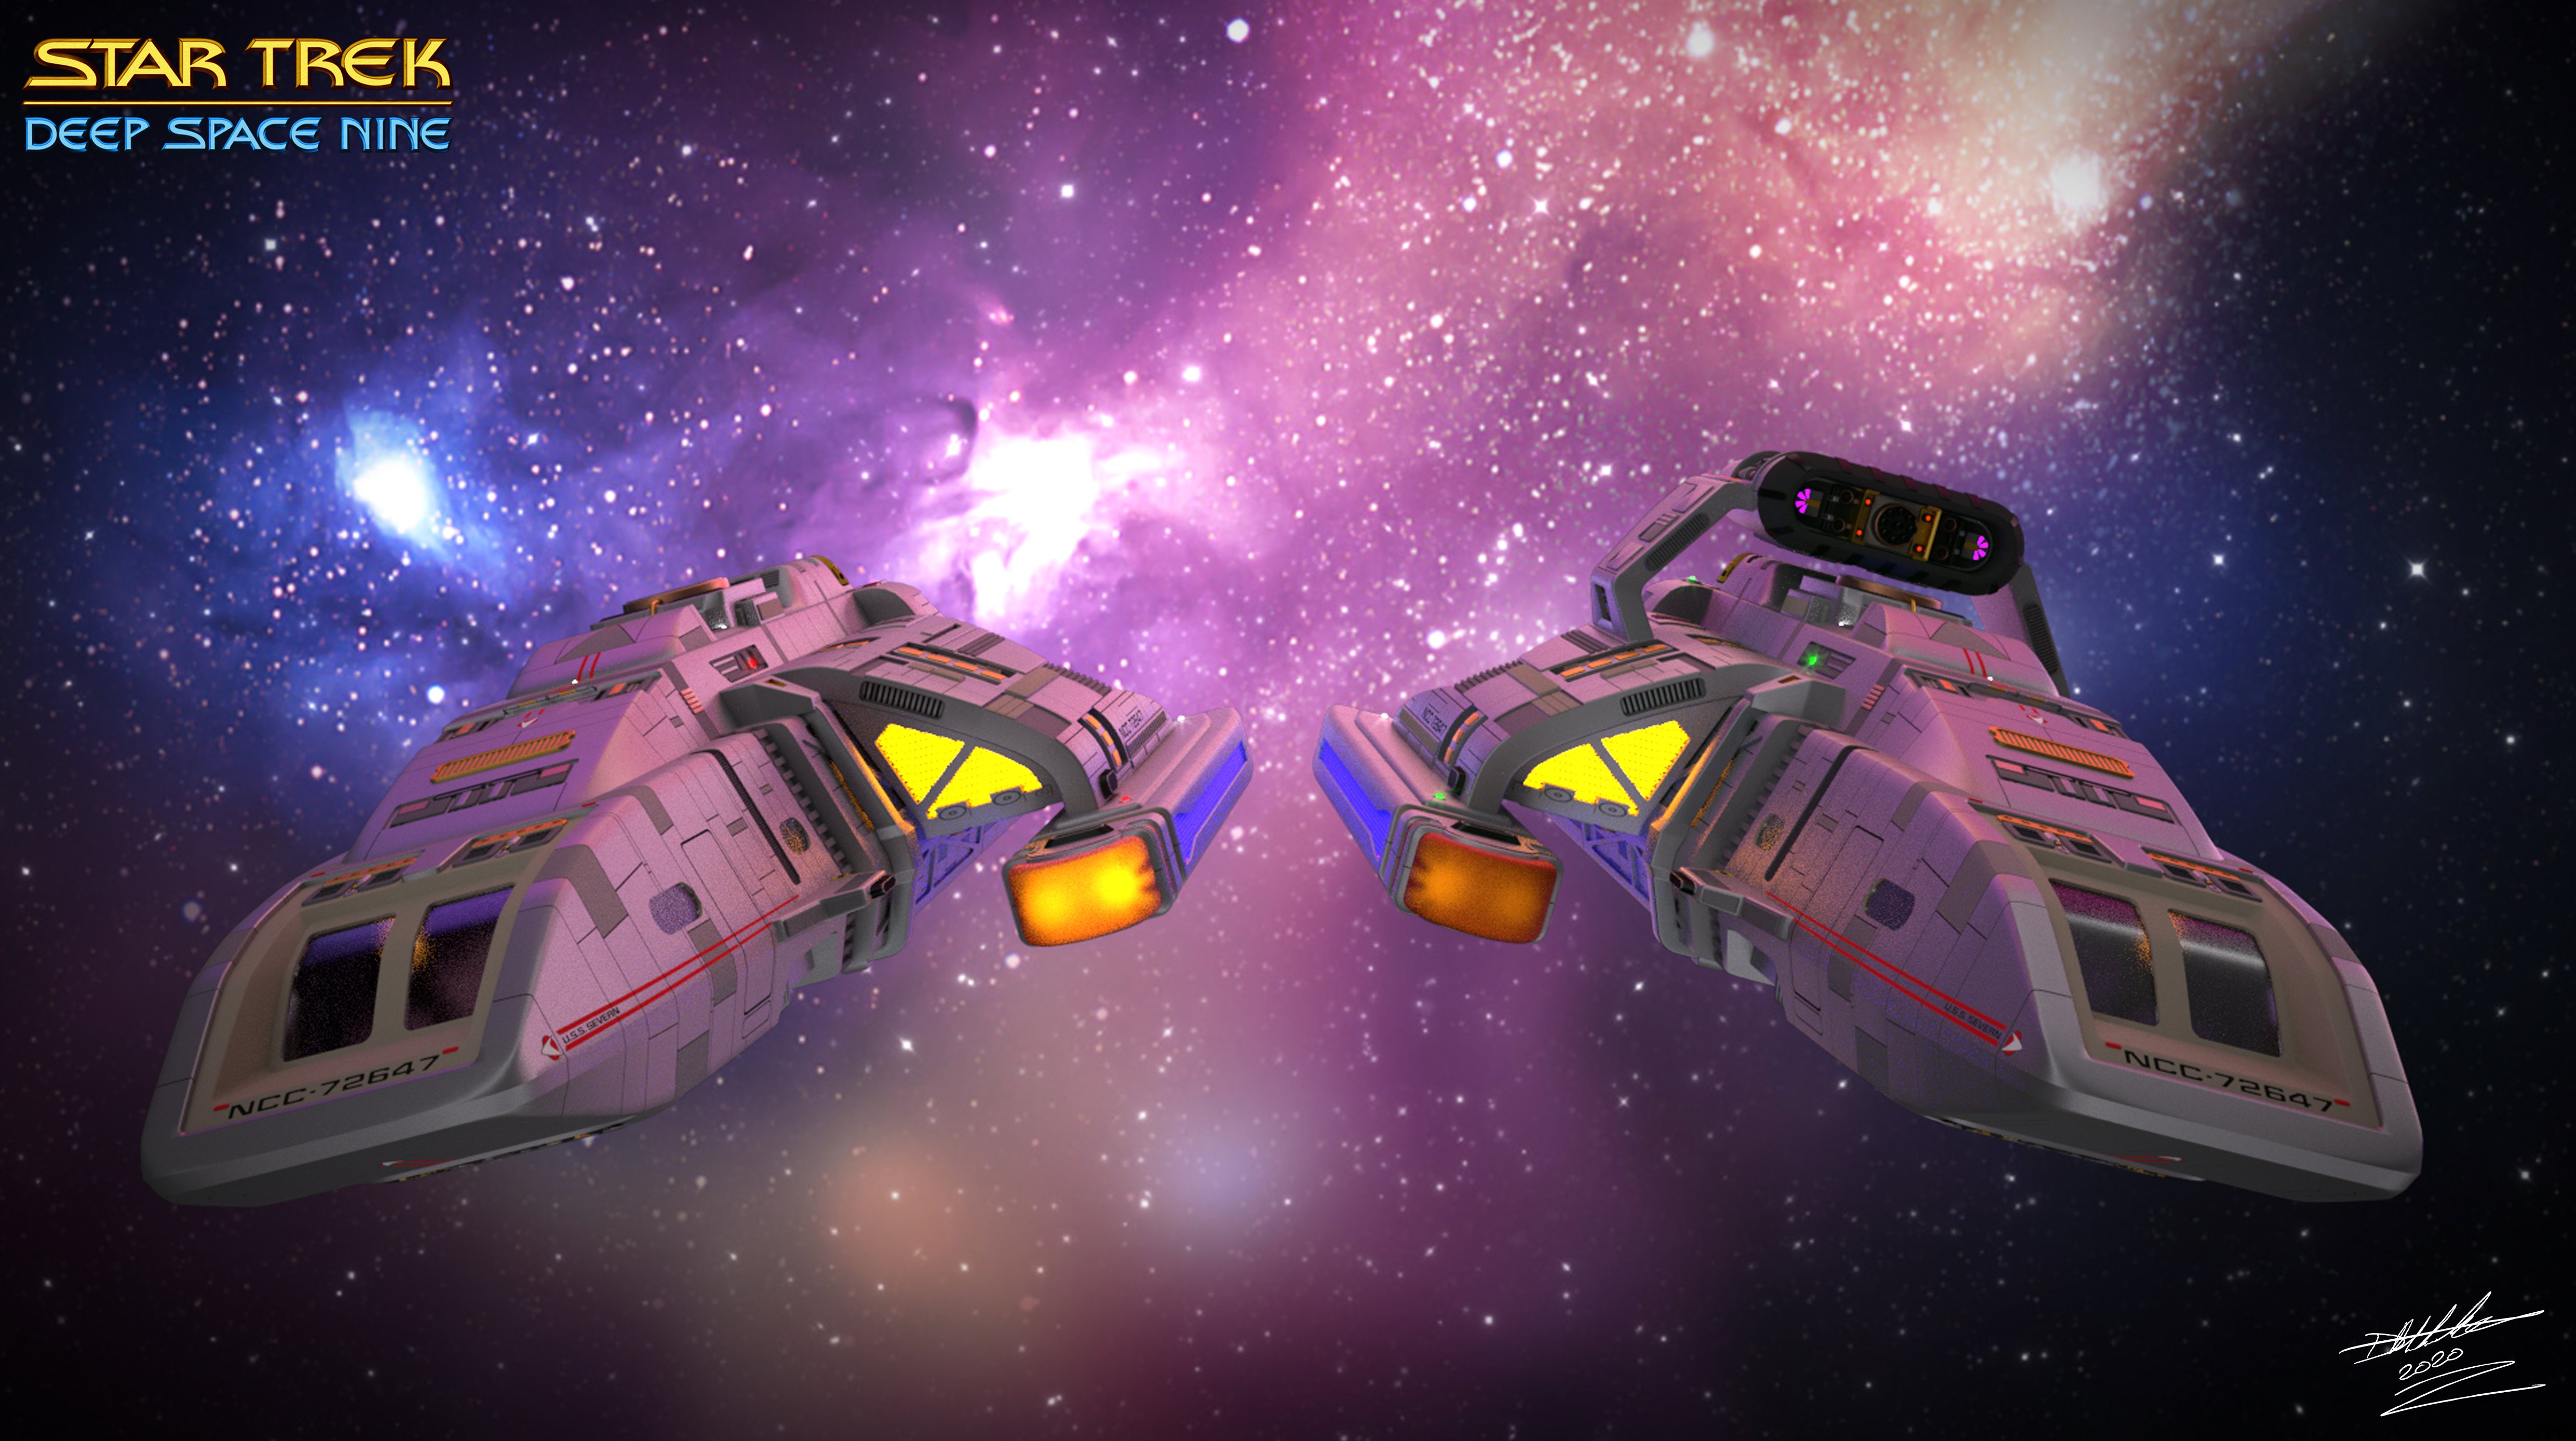
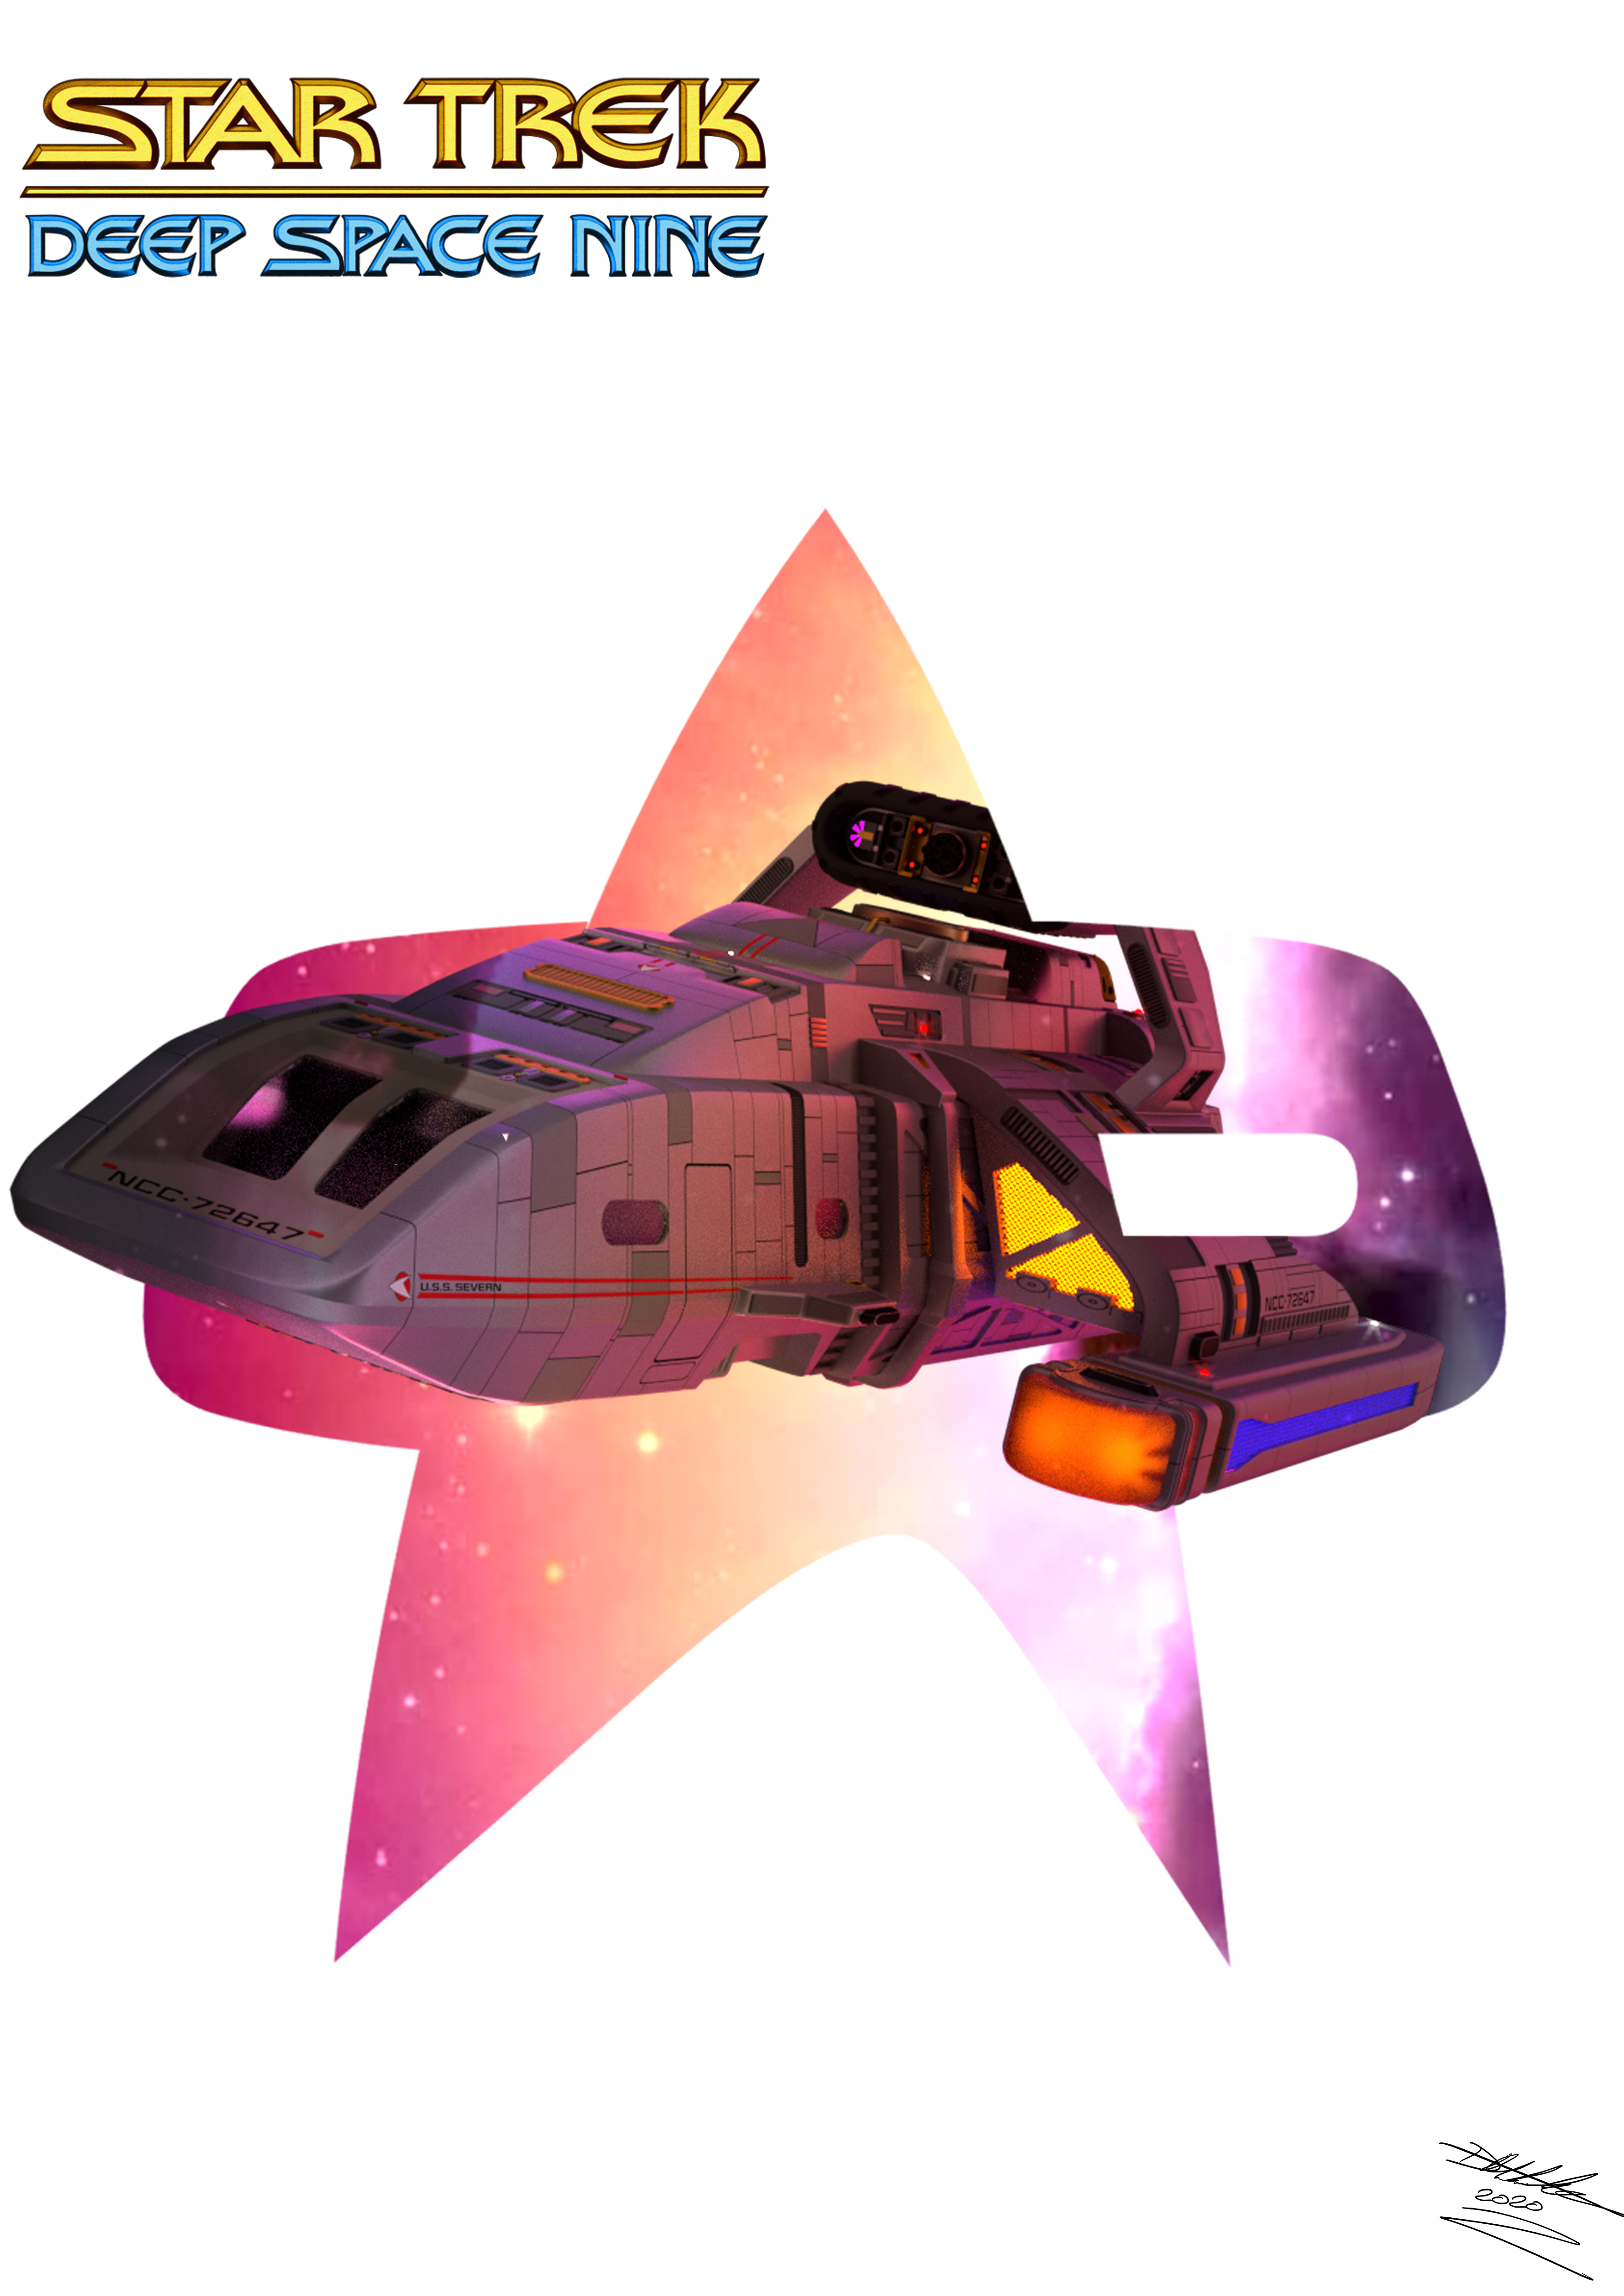
Freak's Finished Star Trek Pictures
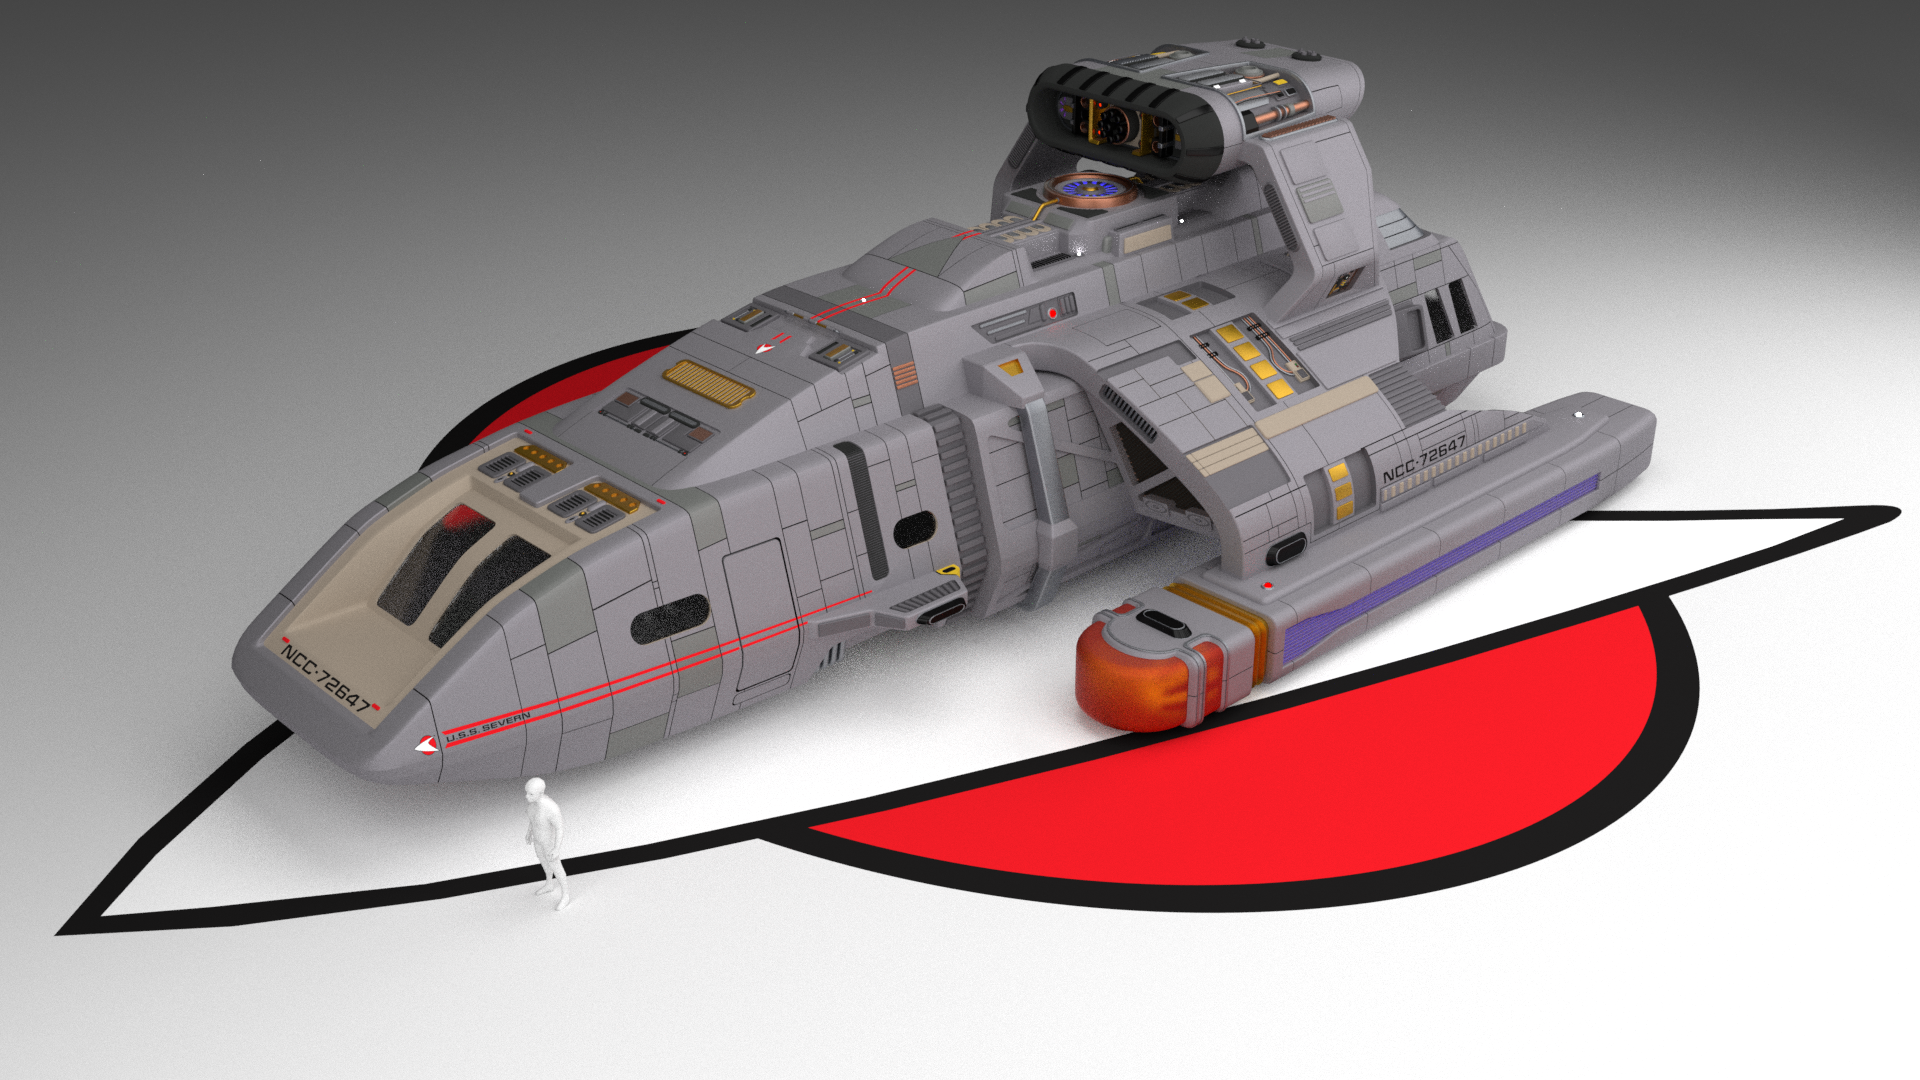
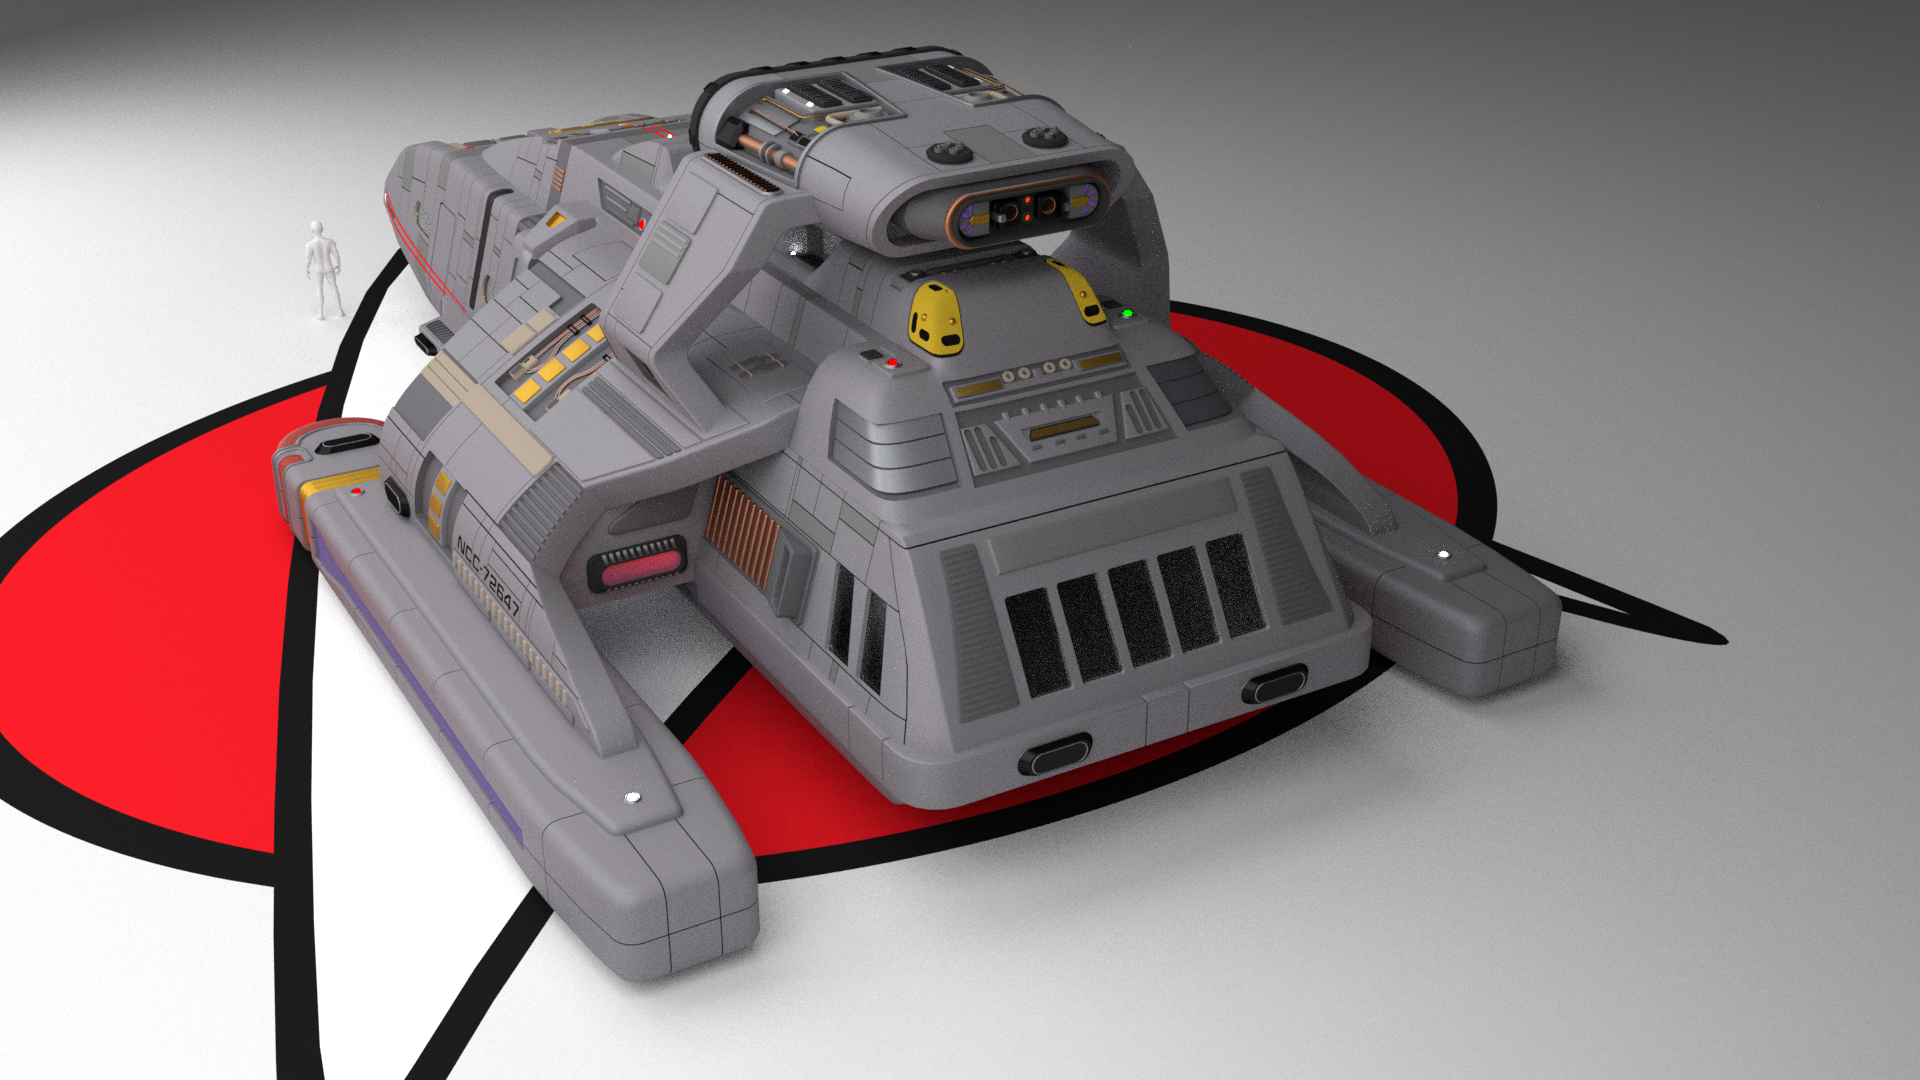
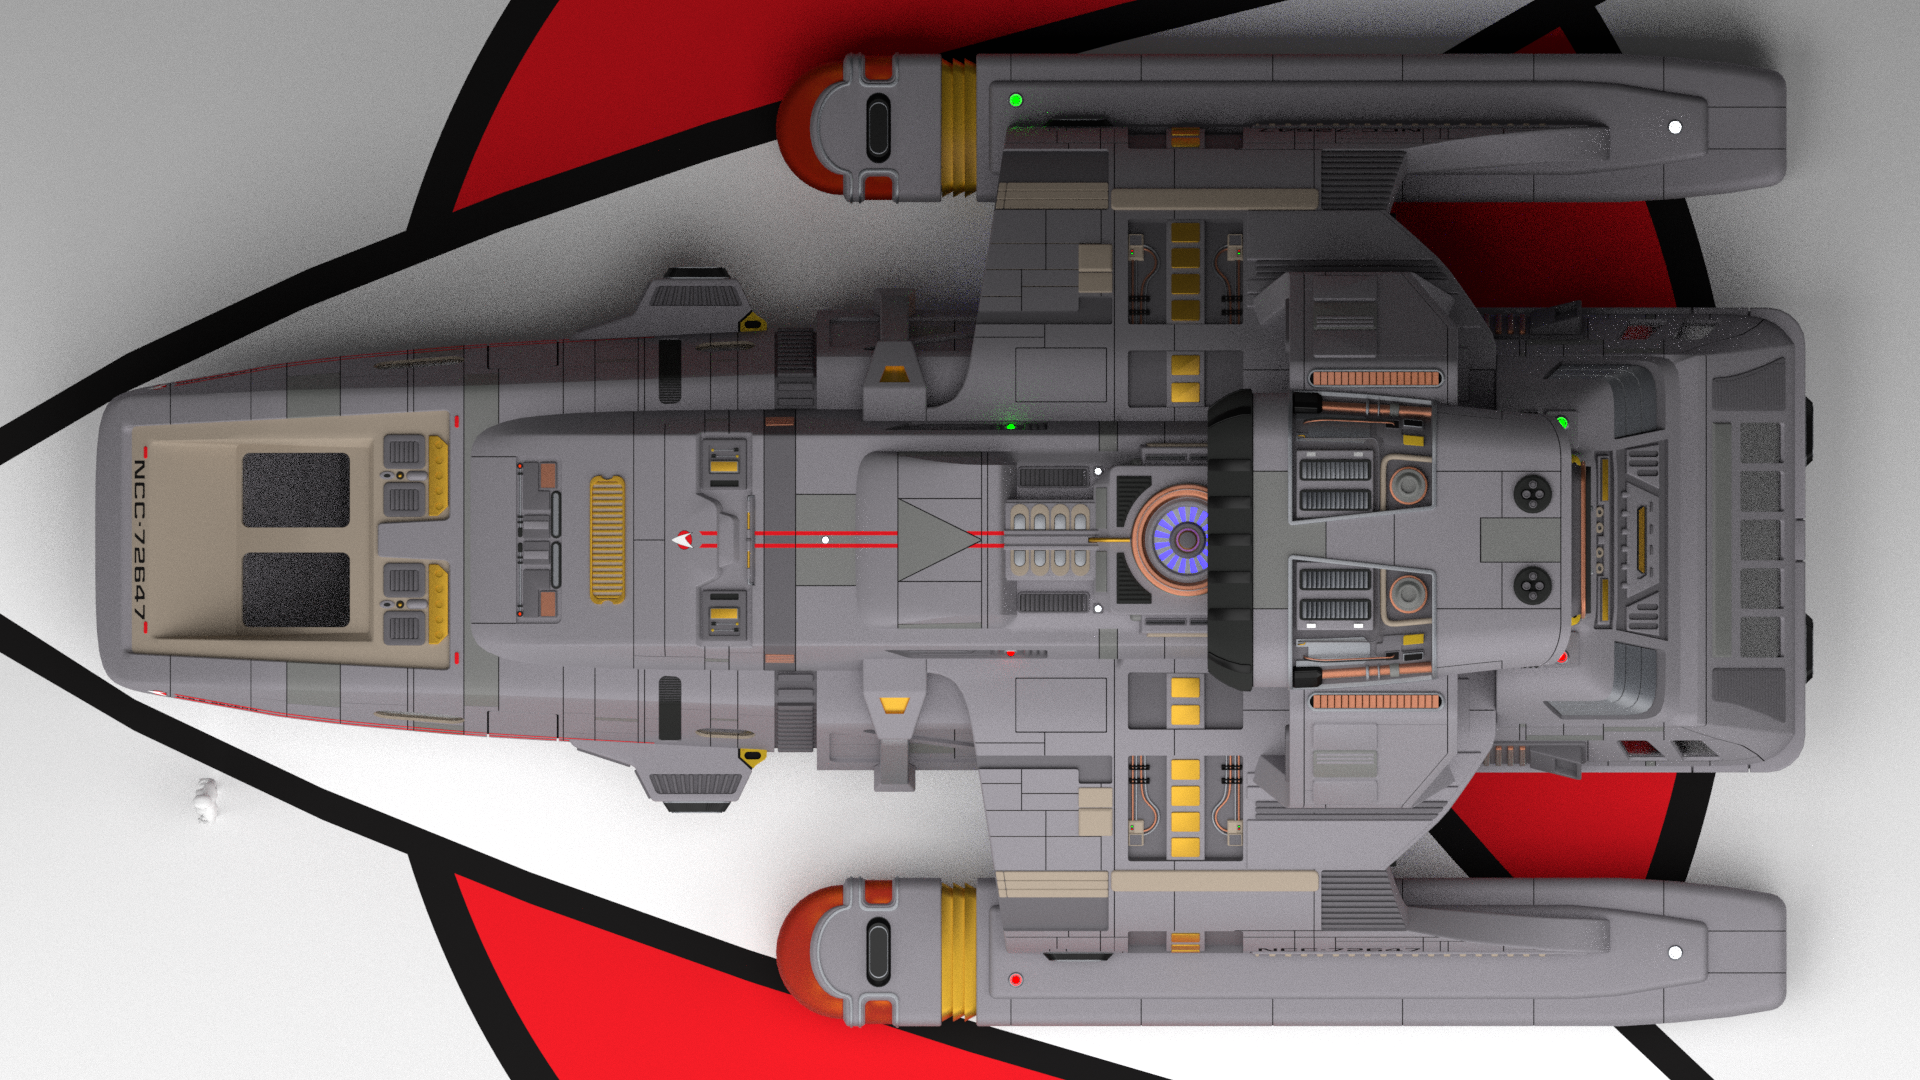
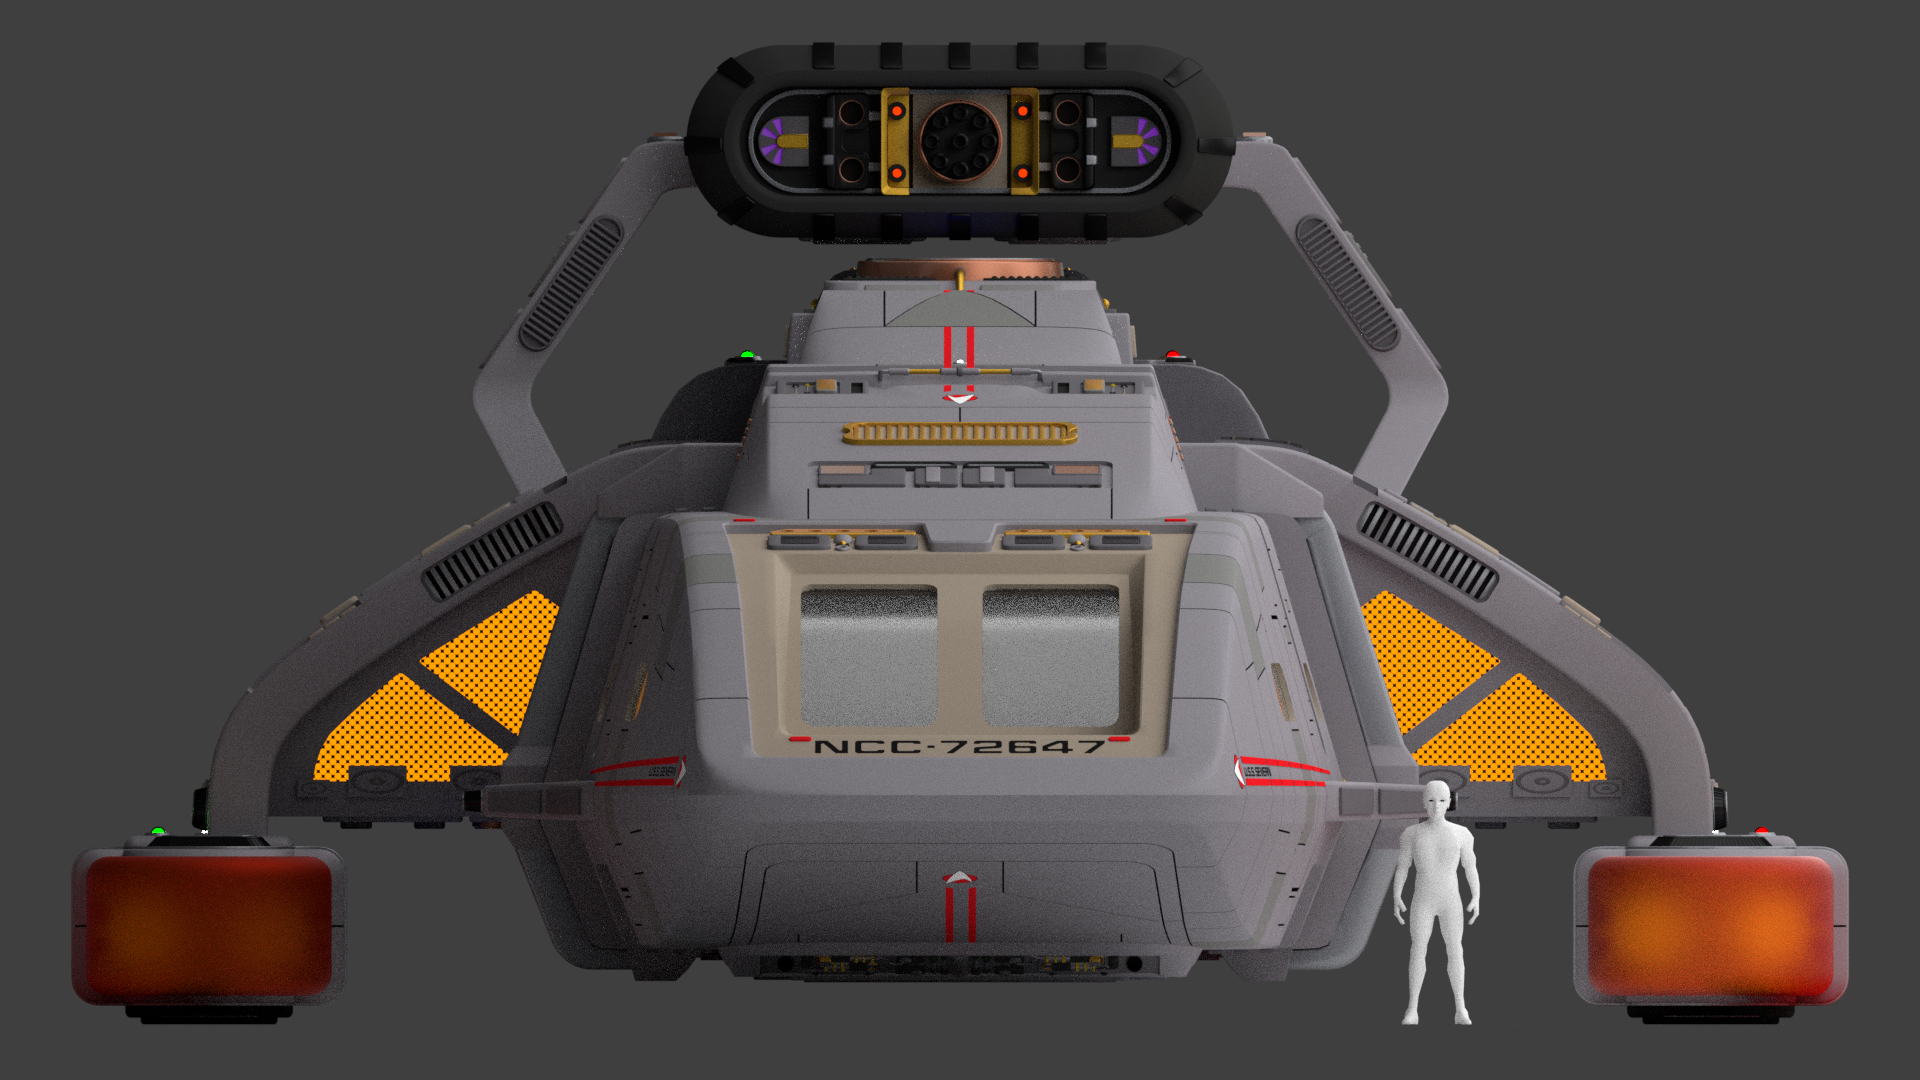
Since the lockdown started I have been able to start and finished the Runabout from Deep Space Nine.
Normally I would spend a few days knocking a pictures together and post them here after they have been finished.
However with Lockdown still in place I have been able to knock all these pictures together today.
Include is the normal two pictures I post on completing a build. The Orthros and the ship flying though the Insignia.
With the Runabout flying though the insignia I had a choice of going with the TNG badge or going with the TNG Movie/ Second half of DS9/ Voyager era badge. I chose to go with the second, however I place the TNG era badge in the Orthros picture as the Runabout was designed and put into service during this time.
Now it time to get back to the Refit Enterprise.
-
Freak's Trek Build's
With it being that time of year, progress on this is a little slower than I would like. But hay-ho family commitments have to come first.
Anyway, have finished modelling everything on the second part of the Primary hull. It is only one deck in height, but it got plenty of space above and below the main decks and all that hardware you never see on screen like the grav-plating. I also see this area of the ship holding a lot of the science labs sensor etc.
On the modelling side, working on the main meshes went quite quick. What was the time consuming part was modelling all the Greebles. I don’t have a stock file were I can just pull them over and just place them. So they are all modelled from scratch. (Maybe I should great a file for this sort of this as I working on these projects.)
As I only have a basic lighting set up on this model (just a simple sun.), after the first picture I turned on the ambient lighting so you can see all the details.

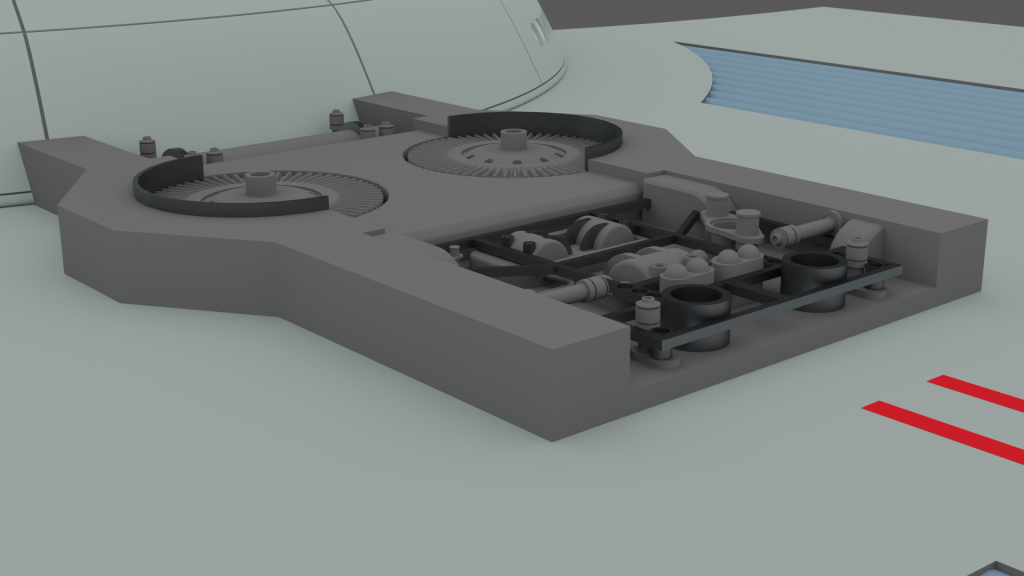
Now onto the Pylon's, followed by the Nacelles.

-
Freak's Trek Build's
As @Hunter G said that the Runabout dose not need to be textures, as I have put in enough details. I have put that on hold.
I was only planning to weather the ship, I am going to leave it for now as I can always come back to it.
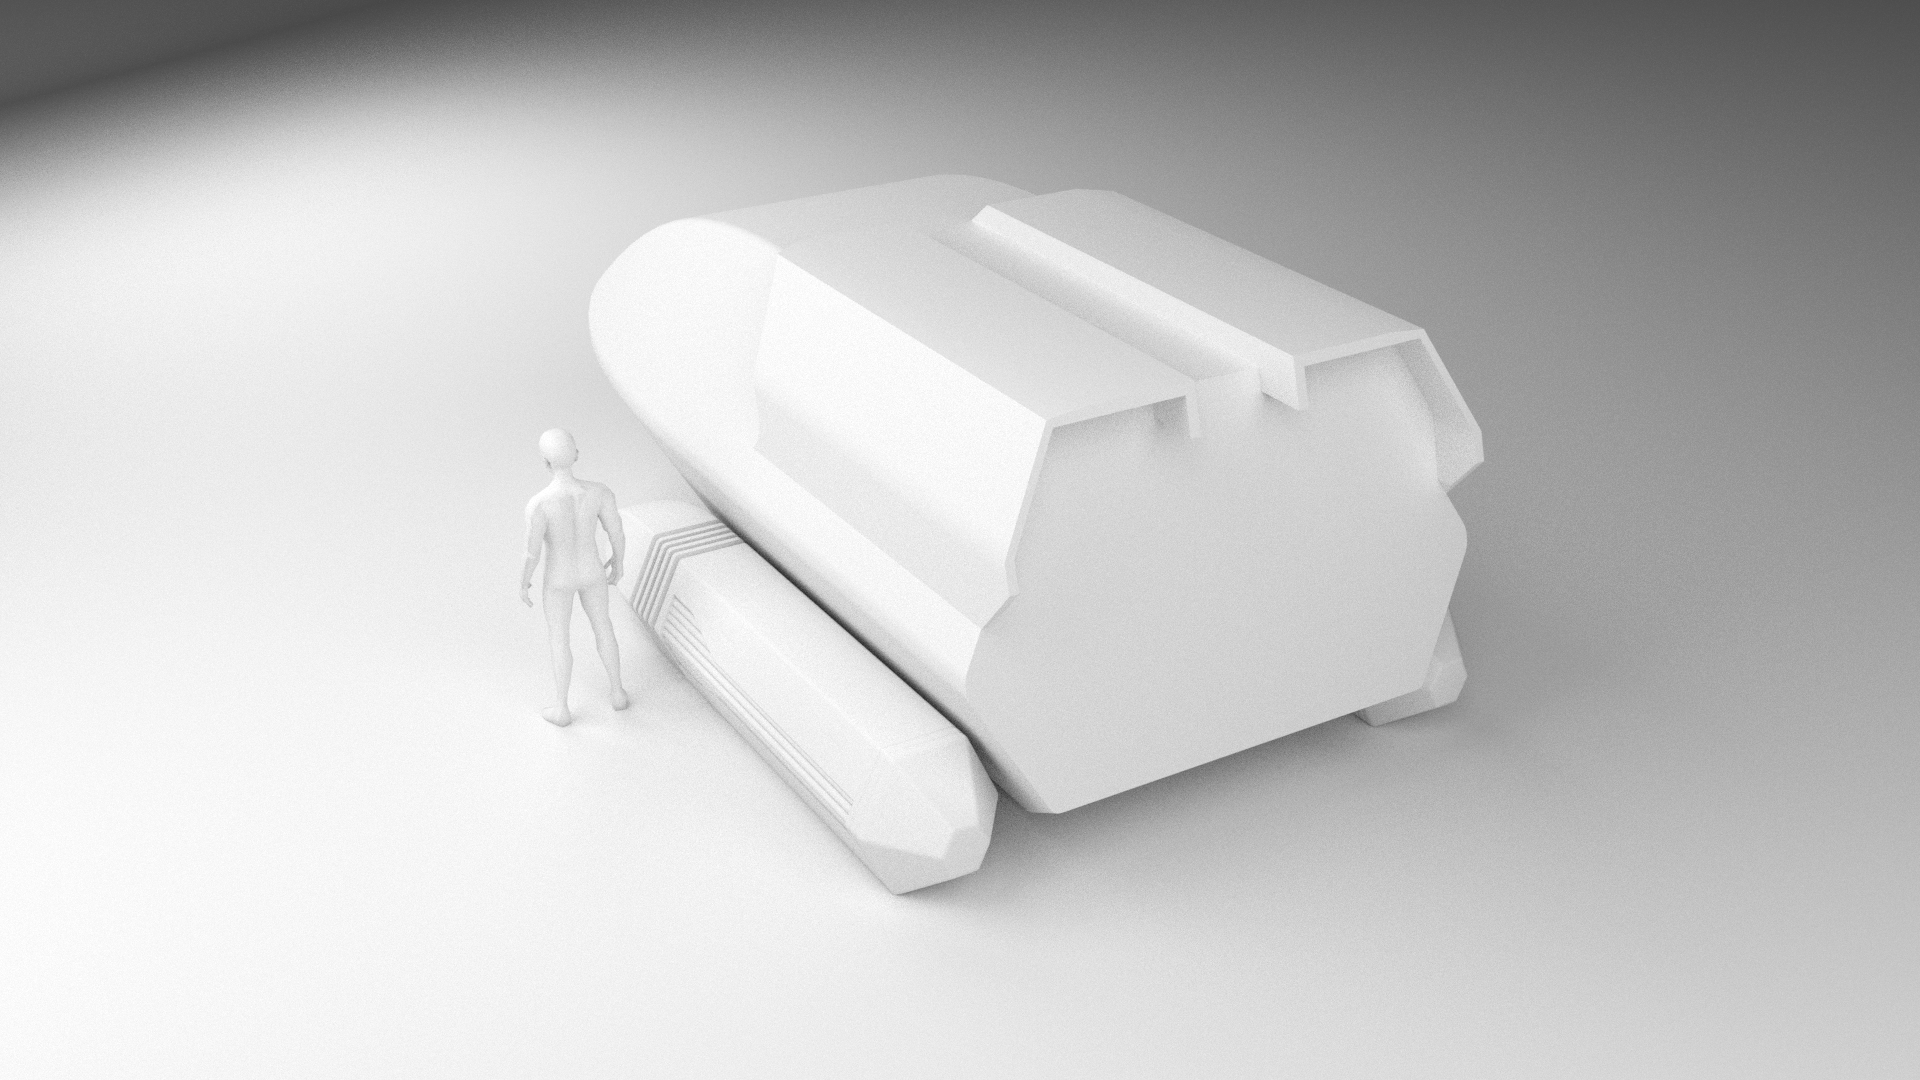
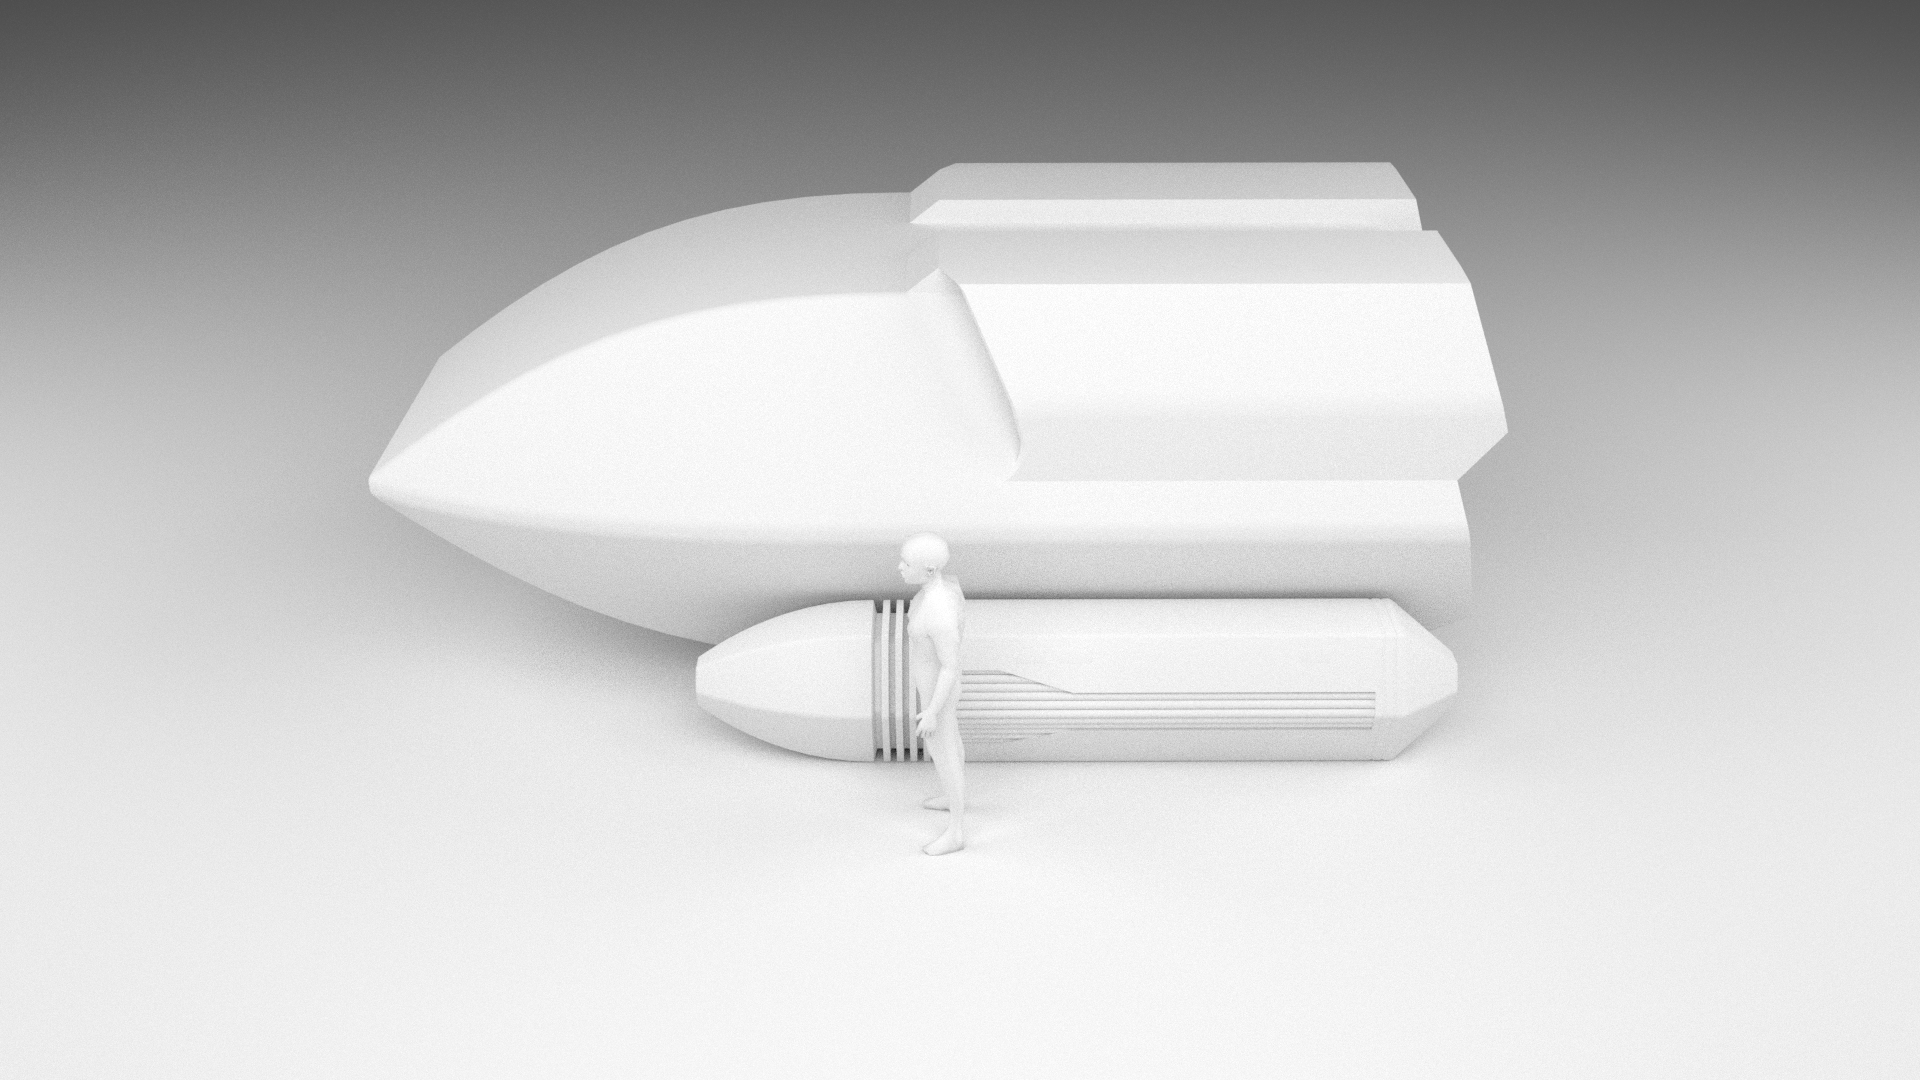
Anyway, I have given the runabout a registration number and name. As the Runabouts are all named after Earth rivers, I have kept this up, with giving it the name; Severn. This is named after the River Severn here in the UK which is also the longest in the UK.
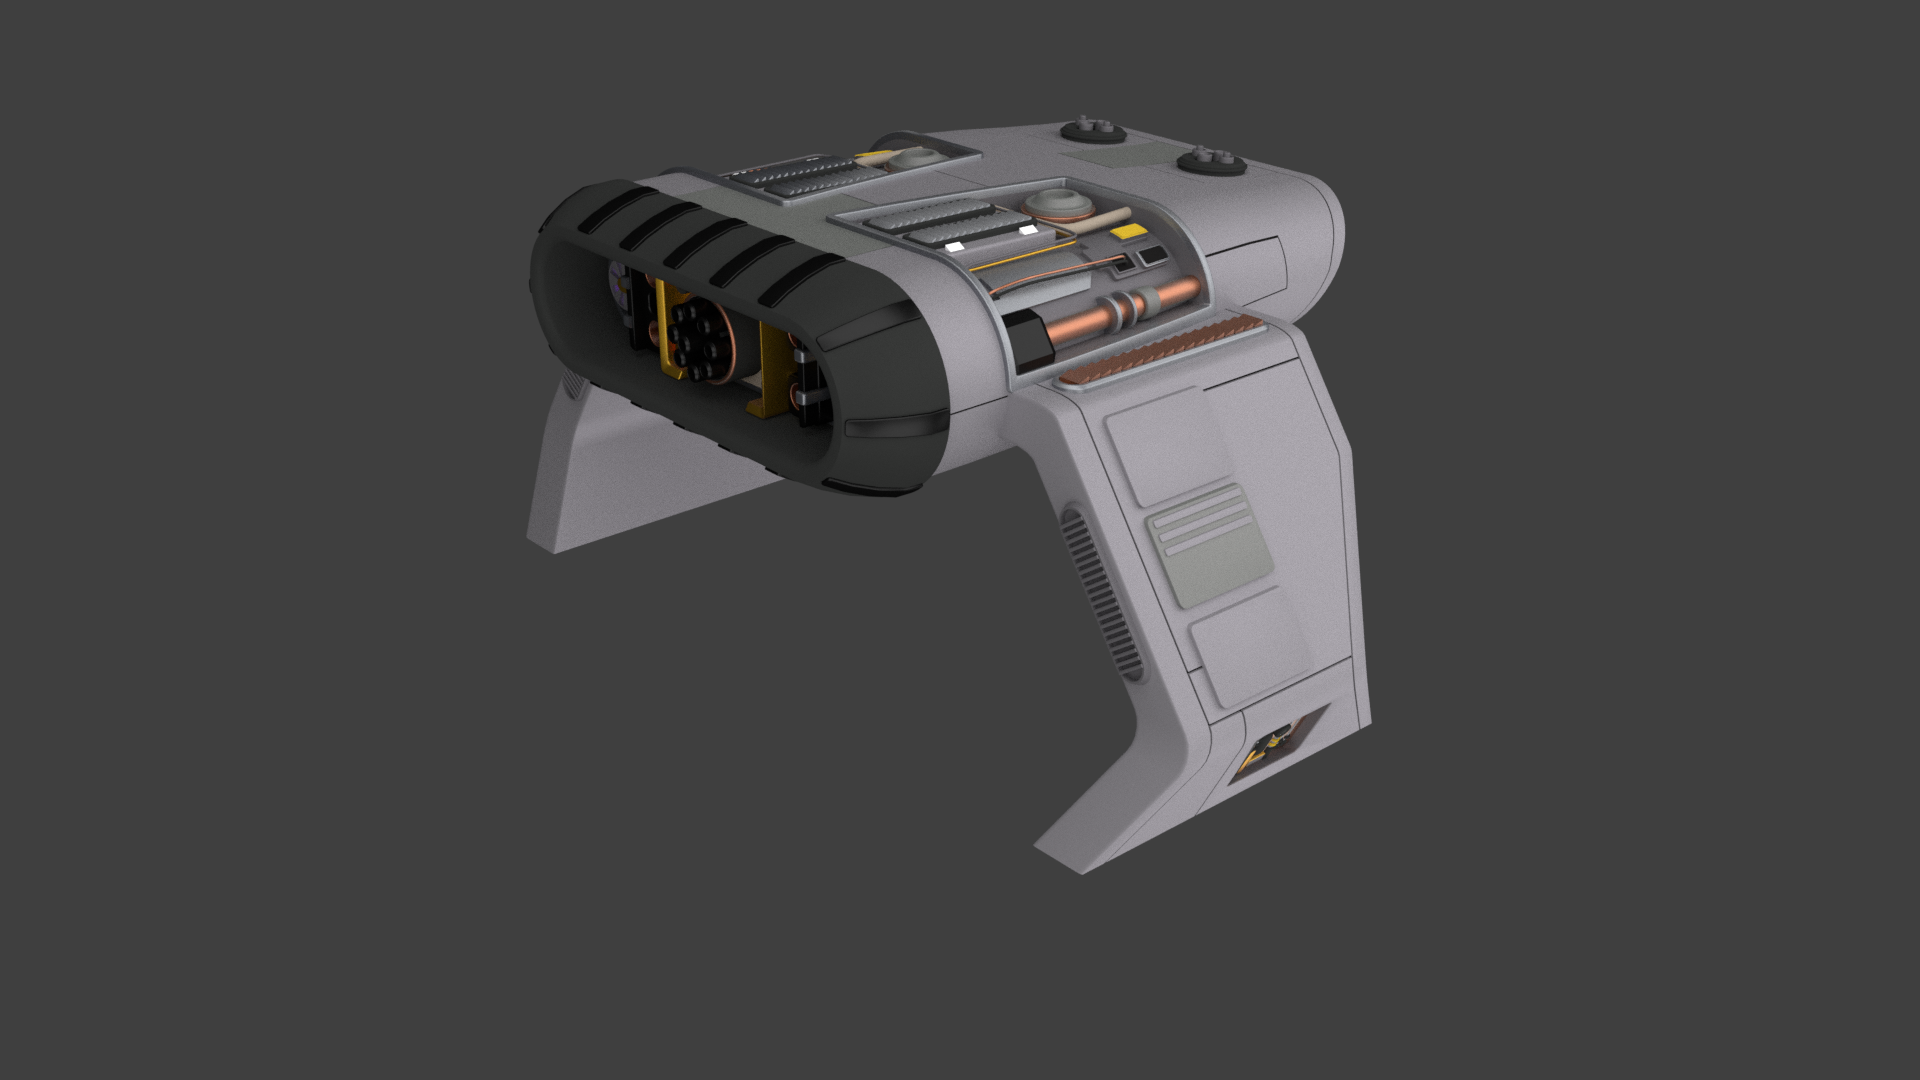
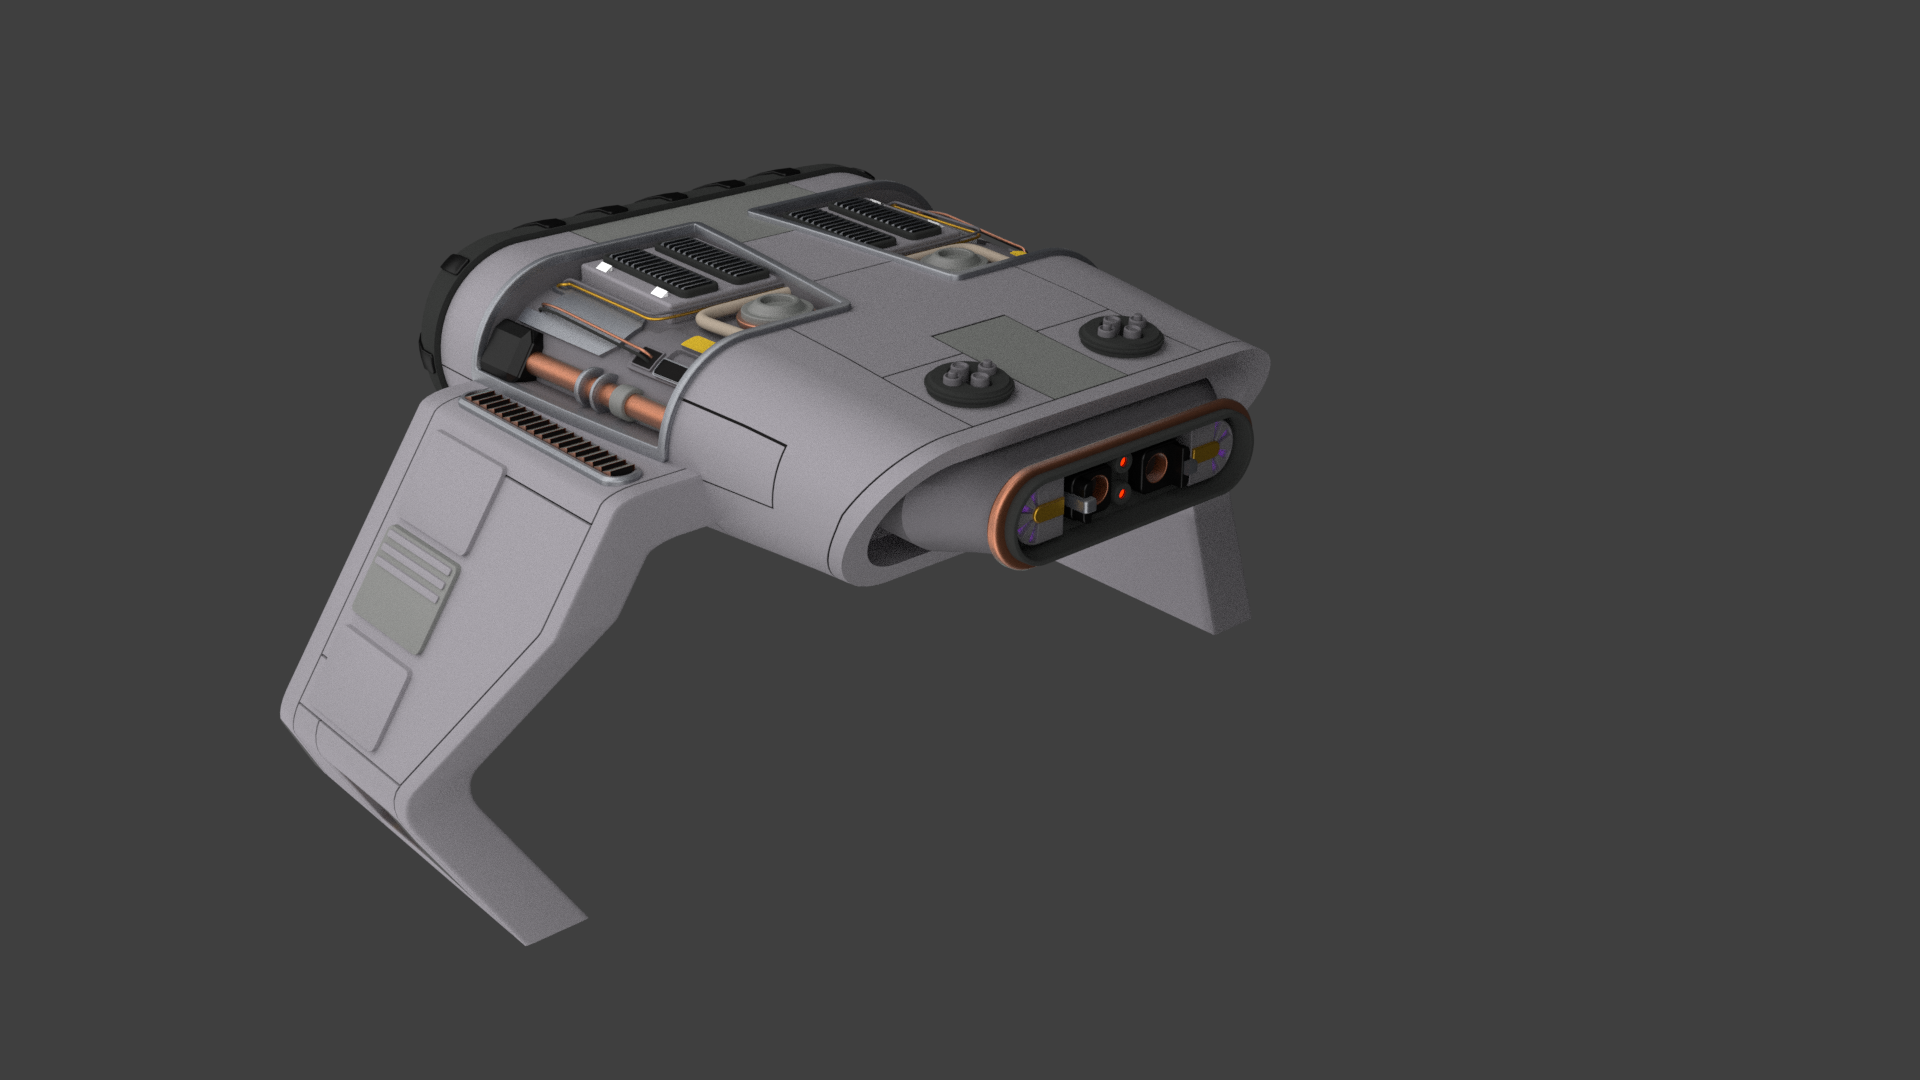
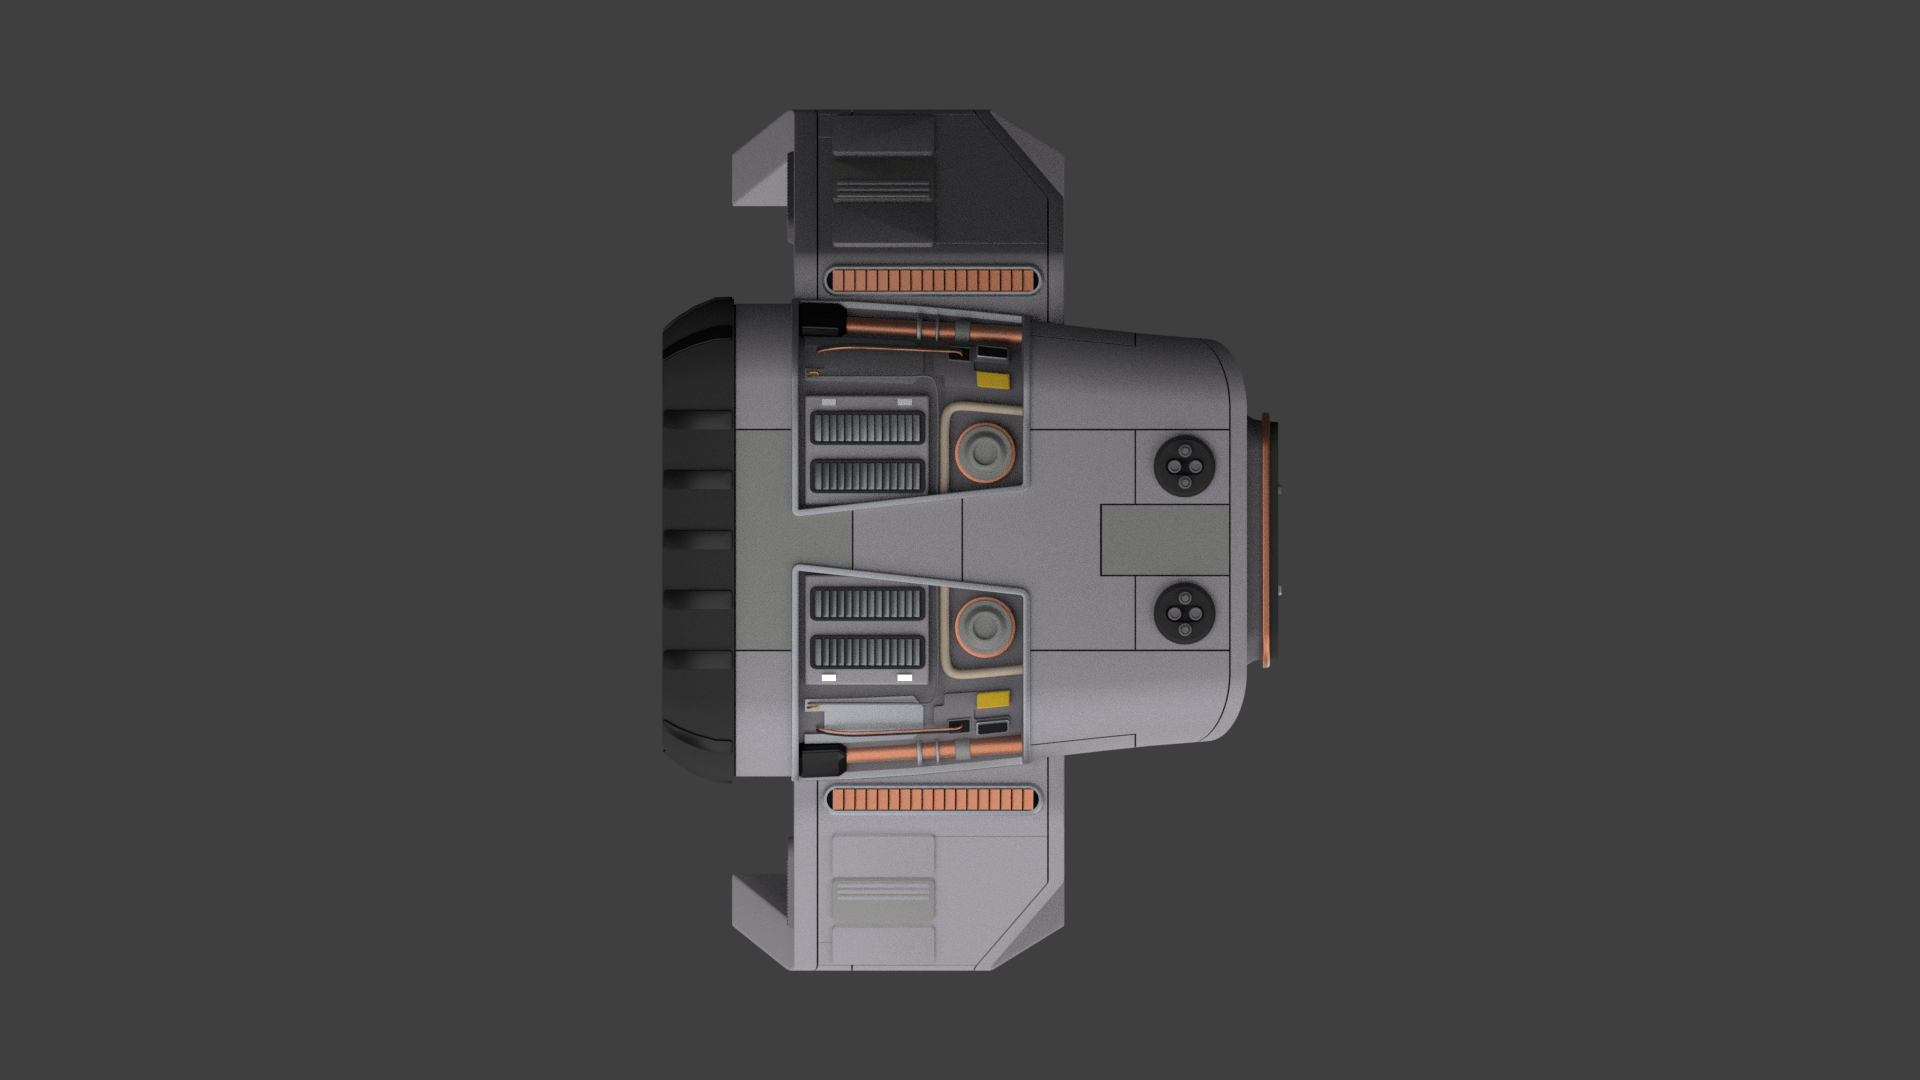
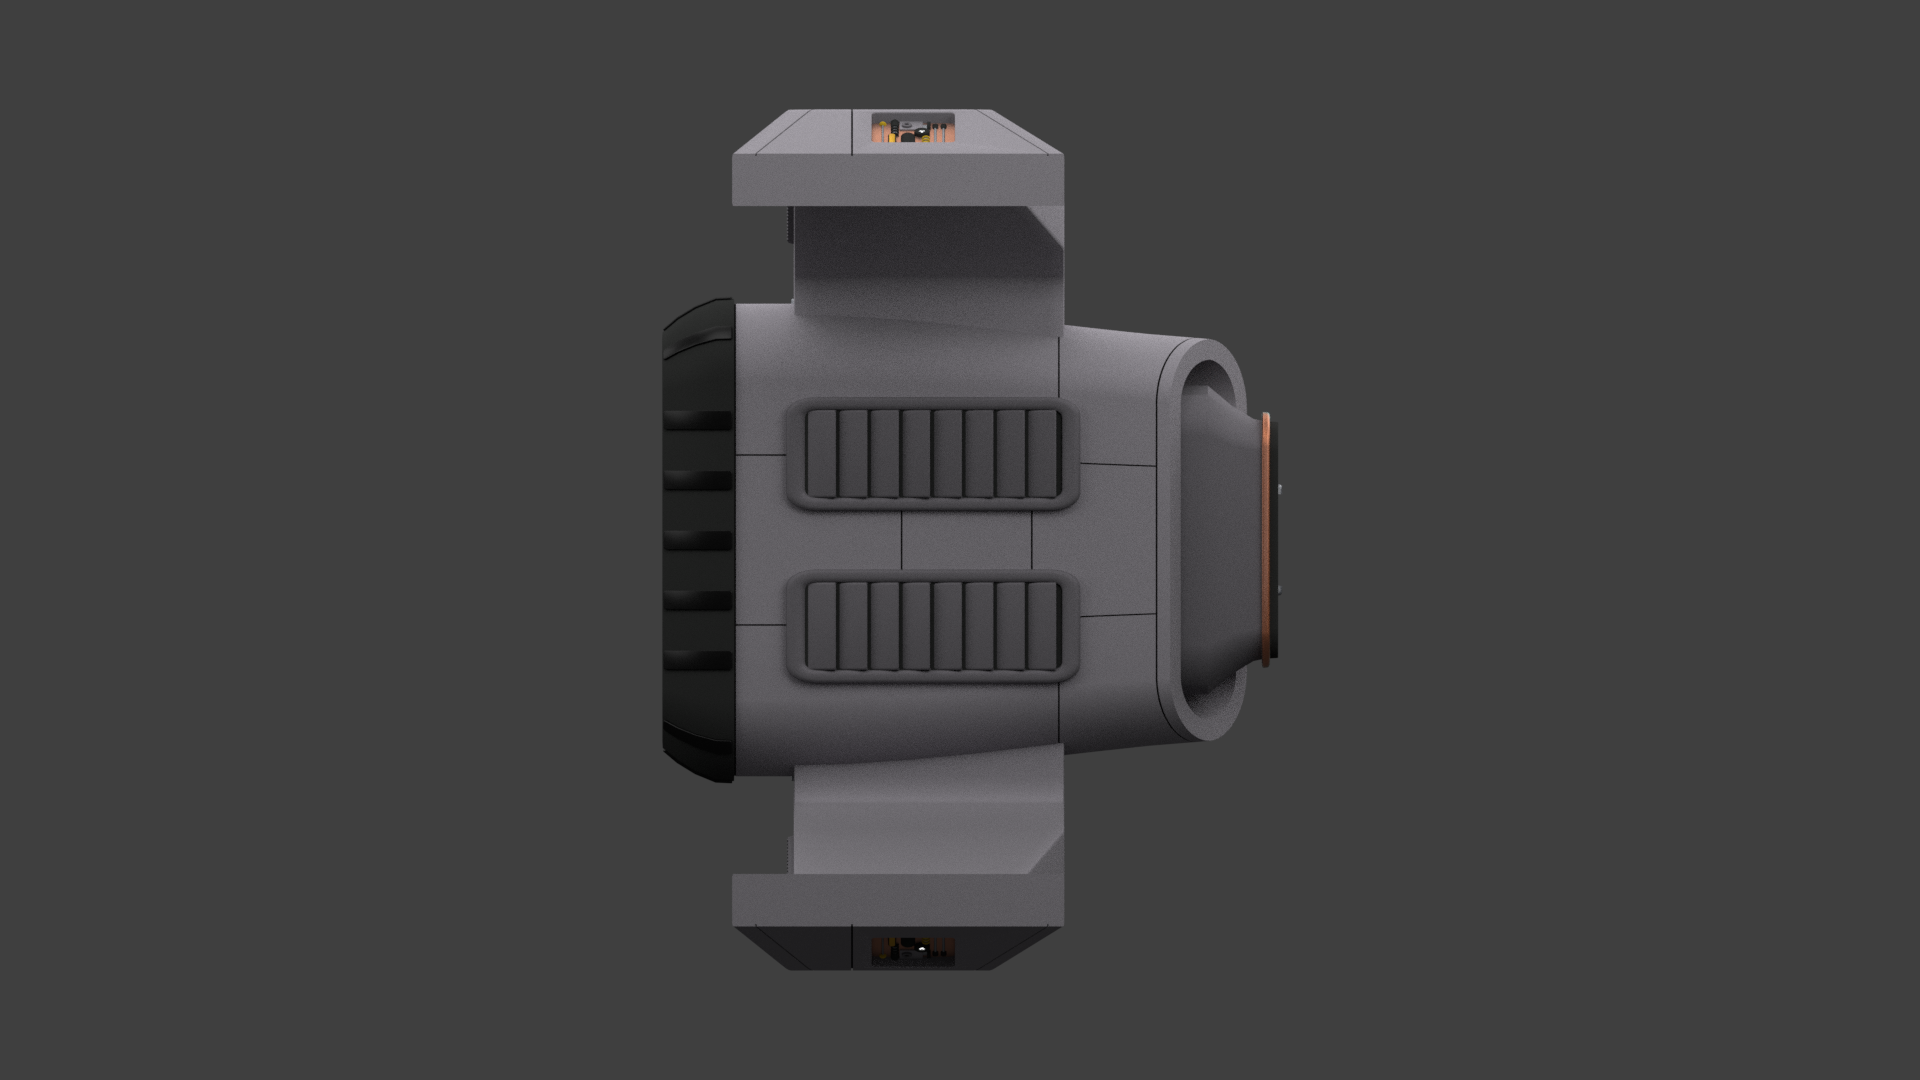
I would have called it a day there. But the Runabout can also have a module pod attached. So I have modelled the weapons pod.
Right time to make some pictures with this and then get back to Refit Enterprise.
-
Freak's Trek Build's
Thanks for the advise lewisniven.
But I had finished off before I had seen your post.
I deleted all the faces around the longitudinal cut outs, attached it to the saucer and then selected an edge and just kept hitting F to replace the deleted faces and job done.
Here are the results. I slapped a tmep Material onto it as Scifieric mention it was a little hard to see some of the details.
Additional credits
- Icons from Font-Awesome
- Additional icons by Mickael Bonfill
- Banner background from Toptal Subtle Patterns
© Scifi-Meshes.com 2001-2024