Greetings!
Welcome to Scifi-Meshes.com! Click one of these buttons to join in on the fun.
Quick Links
3DRevision
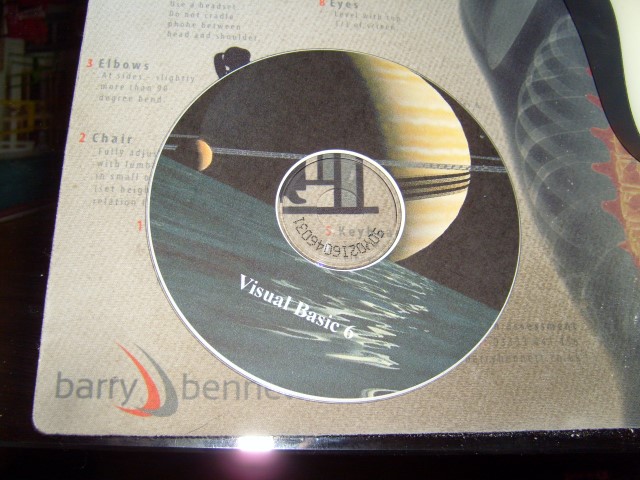
After a long foray into Naval CAD stuff I have come back to sci-fi, I decided a simple project to update my tired looking CD label, producing it in 3DS would give me the opportunity to print from different perspectives to add some variety.
If memory serves me it was originally made on Paintshop by merging some internet images, back getting such an image was a task in itself, downloading as text in sections, stitching it back together and then coding it back to an image file. The label was originally for floppy disks!
Unable to get the latest version of 3DS to work on my antique machine I settled for 2008 and worked through a few tutorials to refresh myself, decided to use a couple of the Tutorials to help me produce a quick result... Ha ha!
Post edited by Zanussi on
Tagged:
Additional credits
- Icons from Font-Awesome
- Additional icons by Mickael Bonfill
- Banner background from Toptal Subtle Patterns
© Scifi-Meshes.com 2001-2024
Posts
Most of this was done in Photoshop and mapped onto a simple sphere in 3DS, the rings employ the noise and speckle effects in PS, the planet a couple of colour masks.
That was easy enough, what proved hard was getting a shadow of the planet on the rings, managed it eventually with photometric lighting and lots of monkeying with the contrast on the rings. Good tip is to make sure you keep a copy of the full stack of levels in PS, makes going back and making changes a lot easier.
Getting the rings right though left me with hard shadows of the rings on New Mars, need to look into that, the obvious thing would be to blur them in PS, but that would lose me the "posability" of the scene, some sort of atmosphere distortion is needed to blur the shadows.
The lights are a mix, I made an opaque mask by "dotting" around the main craters and then linking them with roads, putting a light source inside the moon gives me the basic lights, but they looked too regular, so painting coloured dots and rings onto the crater map and adding a bump broke things up nicely, giving the effect of different intensities and obscurities caused by the terrain. But the crater detail is almost totally in dark, I should have half the moon in light, just cannot get it right yet.
Here I have turned the starboard propeller sponson into a turbofan with wrap around oxygen injection tanks for operating in space. The exhaust is vectored with trim tabs in the jet stream from the re-positioned tail gear.
The livery reflects that it was originally intended to operate during the ice age, but with technology now in the hands of a Catholic theocracy the design has sunk into dogmatic tradition. The emblem is for the Knights Templar who conduct bombing raids against the godless on the one time paradise.
The fighter - btw - is a Fulgar, get it?
External Weapons.jpg
Been a while, I went to school to study shadows, the methods for constructing a world are varied and fascinating but I have kept the colours simple, the clouds are a study all by themselves and in the end it took using two light sources to simulate the sun to balance out the requirements for the clouds v surface, thankfully there is a cute setting in 3d Max photo lights to ignore some objects.
Jerusalem.jpg
The marble floating in space effect was obtained by adding an atmosphere sphere with a falloff filter applied, increasing the size improves the effect, but loses realism so I had to trim it close to the planet sphere.
Instead I took an aerial shot of city lights and used it as a self illumination map around the whole moon, I still could not get shadows to work right with that arrangement so I cheated and moved the moon out of the sun cone, a future project will involve a Trantor style planet and I will revisit the issue then.
CD Label Background.jpg
The Fulgar re-enters the scene, at first I tried to be clever and have it lit by planet light, it worked great until I shrank the image to label side, then it was just a smudge, so I have added another light source to make it clearer.
CD Label Complete.jpg