Greetings!

Welcome to Scifi-Meshes.com! Click one of these buttons to join in on the fun.

ModelingGalaxy Class bridge horseshoe in Blender workflow

So, I'm revisiting the TNG era set designs to try a few ideas I've been kicking around. I have made multiple attempts at modeling the horseshoe and I cannot get it right for the life of me. Any Blender users out there have any thoughts on what's the best way to go about building one? A chopped up sphere? extruded plane? Any and all thoughts are welcome.
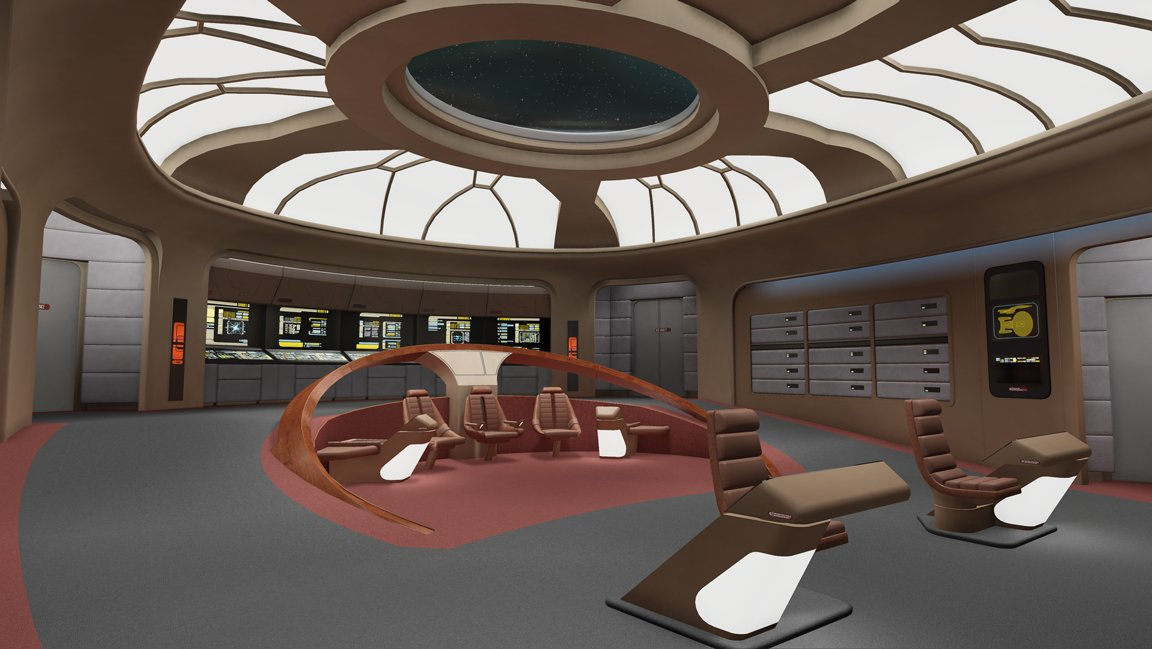
 qjxfz476w5pr.jpeg
BolianAdmiral

Posts

  • mishasiegfriedmishasiegfried149 Posts: 65Member
    Just for the record, the pic I grabbed online just to show what I was talking about.
  • count23count23361 Posts: 779Member
    You have two choices.

    1. Create the entire bridge area flat without that cutout, and focus on getting the height difference sorted so that the rear level of the bridge approaches the front level as closely as possible to what you want. Once you're done, create a 2nd object in the shape of the cutout and boolean that out of the ramp area (cleaning up duplicate verts where needed.

    2. You create a row of edge loops around the cutout that follow the height and the position of the cutout itself. then you extrude those out to the edges of the bridge walls and adjust the outer loop to align with the walls. Subdivide if necessary to get roundness as required.

    mishasiegfried
    Formerly Nadesico.

    Current Projects:
    Ambassador Class
  • mishasiegfriedmishasiegfried149 Posts: 65Member
    count23 wrote: »
    You have two choices.

    1. Create the entire bridge area flat without that cutout, and focus on getting the height difference sorted so that the rear level of the bridge approaches the front level as closely as possible to what you want. Once you're done, create a 2nd object in the shape of the cutout and boolean that out of the ramp area (cleaning up duplicate verts where needed.

    2. You create a row of edge loops around the cutout that follow the height and the position of the cutout itself. then you extrude those out to the edges of the bridge walls and adjust the outer loop to align with the walls. Subdivide if necessary to get roundness as required.

    I'll give those a try! Gracias!
  • BolianAdmiralBolianAdmiral1114 Torrance, CaliforniaPosts: 2,560Member
    I know Rekkert also uses Blender… maybe he can also chime in?
    mishasiegfried
  • mishasiegfriedmishasiegfried149 Posts: 65Member
    I know Rekkert also uses Blender… maybe he can also chime in?

    funny you say that, i just messaged him today with another technical question!
    BolianAdmiral
  • RekkertRekkert4037 Buenos Aires, ArgentinaPosts: 2,302Member
    It's a tricky shape as the ramps at the sides aren't flat but curve along the floor shape themselves, so if you try to create them first and then cut out the center hole they won't be accurate. You need to do the center flat area first (where the chairs are), and then raise the edges along the curve (which is how they would've done it on set using plywood).

    The horseshoe itself comes after, and it's a separate piece which just looks like it fuses with the wooden elements on the floor. You copy the curve from the ground and start extruding it, Proportional Editing is your friend here, in order to modify the shapes while keeping the organic curves.

    It's not the cleanest mesh as it's a very old one of mine at this point, it certainly has a ton more polys than needed, but here's how my version looks like:

    tadeo-d-oria-screenshot-from-2021-07-29-19-33-43.jpg?1627598529
    tadeo-d-oria-screenshot-from-2021-07-29-19-34-12.jpg?1627598536
    tadeo-d-oria-screenshot-from-2021-07-29-19-34-47.jpg?1627598542
    GuerrillaBolianAdmiralmishasiegfriedtrekki
    For all my finished Trek fan art, please visit my portfolio
  • mishasiegfriedmishasiegfried149 Posts: 65Member
    Thanks for the tip! I actually figured out another solution to the problem: Using a slice out of a UV Sphere. With the help of proportional editing and some creative adjustment, I managed to make it work. I'll be posting some pics soon.
    Rekkert
Sign In or Register to comment.