Greetings!
Welcome to Scifi-Meshes.com! Click one of these buttons to join in on the fun.
Quick Links
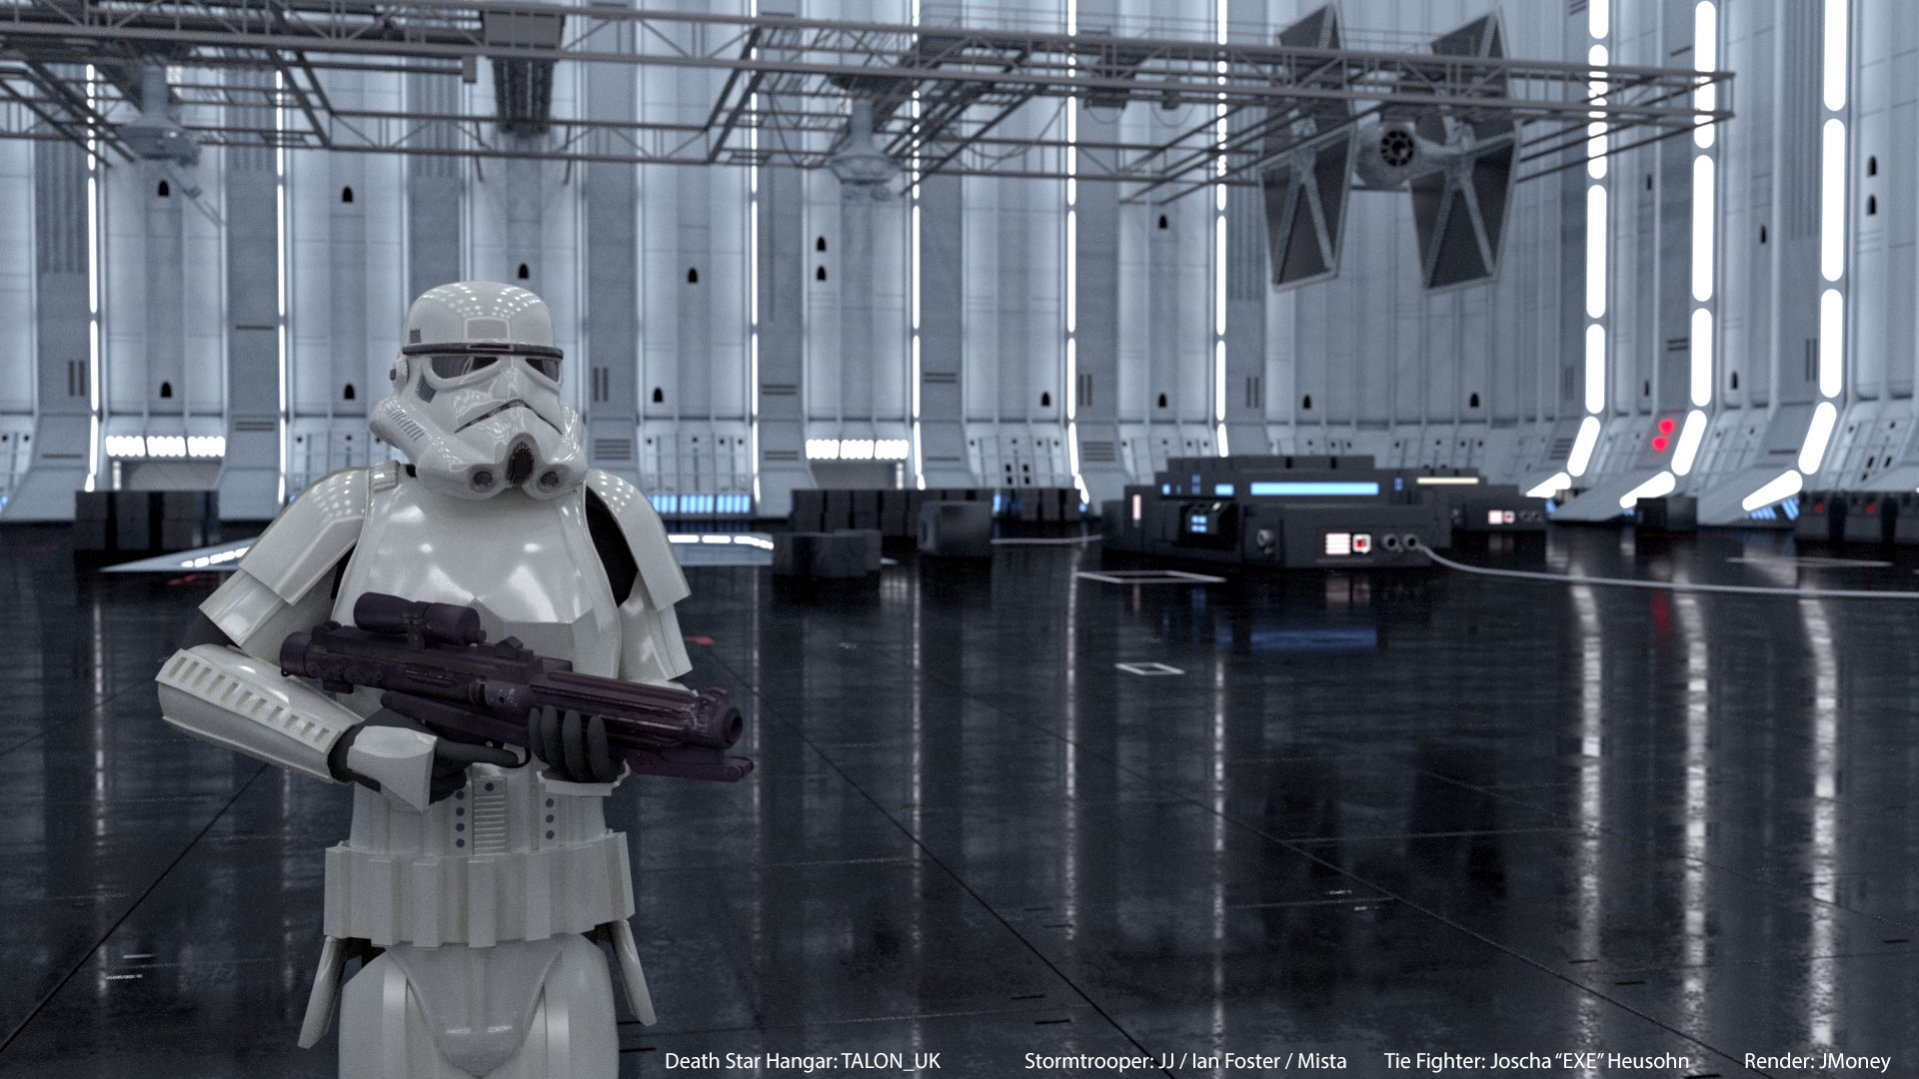
3DDeath Star Hangar w/Stormtrooper + Tie - iRay


Just finished this up today. A special thanks to TALON_UK, and Wiz for sharing some tips with the floor materials in his threads. Hopefully I did ok. 
This version of the hangar uses modeled floor panels. 15 minute iRay render. I added some minor color correction in post, nothing more. One of my computer monitors looks more color saturated than the other (my primary), so I didn't want to adjust it any further with fear of ruining the image.
Let me know what you think!
Updated 12/12/14 based on feedback
Hangar3.jpg
Two new images 12/13/14
02.jpg
03.jpg
Post edited by JMoney on
Tagged:
Additional credits
- Icons from Font-Awesome
- Additional icons by Mickael Bonfill
- Banner background from Toptal Subtle Patterns
© Scifi-Meshes.com 2001-2024
Posts
A few bits and bobs;
Overall, I would try a bit more contrast from the exposure settings.
Also the Stormtrooper looks a little off white, think he needs to be a bit whiter and brighter (with strong specular reflections on his armour - reflecting just the brightest lights).
With Arch & Design you can achieve a higher specular reflection by using a lower value in the reflection colour, with iRay a stronger roughness value on reflection should help.
Also did you render an AO pass? I tend to handle this separately, dropping back into Mental Ray and using the shader override.
Hope this helps.
Wiz.
Thank you everyone for the comments!
Wiz: I took a few of your suggestions. This Stormtrooper uses texture maps instead of materials, but I think my color correction was throwing off the color. The new one looks more white now. I increased the reflection glossiness which was previously set way too low, and added glossy samples which were previously set to 0. I also re-color corrected the entire image from scratch, but this time in After Effects using a 3-way color wheel which I am much more familiar with since I do more animation work. The previous color correction was done in Photoshop. I think it came out much better. What do you think?
I try to stay away from using AO with iRay. I read an interesting article a while back that AO with a physically based renderer like iRay is actually incorrect. However, people are still so used to the "AO look" now because of Hollywood.
evil_genius_180: I took your suggestion and modified the grip as well.
Check out the new (lower) picture up top labeled "Hangar3.jpg"
Loving the reflections in the Stormtrooper's armour revealing the details of the hangar behind the viewer.
:thumb:
With re: the Stormtrooper materials, are you using Arch&Design? As they get well overblown reflections in iRay, you should download the iRay material plugin if you haven't already
With re: the Stormtrooper armour, for me the helmet still reflects too cleanly, I have done a quick test render below to show you what I mean, as Stormtrooper armour tends to be dulled down with only the strongest lights being reflected back (see below). I used a high spec dirt map (black and white), in the roughness map for the reflections to help achieve this.
An example of also seen here.
http://screencaps.us/197/7-starwars4/full/star-wars4-movie-screencaps.com-524.jpg
Thank you! I agree, the gun does look a tad on the larger side. That's the way it came as I didn't adjust anything. The Stormtrooper has a lot of issues. If I ever intend to do some real high quality or close up animations with it, I will have to re-skin the model as well. The envelopes are a mess, especially with the fingers, but you can't see (luckily) in the render. I had to adjust a lot just to get the grip, but the trigger finger still bothers me. I'll use the BonesPro plug-in on it eventually. One of the best plug-ins ever created for 3dsmax in my opinion!
The Stormtrooper is Arch&Design. I use iRay materials for a lot of stuff too, just not this. I had v1.3 installed for the longest time and recently upgraded to the v1.5 materials. I also love using the iRay "matte environment" for a lot of renders.
I see exactly what you mean though from the trooper picture. I think my reflections are strong enough now, but need to be broken up a bit, or actually dulled in certain areas like you mentioned. I'll test out the iRay material and roughness slot as you suggested and see how it comes out. I have a nice collection of B&W grunge maps from DVGarage I purchased way back in the day that always seem to come in handy!
Based on what you said about the iRay material, do you think the hangar floor would benefit from that as well? Right now I'm using your method of A&D material with the same dirt map in glossiness and reflection slot.
The trooper reflections should be dulled in general, with only the brighter light sources coming through.
You can change the strength of the influence of the roughness map through the RGB level in the 'output' rollout so experiment with that
Looking at several reference (including the one you posted), it looks like the reflections are almost mirror. You can see the different light bulb types reflected in their helmets in many scenes. The light reflections are sharp in most, not blurry. I think my reflections in the main picture may be correct. What I think could be throwing it off is the reflection of the bay entrance with the force field ring and void of space. In the studio something like that would never be reflected. Also the fact that it's reflecting the entire hangar bay and every single light within. I think you had mentioned that the chest and shoulder armor were correct. They had the same material as the helmet, but were just angled differently. I did a few tests with an iRay material adjusting roughness values, and adjusting glossy settings in A&D, but everything just softened up the reflections. The current Stormtrooper material I am using is based off a glossy plastic preset. I'm assuming the wore plastic or fiberglass outfits?
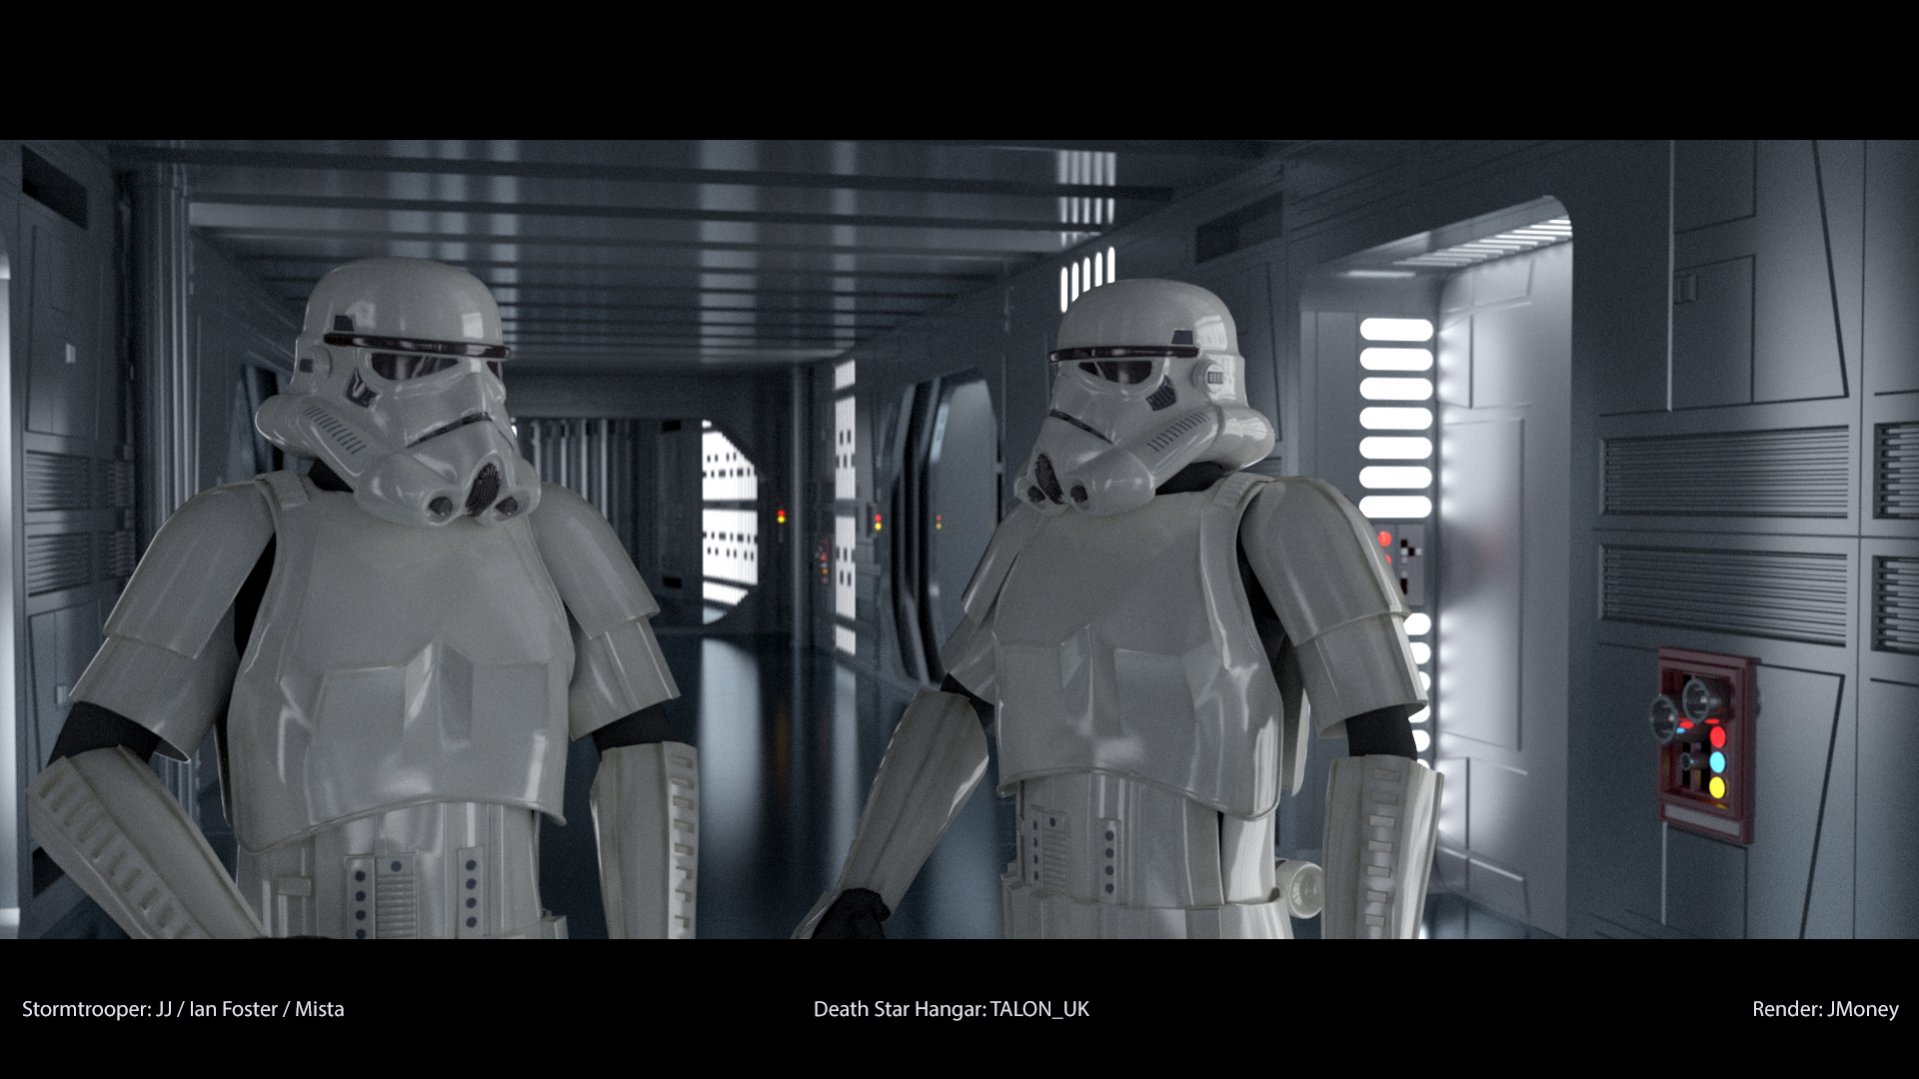
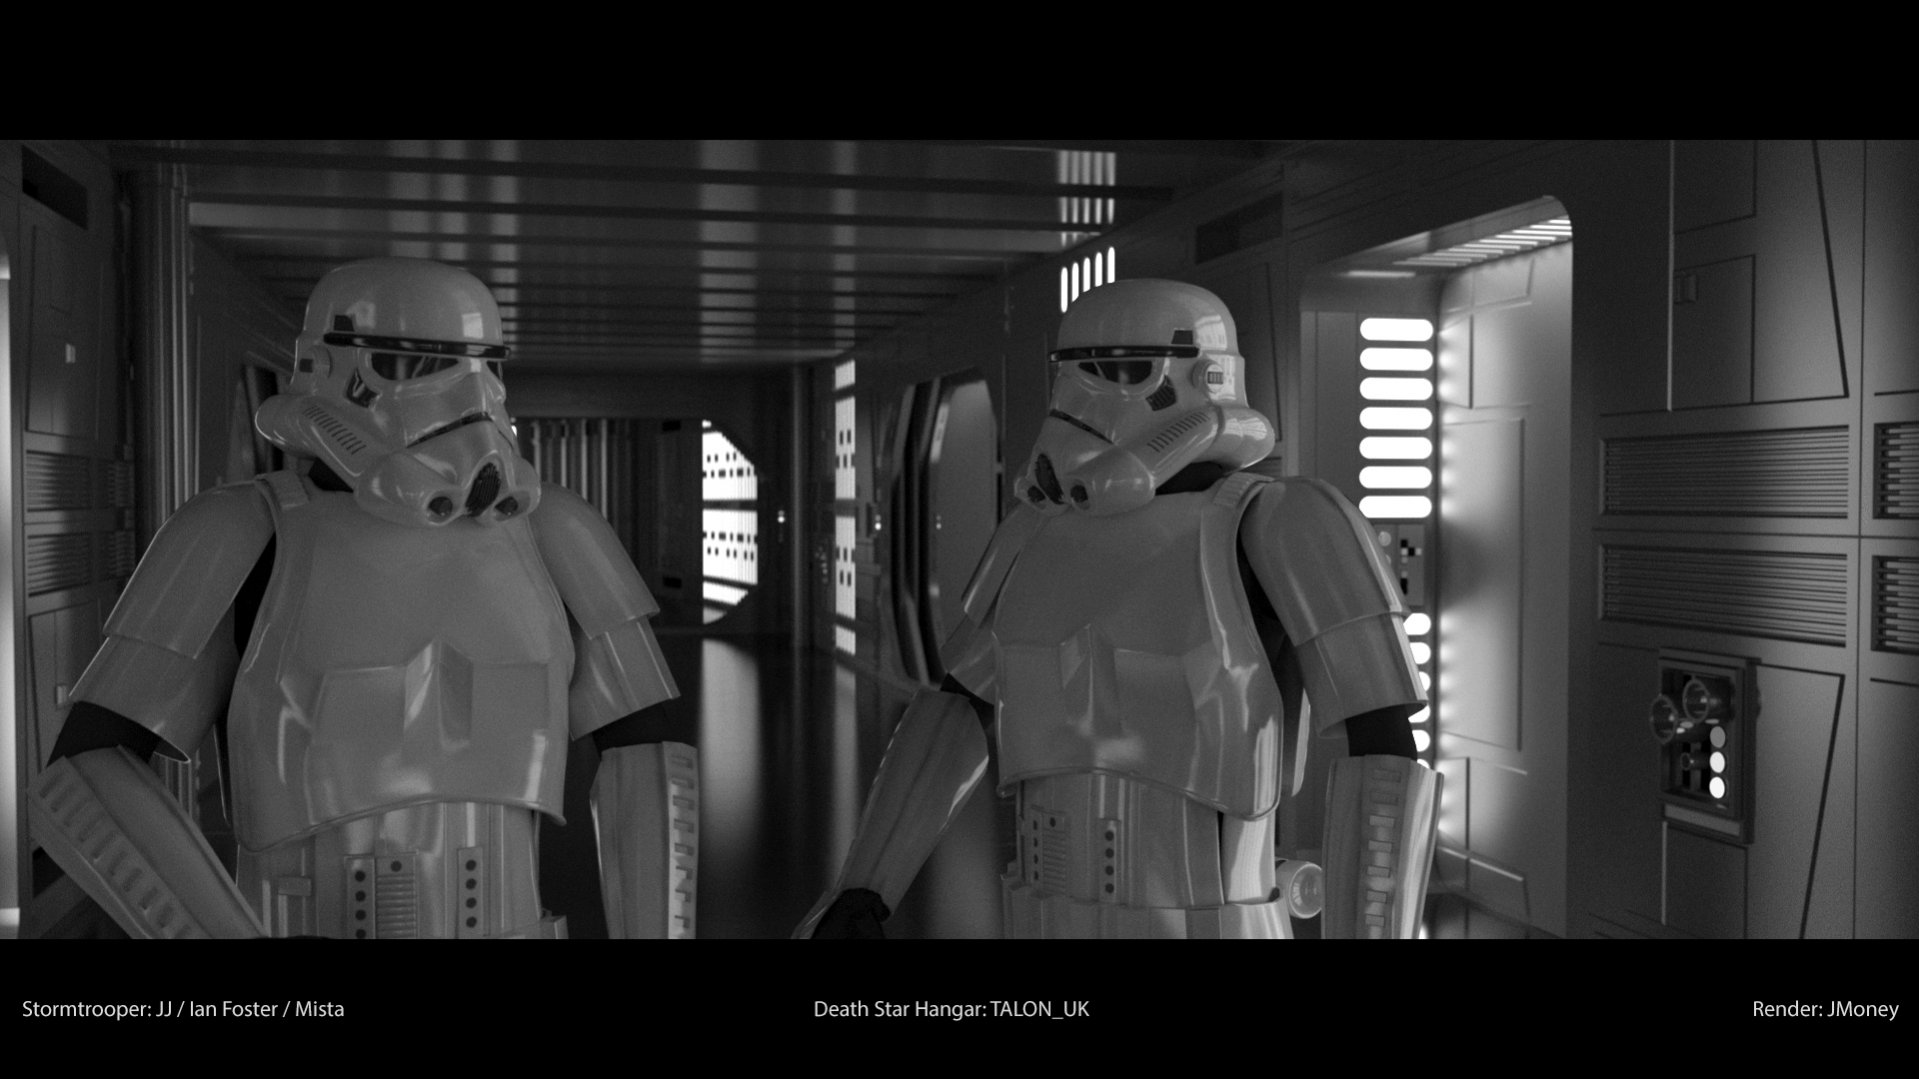
Check out these two new renders. You really only see the reflection of light in their helmets, just like the photos from on set Stormtroopers. Very sharp light reflections, but you don't really see the hallway at all. My color correction may need to boost the reflections more.
I could be way off. I'll post a pic of my experiment with the iRay material next so you can see what I am talking about. My settings could be wrong. What do you think?
02.jpg
03.jpg
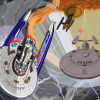
EDIT: Iray material test
iRay_Materials.jpg
Better or worse?
:eek!:
Gigabyte RTX 3080 Gaming OC 12GB
1TB NVMe SSD, 2 x 1GB SATA SSD, 4TB external HDD
32 GB RAM
Windows 11 Pro
Thank you both.
Looking at a picture like this, the light reflection looks very sharp and the armor looks high gloss. Not like the iRay material test I posted above, but more like the original picture or hallway picture. I will trust both of you in these matters (TALON_UK and Wiz), so if you tell me it is not correct I will make the adjustments. Here is the picture I am talking about:
In regards to the hallway, I may add dirt textures to the walls to break up the reflections, plus lower the reflectivity a little. When I switched it to gamma 2.2 I had to adjust the white glow output. I may have it set a tad too high as you mentioned.
EDIT: Talon_UK, looking at the picture above you were definitely right about that blaster size. The one that came with the model is huge!
And yeah, you can see from that above shot that the E-11 blaster should be much smaller it is not much bigger than a pistol really and not that big a gun at all. In fact it could very easily be half the scale of the weapon you currently have in there.
I did a lot of tests today. I took all of your advice with the iRay materials and finally came up with what I believe is a perfect material thanks to your help. I put a black&white dirt map in the roughness slot of the reflective coating section, set the value to 1.0, and used the RGB level to .98 (just to soften it a touch). It really breaks up the reflections nicely. I also found that the maps I'm using look better inverted. Took me a bit to figure that out.
The glossy color slot under base layer has the Stormtrooper maps, and the roughness there is set to .7 (no map).
Looks great and will post a test picture to show soon, but there is one thing that I do not understand and maybe you can answer. I had to switch from IOR (1.5 which looked the best and was correct), to Custom Curve to avoid the black/dark rim.
My custom curve settings are:
0 deg refl: 0.05 (matches 1.5 IOR curve)
90 deg refl: 0.35 (had to really lower this value to get rid of that harsh dark rim)
Curve: 5.0
IOR 1.5 should be correct, so why am I getting such a dark rim? My custom curve looks more realistic and ten times better, although technically I don't think that it should.
Do you know why that is?
Thanks WIZ!
FINAL.jpg
What do you think? Honest opinion? See my post above for more details. iRay material. I actually lowered the "90 deg refl" to 0.05
I'm still curious as to why the IOR was doing that so extreme.
Hmm, not sure about the ior issue, could you post an example; also have you ticked the Architectural Sampler tick box in render settings (this helps to get a more accurate light response - lessens noise)?
Thank you Tralfaz. I'm giving it my best! I'm also keeping an eye on that awesome falcon build of yours.
My next render I will play around with the color correction a little more and take those suggestions. Thanks again Wiz! You really helped me out with those material settings!
I will play around with the different dirt maps. The one I used on the chest plate had a very strong and distinct pattern. The surface toolkit I purchased from DVGarage many years ago has around 150 different B&W dirt maps to play with (before any modification), so the possibilities are endless! I can always switch that out for a map with less dirt (or adjust output).
Thanks again for building such an awesome model! This hangar is what got me into iRay in the first place, and I'm so glad I did!
That will be in version 2.0