Greetings!
Welcome to Scifi-Meshes.com! Click one of these buttons to join in on the fun.
Quick Links
Sketchup: Rounding off edges on offset Geometry/Faces


Hello All,
The following tutorial is a result of several years of trial and error when it comes to getting the edges on a model rounded off. If you use the Ruby Script "Round Edge" tool on perfectly squared off geometry it works okay. But using the tool on offset geometry with changing base axes and rounded guide lines, the tool creates unwanted geometry and mesh errors that take a lot of time to correct. It will also result in missing faces that cannot be restored in high poly models. So I created a work around. I apologize for the typos. I'm not the greatest typist.
The first time you do this it may be a little frustrating. But once you become proficient at this technique it will allow you to quickly round off the borders of any face on your model. You can also adapt this technique to create complex organic shapes in Sketchup, but that is a whole other tutorial.
A proper understanding of SU's axis alignment and inference functions is necessary to use this technique effectively. If you don't know what the various colors mean when creating lines getting though this tutorial will be quite challenging.
Based on personal experience with SU. With the ability levels: Beginner, Novice, Advanced, Expert, I would rate this tutorial at Advanced.
Please post any questions about this technique in this thread. Enjoy!
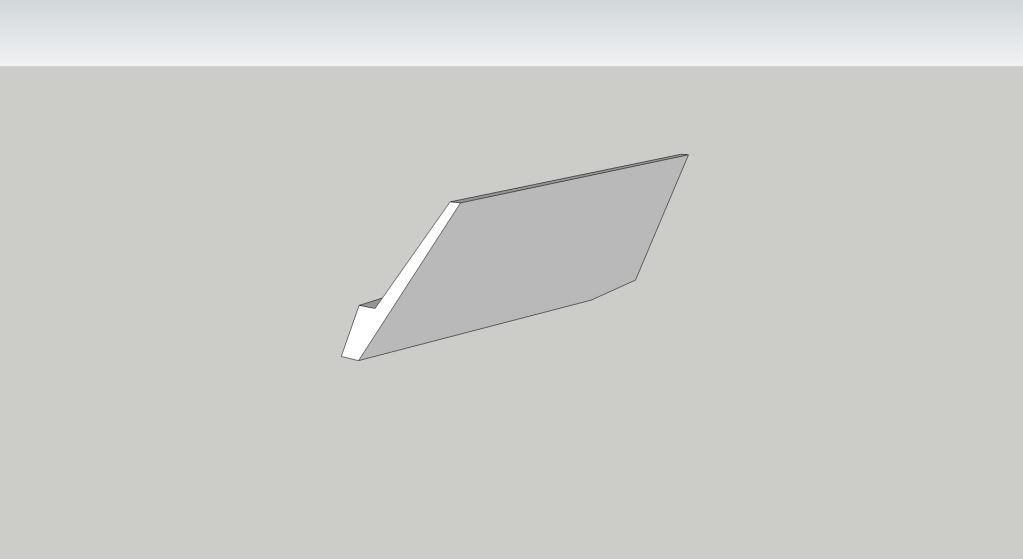
For the purposes of this tutorial I am using a primitive object as a demo. The shape is based off the front left corner of Cavebear's latest WIP

The following tutorial is a result of several years of trial and error when it comes to getting the edges on a model rounded off. If you use the Ruby Script "Round Edge" tool on perfectly squared off geometry it works okay. But using the tool on offset geometry with changing base axes and rounded guide lines, the tool creates unwanted geometry and mesh errors that take a lot of time to correct. It will also result in missing faces that cannot be restored in high poly models. So I created a work around. I apologize for the typos. I'm not the greatest typist.
The first time you do this it may be a little frustrating. But once you become proficient at this technique it will allow you to quickly round off the borders of any face on your model. You can also adapt this technique to create complex organic shapes in Sketchup, but that is a whole other tutorial.
A proper understanding of SU's axis alignment and inference functions is necessary to use this technique effectively. If you don't know what the various colors mean when creating lines getting though this tutorial will be quite challenging.
Based on personal experience with SU. With the ability levels: Beginner, Novice, Advanced, Expert, I would rate this tutorial at Advanced.
Please post any questions about this technique in this thread. Enjoy!
For the purposes of this tutorial I am using a primitive object as a demo. The shape is based off the front left corner of Cavebear's latest WIP
Post edited by sorceress21 on
Additional credits
- Icons from Font-Awesome
- Additional icons by Mickael Bonfill
- Banner background from Toptal Subtle Patterns
© Scifi-Meshes.com 2001-2024
Posts
Create an arc using the arc tool. The begin and end points that will be slanted off correctly can be found by using the inference tool. Pick a starting point based on how much of an arc you desire. Set your segments in the dialog box. The bigger the arc the more segments you want. Low segment arcs will not soften well.
Then draw the baseline across to the perpendicular edge. The line color will turn magenta when the arc is aligned properly. If the arc set line does not turn magenta, start over. SU is funny with the inference tool. Sometimes it takes a few trys before it works.
Once your begin and end points are set left click to lock them in. Then move the mouse around until you get the actual arc to appear in magenta. Make sure the arc is on the face. 90% of the time if the arc is magenta it will be, but SU is a little buggy with this function and sometimes the arc, even when you have it showing magenta will not lock down on the face. If this happens you will not be able to select the face within the arc and you should start over.
Once the arc is showing correctly inferred it will be magenta and the pop up dialog will say "Tangent to Edge", lock it into position with a left click.
You now need to create guidelines for the Follow Me tool you will use later. Do this on the proper axis. In this case the lines must be created on the red axis. The length of the lines should be at least equal to the length of the arc. But it does not have to be precise, you can eyeball it just fine.
Once your guidelines have been created select the face within the arc and copy it.
Use the Follow Me tool and push the face from the end of one guideline all the way the the end of the other. It's okay if the newly created faces go through your model. This is what you want.
It will look like this as you push the face.
After you finish this step clear away all the excess leftover geometry with the eraser tool.
One challenge with using Sketchup is discovering the numerous bugs and unpredictable mesh errors that creating complex models results in. Sometimes even when your geometry is properly aligned odd things happen. The Follow Me Tool can be quite buggy so you always need to check the results.
Should you loose your inner face, and the re-close attempt fails, this means your geometry is off somewhere. Sometimes the face will close anyway but the line you drew to re-close it cannot be deleted. If you remove it the face will also delete. This is not a correctable condition without starting the process all over from step one. Keep in mind that is you proceed with this process with a geometry error, all proceeding steps will have unpredictable results and mesh errors. All of them can be corrected, but it takes a LOT of time and a LOT of patience. So it's easier to start over and get the geometry correct.
The note should say "perpendicular" guideline, not "parallel."
This is a critical step to get correct. Using the circle tool vs. the arc tool is done to ensure your rounded edge will be perfectly square. This will allow you to easily create a new face bordered by a rounded edge later on.
You must create the circle from the intersection of both guidelines and ensure the circle is on the Follow Me face. Drag the circle up to the end of the guideline where it intersects with the face border.
Starting this step can be a little tricky sometimes. If you are not zoomed in close enough the Follow Me tool has a tendency to jump ahead and do what it wants. If this happens no worries. Just click the undo button and try again.
Sometimes when using this technique you will get a Dialog Message that tells you the face does not end or begin from a starting point (not the exact words). If you get the message, zoom in closer and retry. You can scroll in and out in SU while keeping the left button depressed to continue the Follow Me function. Also, if you zoom in too far as you direct the Follow Me face along the guidlines and you get to the edge of the screen, keep the mouse moving and the screen will auto track with your motion.
If you release the left mouse button before you are all the way around the edge will not auto-complete. You will need to start over. You can continue on from where you left off, but reverse the Follow Me face first, so you will not have to do this later. If you do this in more than one step the segment lines of the rounded off face will not auto-soften on the second section. You will have to soften them manually. When assigning textures you need the segment lines softened so you can do a mass paint.
Click on the face of each unwanted inner face and delete them.
If you leave inner edge lines they will interfere with any new geometry that you may push into your model such as Shuttle bays. They will keep faces from closing if you are creating wanted internal geometry. Sometimes they can be pesky. The arc segments can be hard to see and sometimes you may miss one or two. Ensure you zoom in on each arc to ensure all the lines are deleted.
This is the "money step". If your geometry is off, your face won't close. You can correct this by creating poly faces by drawing connecting lines between each end point on the face perimeter. But with multiple arcs as in this example that will take a long time.
The face closure line obviously won't render. So you can leave it. I tend to leave them so I can use them later on to easily divide sections of the face to create hill plating. It's up to you...
ALL DONE!
This tutorial was done on only one section of an example model. You can utilize this technique along the entire side of any model. And knowing how to do this is critical in advancing your SU skills to where you can start creating well done organics. The Round Edge tool Ruby will not be of any use to you once you start modeling organics so learning this is a must.
This technique will also help you being to understand common bugs ans glitches with SU, and how to correct them to create a complex model free of mesh errors.