Greetings!
Welcome to Scifi-Meshes.com! Click one of these buttons to join in on the fun.
Quick Links
3DStarbase 182 - A Journey of Enlightenment
There may be two or three of you on this forum who were aware of me before I posted this thread. I may have commented on one of your WIP threads, and you may have thought, "wow, what an insightful, well reasoned comment!" Or you may have thought, "Yeah? What are her 3D credentials? I don't see any of her WIP threads!"
And, of course, you'd've been right, no matter which of those thoughts you had.
I used to model in POV-Ray, but gave it up when I went to nursing school. While I was in nursing school, I bought a copy of LightWave 8, because hey, killer educational pricing! I dinked around with it a couple of times, but never got beyond the first tutorial in Inside Lightwave 8.
Recently, I was thinking about starbases. I saw an idea I kind of liked, which I later discovered to be Steven Davis' Starbase 201. I thought I'd try doing a variant of it. It looked pretty simple... just two Ournal type starbase graving yards flipped over and stuck together, with an exterior docking ring.
So, after about three days of delving through Lightwave documentation, trying to figure it all out, this is what I have to offer:
Post edited by Jenny on
Tagged:
Additional credits
- Icons from Font-Awesome
- Additional icons by Mickael Bonfill
- Banner background from Toptal Subtle Patterns
© Scifi-Meshes.com 2001-2024
Posts
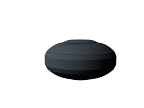
You wouldn't believe the calculations I did, to make that little football. And it ended up coming out not at all like I intended. But it's my first rendered image of an object I created, so... uh... there it is. Hopefully, I'll get better. And then, someday when I'm as good as Vektor, someone will look back and be amazed that I've come so far in so short a period.
Beleive me it takes time to learn efficiency and is very easy to over-complicate.
At least you're not afraid to try.
Now, on the good side, I only spent about half an hour, and got something much closer to the shape I was envisioning. On the minus side, however, on the hab ring you can see the segmentation, instead of it being a smooth curve.
When I did the first version, I did a face per meter of the perimeter and ten segments high, so there were a boatload of polys. And with all those polys, taper didn't work the way I was expecting it to, creating a curve instead of a straight line.
So this morning's version had only 36 faces with one segment each. Taper did more what I would expect, but it also apparently pulled the top down towards the origin, shortening the overall height of each segment. Plus, as noted, segments are visible.
I suspect there will be a third version, probably made with points and lathe, as that will give me control over the exact places where the shape changes, and keep the height I intended.
So, I used the lathe tool, and got this:
Which is correct to the math, but differs from what I have in my sketchbook. Why? Because in my sketchbook, I only laid out one side, so I didn't see the whole profile. And the whole profile... well, it's Dorky MacDorkysdottir. In an effort to produce a station that didn't look like the Spawn of Dorky, I went back to the drawing board. After a couple more shapes (which I will spare you images of) I came up with this:
It at least has possibilities. I'm not quite happy with it, though. To review, I'm trying to replicate the basic look and feel of Steven Davis' Starbase 201, shown here:
(Mesh, as mentioned, by Steven Davis. I don't know who did this scene / render, as they didn't put credits on the image, or the person I got it from cut them off).
Now, there are some complicating factors. I've applied to run a cooperative writing project set within this starbase, so I'd like my images to be useful for the game's web page. That means that I have to conform to the organization's size on the thing. I had originally estimated that the core station of Davis' version was about two-thirds of the total diameter, and the ring about ten percent. Unfortunately, those dimensions end up looking... cramped. I'm concerned about stepping the station down to half the total diameter, as that substantially reduces the available size of the graving yard, but I may try it, anyway, and see how it looks.
But probably not until tomorrow.
Take a look at www.foundation3d.com too. YouAâll find a lot of friends that uses Lightwave.
Some careful measurement showed that the ratio of radius to height for the source material was almost 3:1! That's much squatter than I was modeling! This revelation has caused me to seriously reevaluate the gaming numbers... I'm going to build what I think looks right, and if it doesn't agree with the numbers, well... that's Star Trek, isn't it? (How big is the "Klingon" Bird of Prey?)
So, I'm probably going to dink around with the shape tomorrow some, but just for grins, here's the shape I ended the production night with, that shows the 3:1 aspect ratio I mentioned.
So I did some research, and found that the longest of the canon ships seen on-screen is the Sovereign class, but the widest and deepest is the Galaxy class. So I made a notional ship, rounding up the figures for length, beam, and draft to the next fifty meters, then made a box of that size and put it in the scene with my initial hull shape and hab ring shape.
As you can see, this notional largest starship at the time of station construction would easily fit in the graving yard and the harbor. So that's good. I'm not quite sure this is the final shape, though... I'm going to have to think about that today while I'm out with the grandmother.
Oh, and thanks to those of you who have commented. I know there's not really a lot to comment on just yet, but I do appreciate the encouragement!
I would also remind you that not long after the Sovereign was created, the Excalibur project was begun. While this isn't strictly canon, it does appear in an awful lot of current fanTrek. So you may want to consider the size implications on that one, as well. Currently, I think the Excalibur measures in at L:1224.9, W:533.0, H:176.97, which is considerable larger than what you have for your box. Just something to think about. By the way, those are my measurements, not something I got off the web, before anyone starts in on me. Of course, if there are some official measures, use those.
I built this planet in about an hour by following the tutorial at Chrusion for a photo-realistic Earth. I'm thinking I'll make a "hero" version, with more layers of clouds, and render it once, then use that as a background image in my station renders. The orbital period of the station around the planet is long, and the station is tidelocked to the planet, so I just have to keep track of where the light is coming from. 8)
If anyone has tips for building better gas giants, let me know?
Essentially, it's four different layers of atmosphere with cloud maps... just cloud maps of Earth that I downloaded, but still, four different layers of different colors. The maps turned out more similar than I thought they were, so this is probably the penultimate version... I'm going to go back when I have time and rotate the transparency maps a little, so that there's more separation between the cloud layers. But here you go... a better Atlacamani!
As for help, I assume you've tried the tutorials section at the top of the forum, right? There isn't much there specifically about Lightwave, but some of the tutorials might be helpful.
Also try TurboSquid or the CGHub, both of which have very talented contributors. I know TurboSquid is disliked by many people, but I find it useful for finding things that I have needed in the past.
So, armed with this new image to use as a backdrop, I went and played around with the station in modeler some more, coming up with what will probably be the final shape for the core of the station and the habitat ring. I also modeled the docking arms that connect the graving yard and the habitat ring. Oh, and I did some number crunching. With a four-meter deck height, that habitat ring provides ~880 square kilometers... slightly bigger than the land area of all five burroughs of New York City.
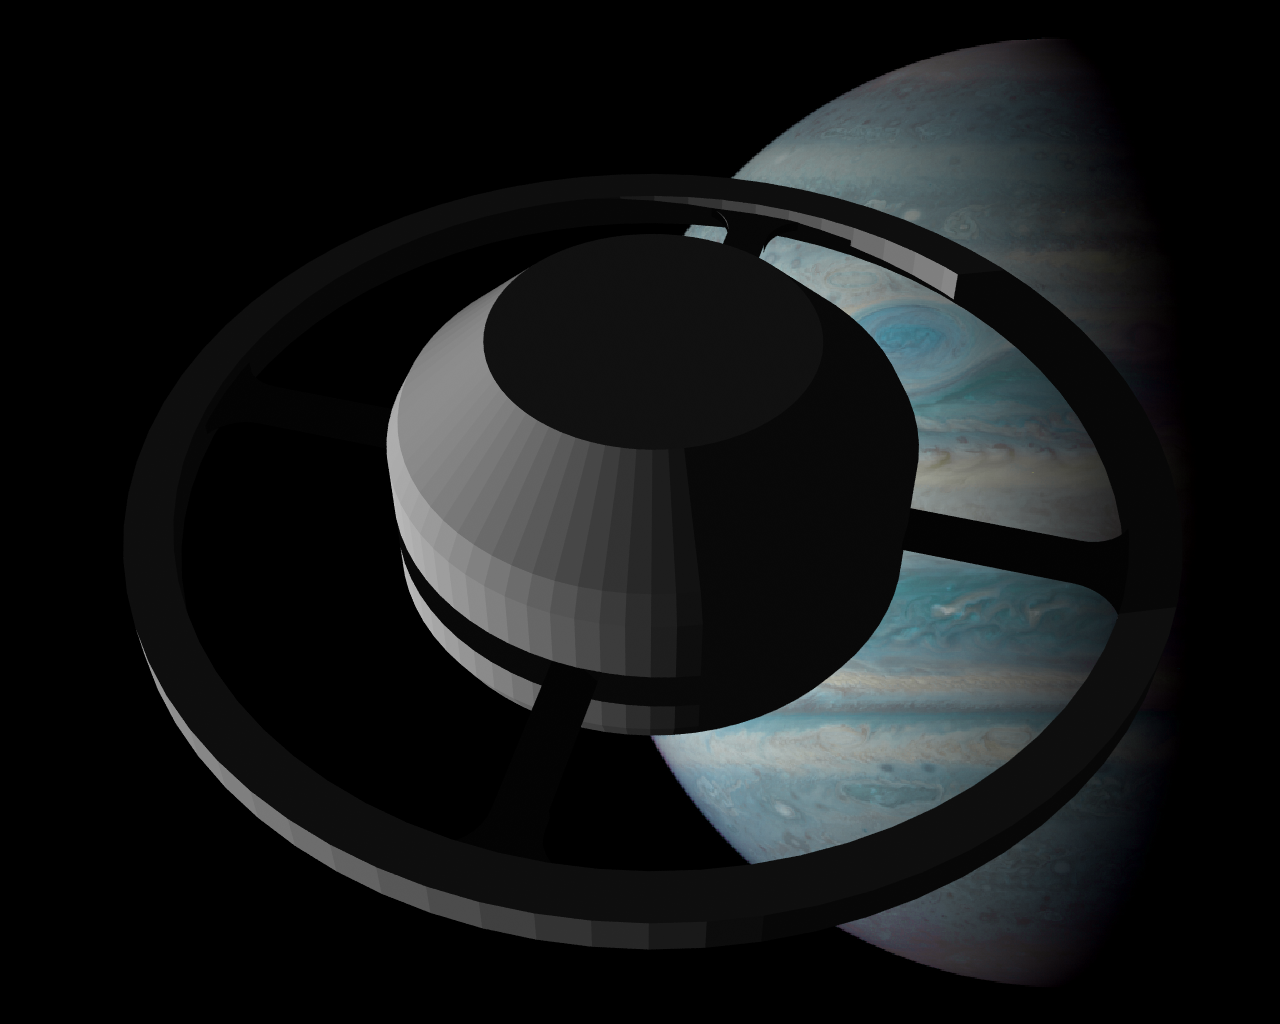
Which shows that you should not put both your starbase and the gas giant center stage. Which leads to the final shared render of the day:
Blue-shifted version of Jupiter in the background, because I happened to already have it on my hard drive. I won't be using it regularly in composite images, because the giant red spot is too recognizable, even in a color-shifted image like this.
Anyway, there's not a lot of detail to be seen, at the moment. As I go on working on the project, I'll post larger images. Thanks for letting me know that the big ones aren't showing up.
That being said, I tend to use ImageShack for my posts. It has a "direct link" feature which allows you to copy a direct link to the image that you can post in the thread by using IMG tags. That way, you don't have the tedious waiting for the redirects.
All of that aside: you're doing good here. However, I would suggest some SMOOTHING GROUPS. Your station is starting out nice, but you're really just losing some quality because the sections are still too visible.
The external hard drive that has served me faithfully and well for the last five or six years has apparently died. It takes with it my Lightwave projects, my POV-Ray source codes, years worth of writing (professional and recreational) and all of my music library.
Yes, yes, I know... I should have had those things backed up. But I didn't. And yes, I know, there are data recovery services, and they're expensive.
The only bright side of this is that it lets me put down this project and start again with something a bit less ambitious as I learn Lightwave.
Still. Woe. Oh, woe.
And buy a couple of small USB memory sticks, and store some of your images or meshes on that once in a while. They're dead cheap.