Greetings!
Welcome to Scifi-Meshes.com! Click one of these buttons to join in on the fun.
Quick Links
3DAn other STMP drydock
 Rayonx331
Posts: 0Member
Rayonx331
Posts: 0Member


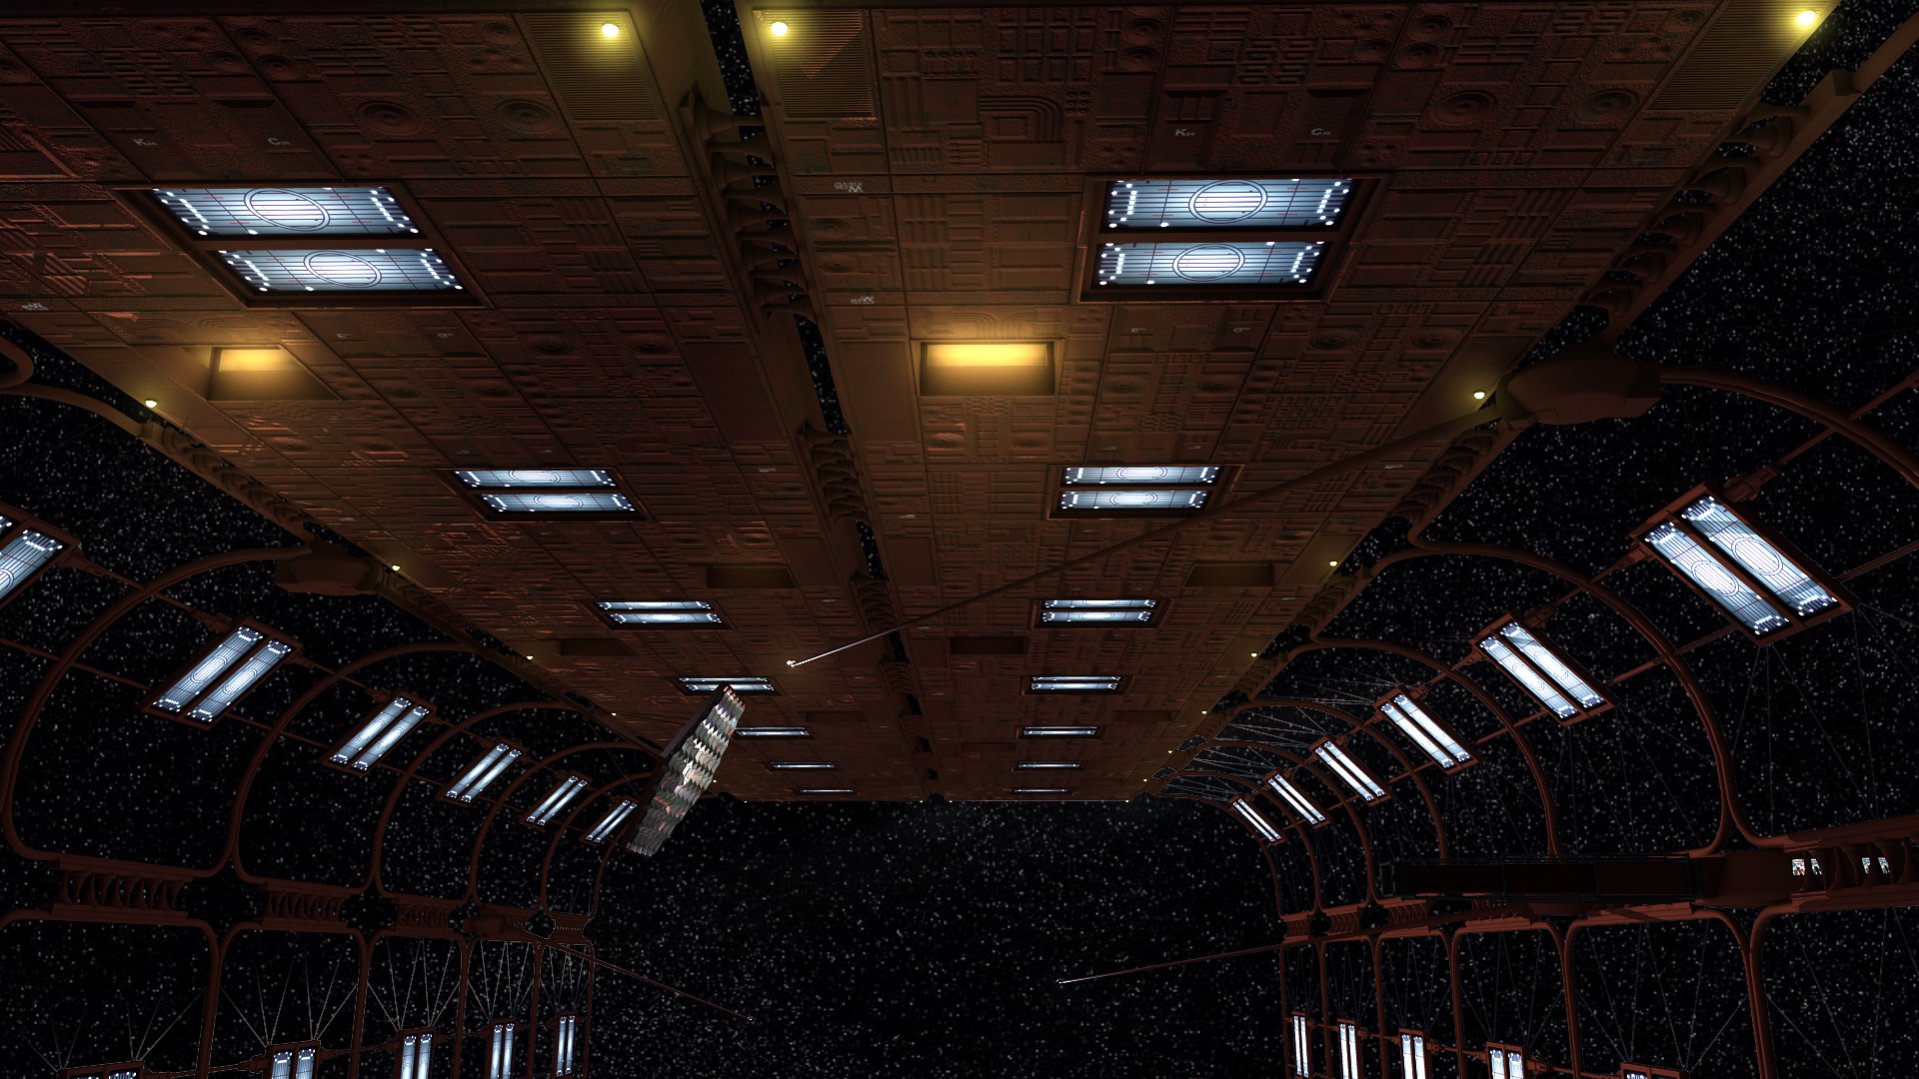
Since i've started playing around with my and others versions of the enterprise, i could never put my hand on a good drydock mesh, at least one that i could convert to maya. So i start modeling one from the same references images Tobias is using. Here is the result of my spare time working on this.
Note: as my computer is showing its age, and my place temperature is well abov 35A°c (no A/C), this is the version without the modeled greebles on the "ceiling" of the dock. I have the greebles in an other file. Maybe i try a render when the my place is cooler.
the enterprise model used in some of the pictures is from Dennis Bailey, just to set the lighting and lights arms right.
Seeing the progress on Tobias version, i'll would not compare mine to his. I am far behind in quality.
Anyway c&c always welcome.
Post edited by Rayonx on
Tagged:
Additional credits
- Icons from Font-Awesome
- Additional icons by Mickael Bonfill
- Banner background from Toptal Subtle Patterns
© Scifi-Meshes.com 2001-2024
Posts
I'll try to stay just a bit insane.
ItAâs funny how this whole thing comes to life once the big E is inside.
Yep! With the Enterprise inside the drydock it's just like a garage housing a beautiful classic car.
Added details and panels to the sides of the ceilling.
Back to the starfield image. I don't use Maya so I'm not sure if it has a feature like this, but in MAX there is a video post plugin that generates a full starfield effect. It's far superior than using environment maps because the stars don't flicker or pixelate. If Maya doesn't have a similar feature, then I suggest setting the material maps you use as backgrounds to a "screen" setting for still images. That should keep them from looking so blurry, as long as the maps are a decent size to begin with, that is.
There is not a tool in maya as powerful as the video post in MAX. Something i regret, especially for the lens flares.
I'll look at the materials.
Almost redone the light panel to add some details and bevel.
And i just notice the specular was off on the key light for the last renders.
Details and greebles added on the structure.
Already 1,200,00 polygons!!