Greetings!
Welcome to Scifi-Meshes.com! Click one of these buttons to join in on the fun.
Quick Links
creating random asteroids in max
when i took this project, i encountered a very unique problem. i had to render a scene with very dens asteroid formations and it had to look random. with so many of them in the scene, and with the effect of the lighting, i had to become very creative to overcome the obstacle and keep from using ready made asteroid models.
so i did a little research and came up with a few techniques that help out a lot.
for this tutorial you will need a couple of scripts free for downloading at scriptspot.com:
1: a script called "objectpainter" by neil blevins. it comes in a complete package called soulcollection_4.1 LINK
2: the next script is one called "random chunk generator" by mark theriault. its a great script for creating ice chunks, rocks or asteroids as well. LINK
3: and finally a script called "circleArrayMaker" which is also a part of the soulcollection. it will be included in the zip file from the first link.
go ahead and download the scripts and follow the instructions for installing them in max.
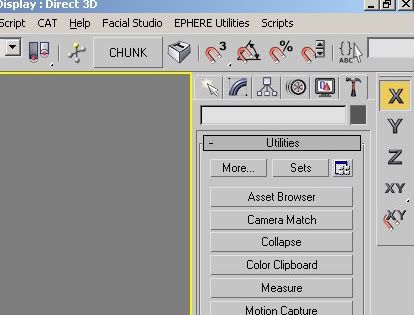
for the random chunk generator you will need to open the script listener window and select the entire script code. drag that out of the listener window and onto the main toolbar above the viewports. this will create a macro that you can click on to create each random chunk instead of loading the script a bajillion times.
for the other two you simply need to open the customize ui menu and find each script title. then you can drag the name of the tool up to the main toolbar and it will generate a button for the script. before you close the customize ui window, save your layout. you will be glad you did.
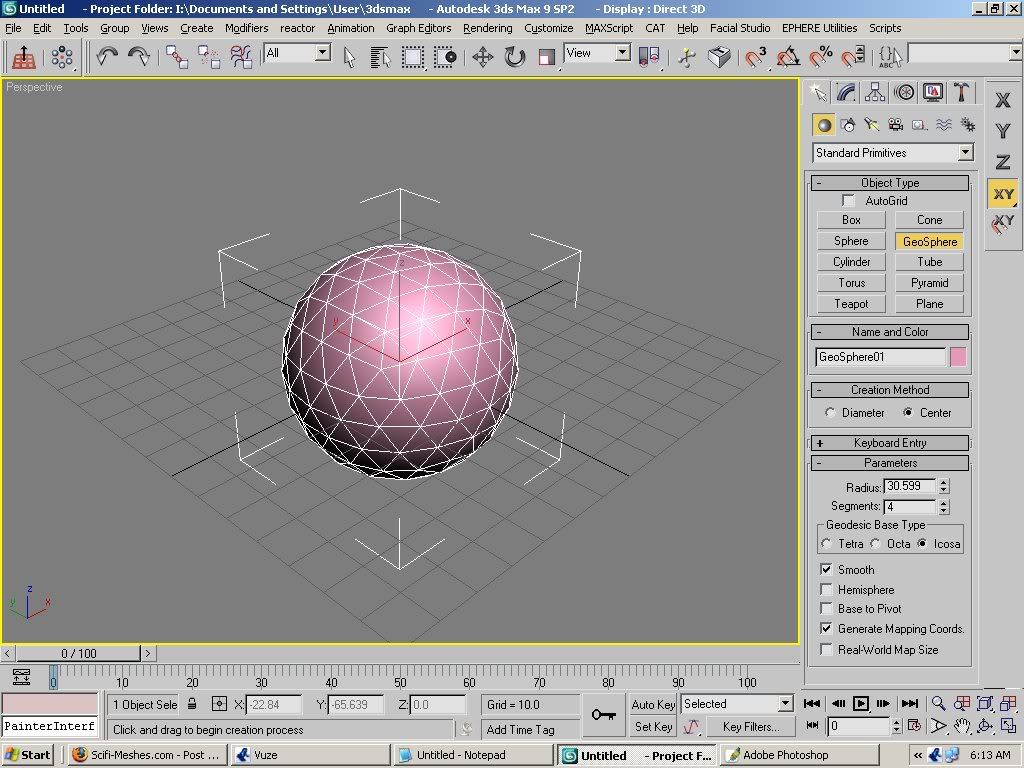
the first method of creation is fairly simple. you create a geosphere in max like this:
then convert it to an editable poly.
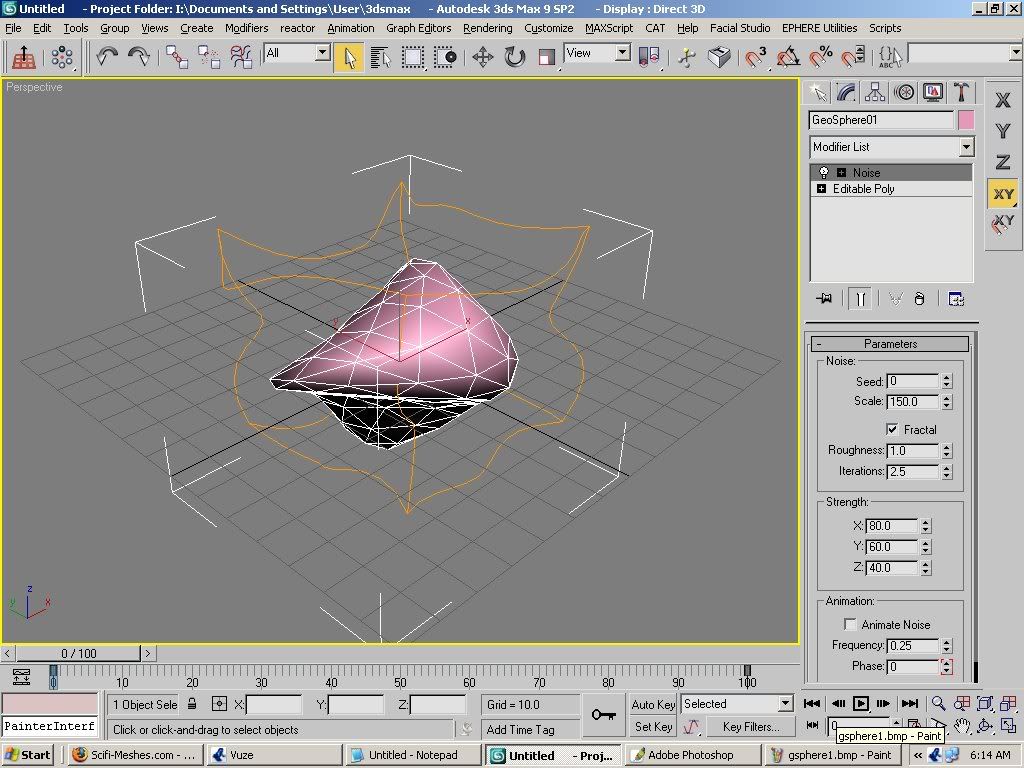
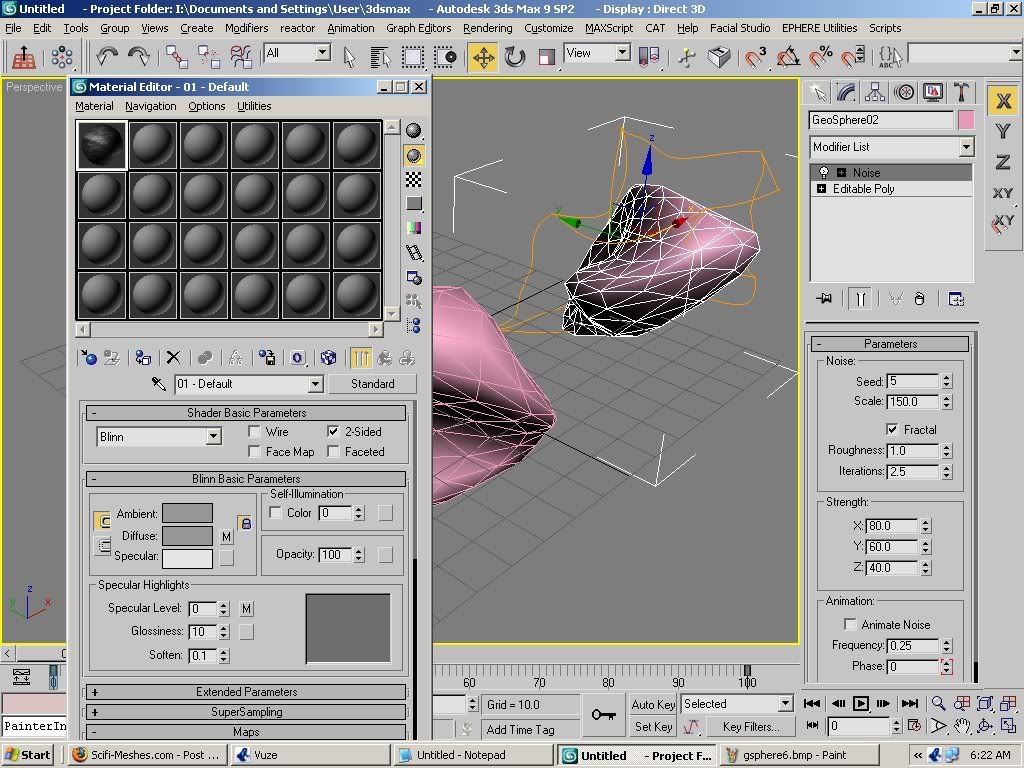
once that is complete go over to the modifier tab and scroll down to the noise modifier.
the values should look something like this in the type in fields.

you can play around with the variables, but this is a good guideline
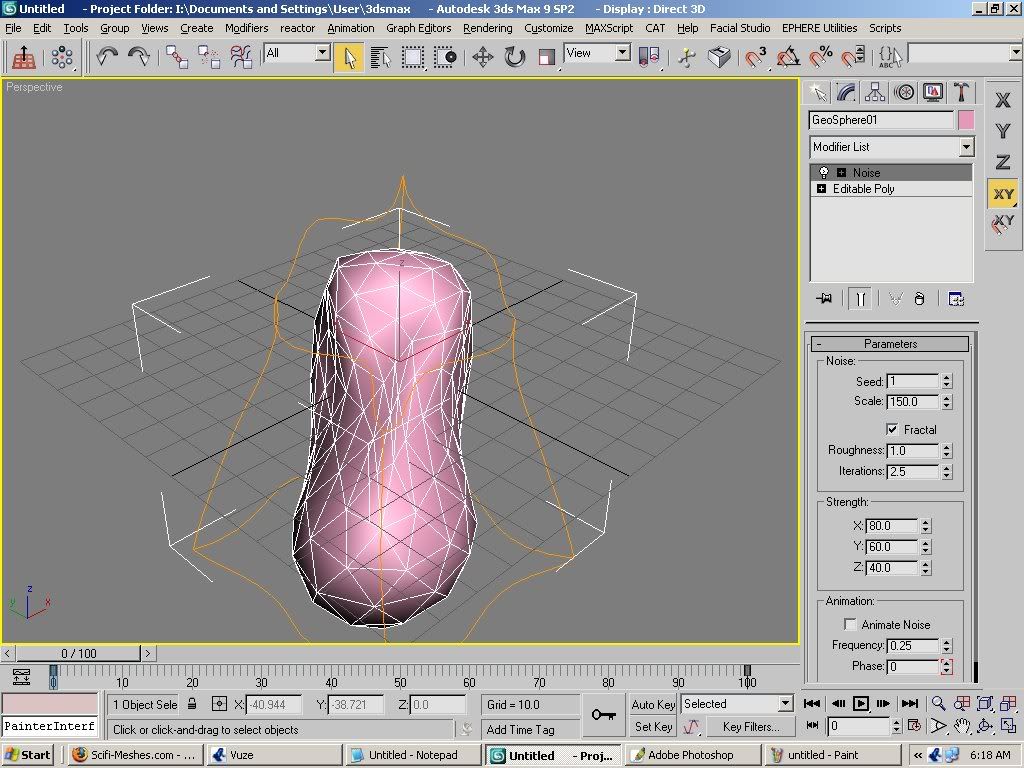
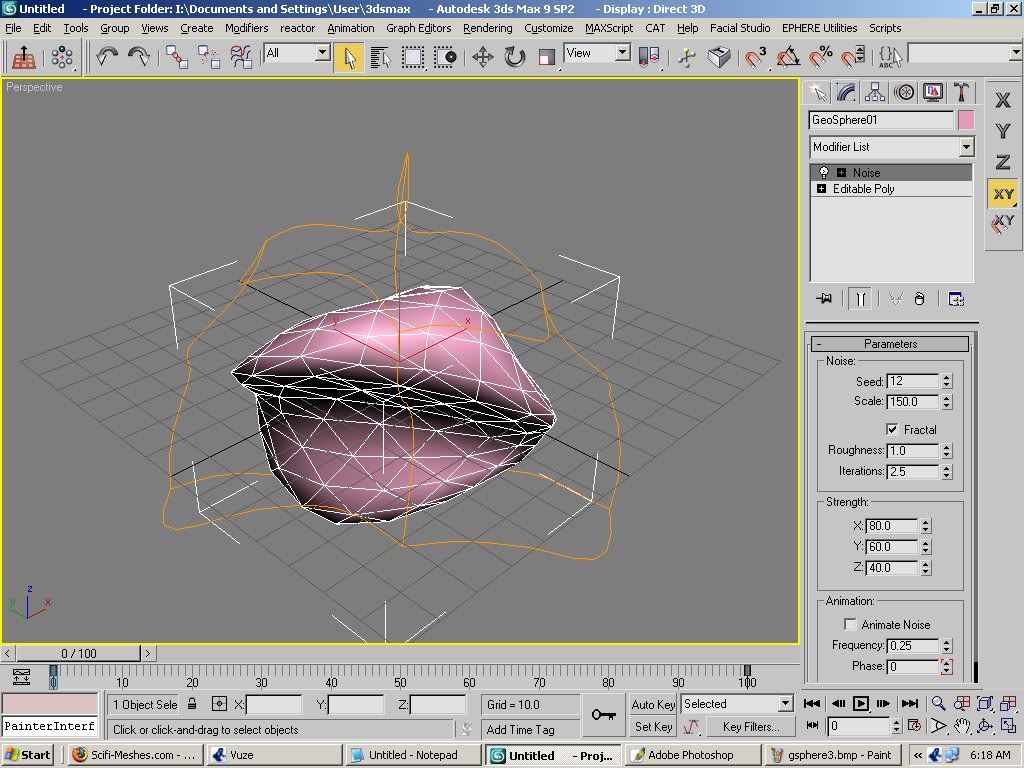
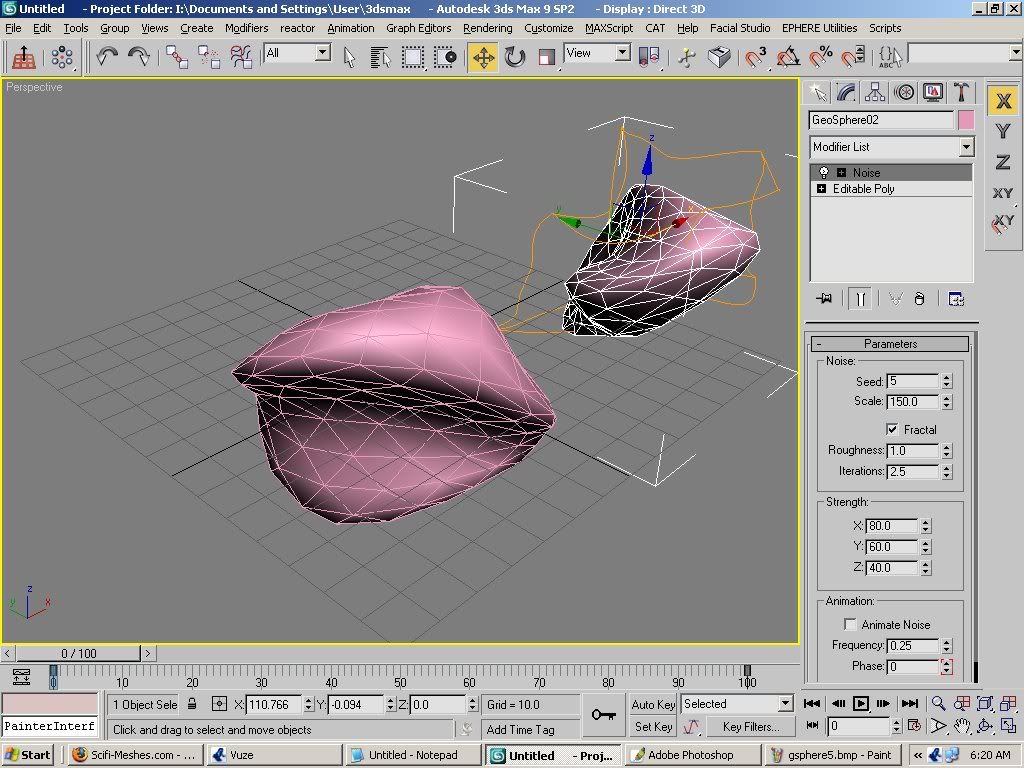
next thing is to go ahead and click on the seed modifier, by choosing the up arrow until you get the desired effect. here are some examples of the seed function and how it drastically changes the form of the sphere.
once that is complete just clone the existing shape as a copy
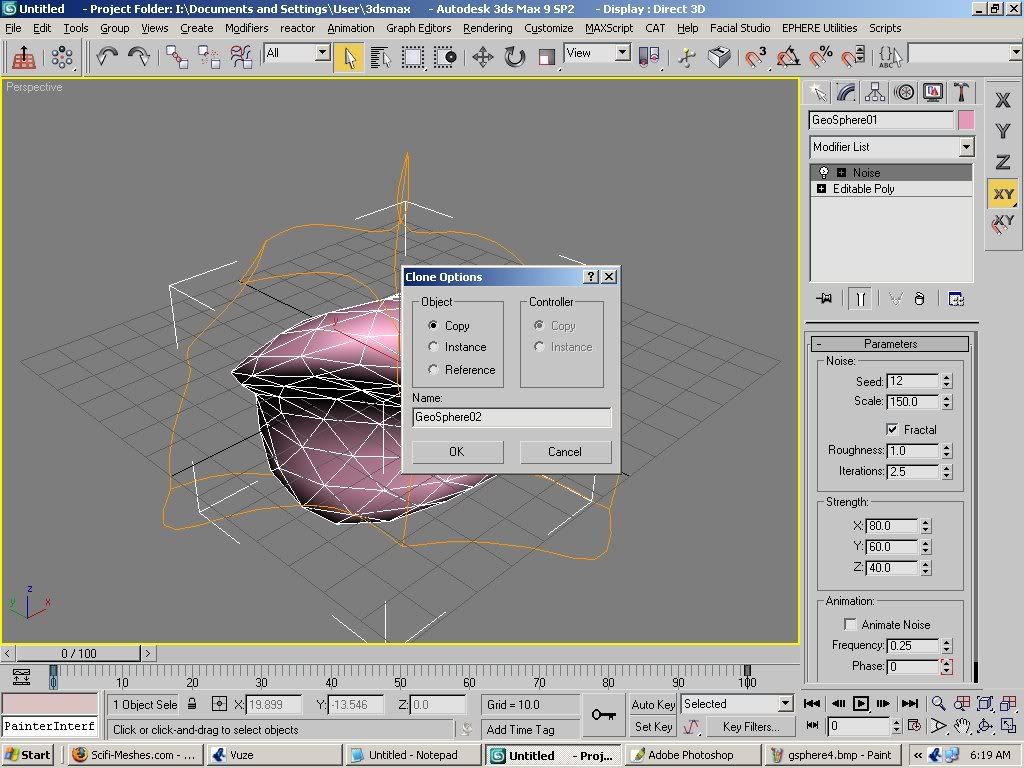
and repeat the seed modifier in the same modifier command box.
do this as many times as it takes to make about 10 or 12 different asteroids.
if you find that the shapes are folding in on themselves that doesn't really matter unless you are shooting for high level of detail. but we will cover that later.
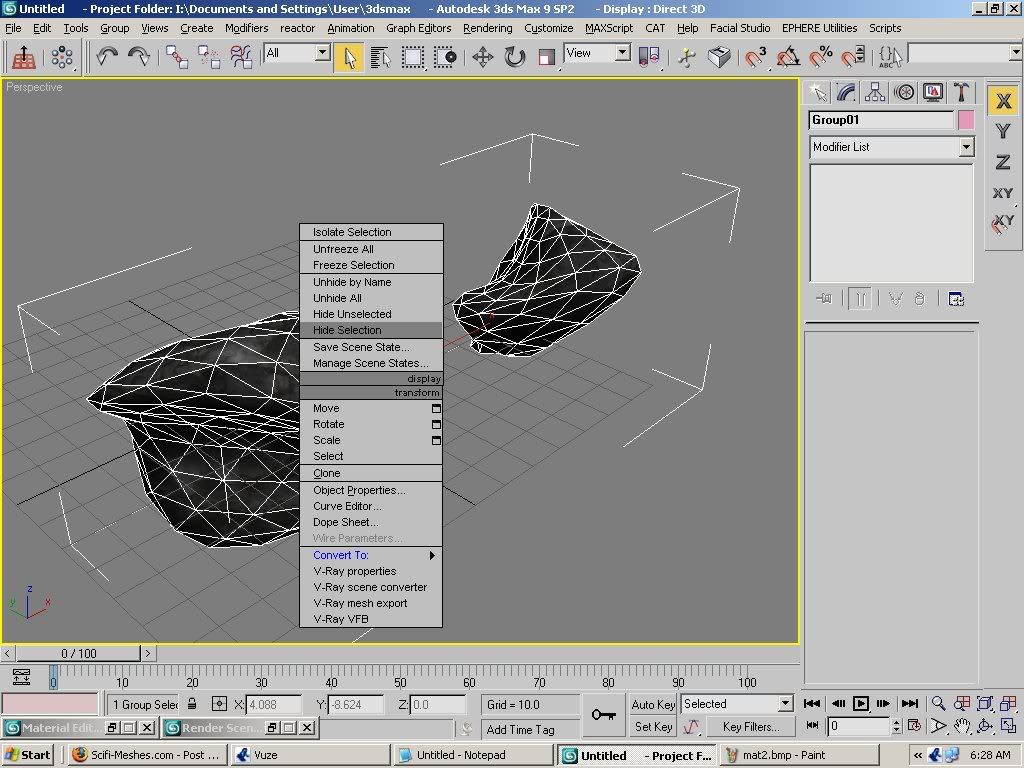
now save the scene you just created and name it something like "asteroid field" this will serve as the basis for the medium sized asteroids in your final scene. and it will help in case you have to restart max at all. group this formation and hide it by right clicking and choosing "hide selected"
the next part of the tutorial will cover using a script called "circleArrayMaker"
this is a handy tool if you want your asteroids to be in a circle, but it is not necessary to use. its pretty straight forward and it will allow you to instance or copy the geometry you select before committing to the results. but for some things it is not necessary, so i would leave it up to you if you want to use it or not. besides it makes the asteroids almost too perfect in their layout, and requires a bit more editing by moving some here or there to make it more random.
i wont spend a lot of time on it because it is optional.
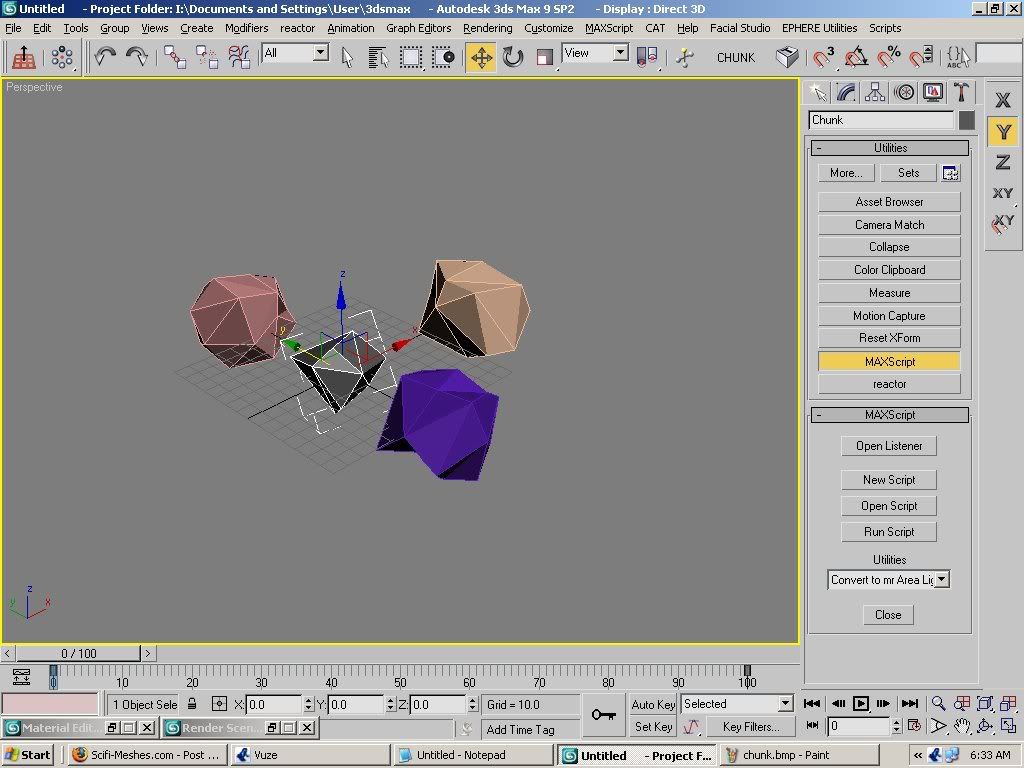
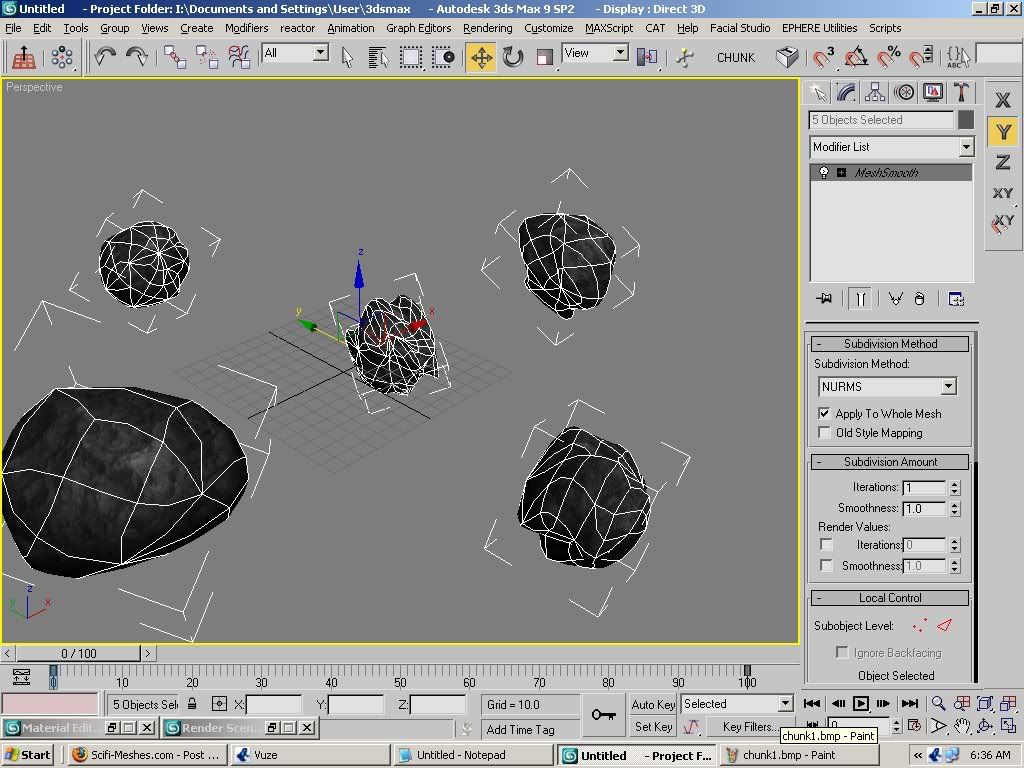
the next tool is called 'random chunk generator" or simply just CHUNK. this can be used for the smaller asteroids in a render. the shapes are pretty low poly, so i like them because they don't need to be too detailed for distanced asteroids. simply click on the button you created at the main toolbar
and move each rock out of the way until you make about 10 to 12 asteroids.
you may also want to use mesh smooth on them, but that is according to your preference. i did that to mine. now select them and save them as "small asteroid field" you may want to group them and hide them as well.
now unhide the formation of your choice and texture it.
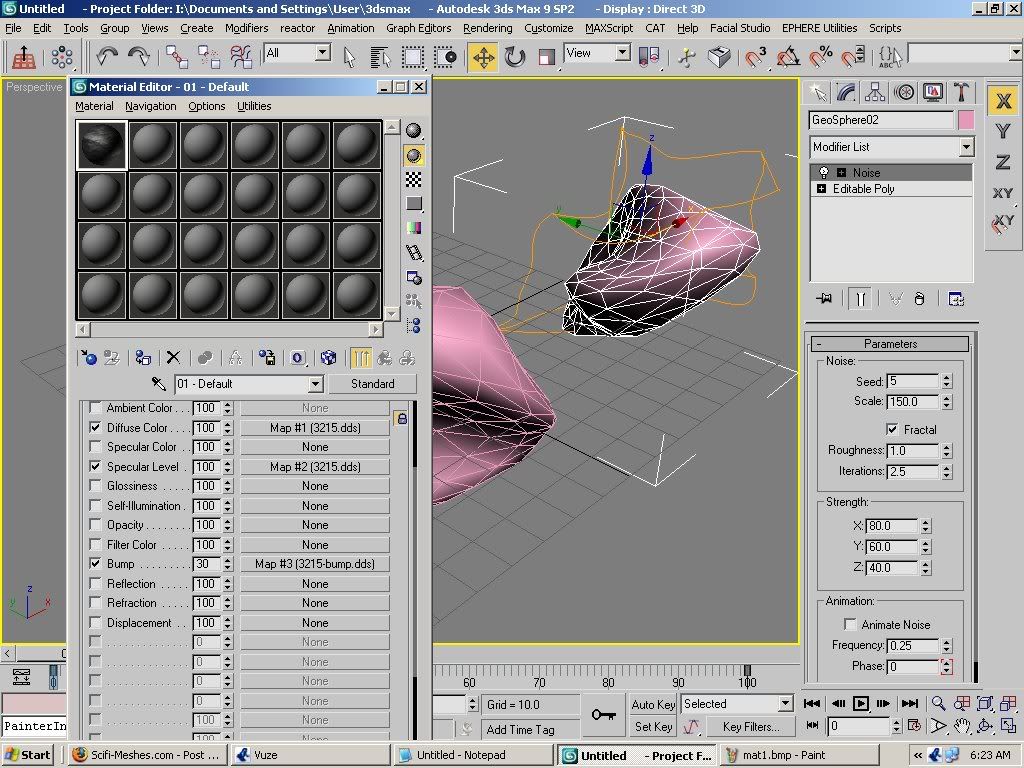
remember when i told you about the asteroids sometimes being folded on themselves using the noise modifier? well there is a way to remedy that especially for lower detail roids. simply select the material you want to use and make it 2 sided.
example of a decent material for asteroids
you can also give the asteroids the optomize modifier to lower polys and give a little more jagged appearance without making it too jagged.

gives a nice effect and goes well with the texture.
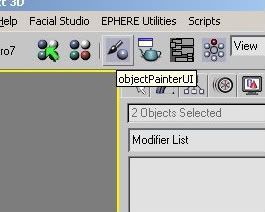
next you want to open the obectpainter script
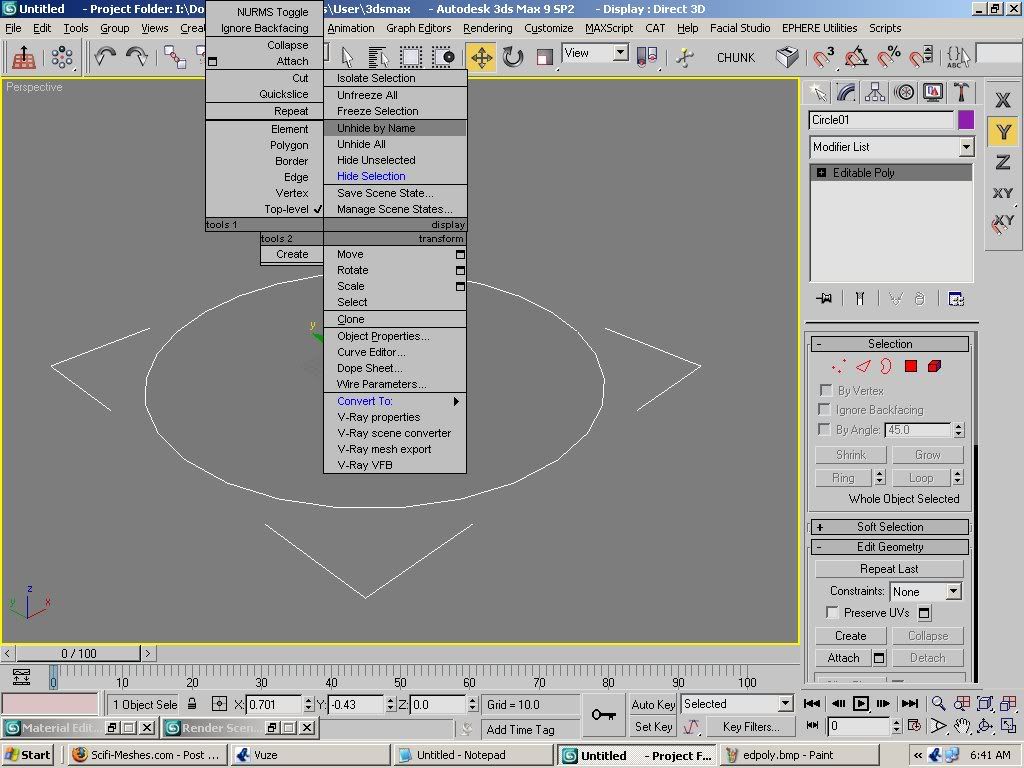
and prepare your work area. simply make a shape, preferably a circle, then convert it to editable poly.
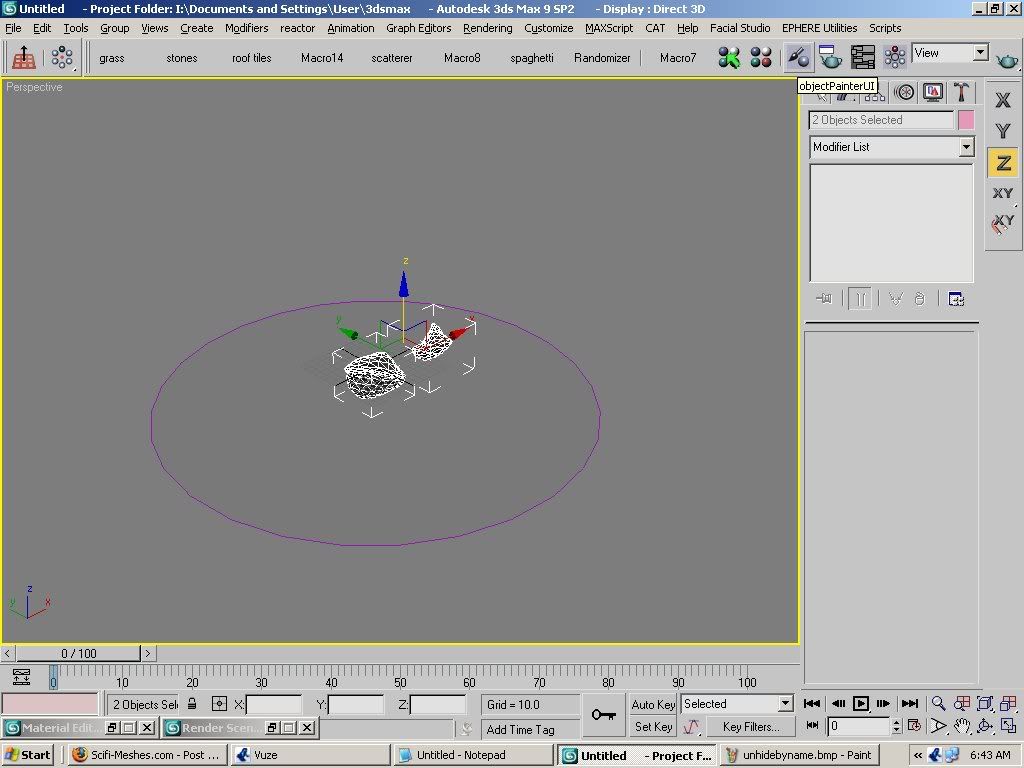
this is the only way to get the painter to work.
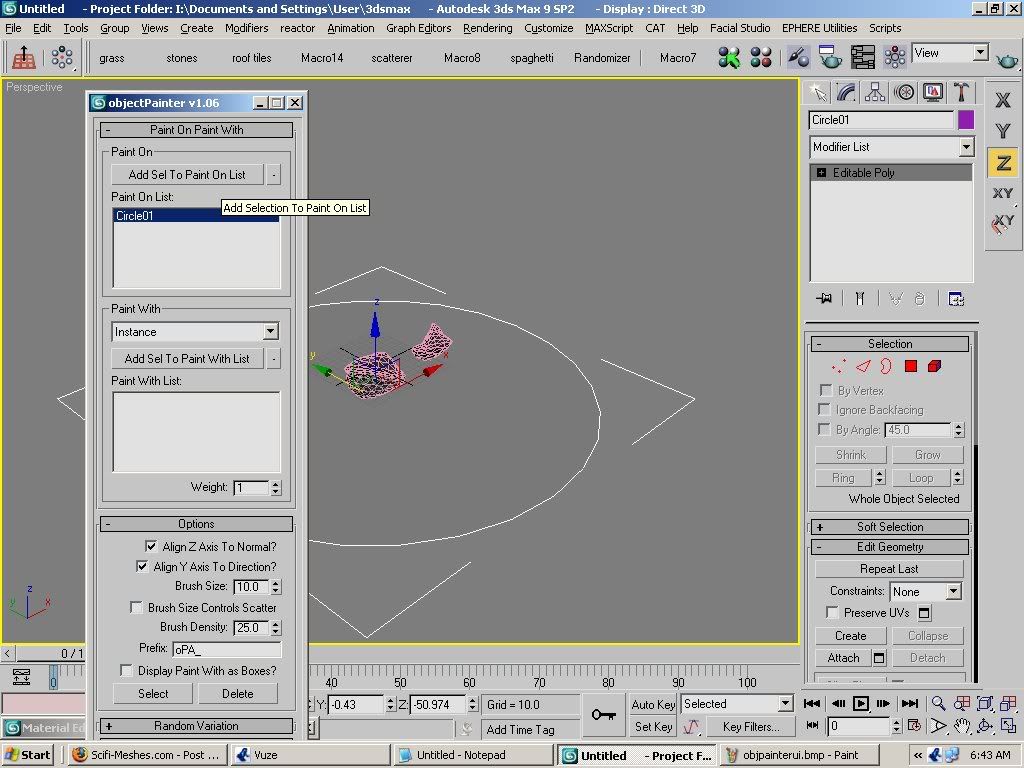
next, scale down your asteroids so they dont get intersected too much. select the circle and go to the top of the menu for objectpainter. click on add selection to painted on.
then click on the remaining objects. click on add to objects painted with.
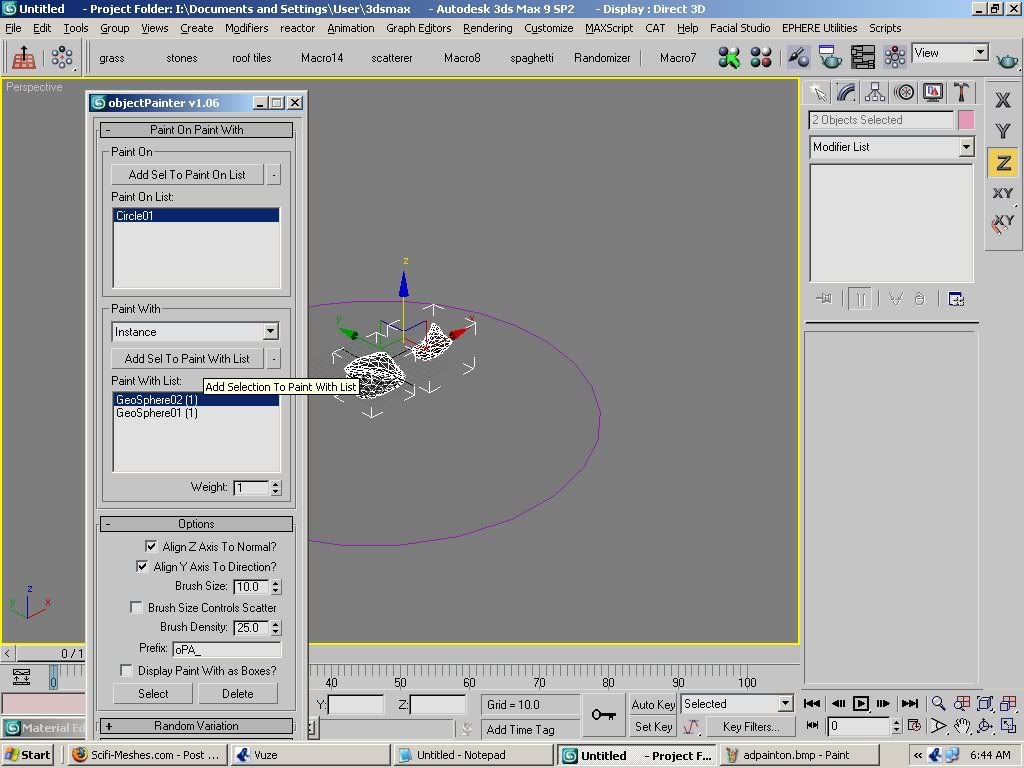
now you are set to paint random asteroids on the circle. you can also adjust the size variation and such before beginning.
once you are ready to begin, click the paint button and it will turn yellow. the name will change to stop painting.
you can minimize the script window and use the top viewport to paint your asteroids.
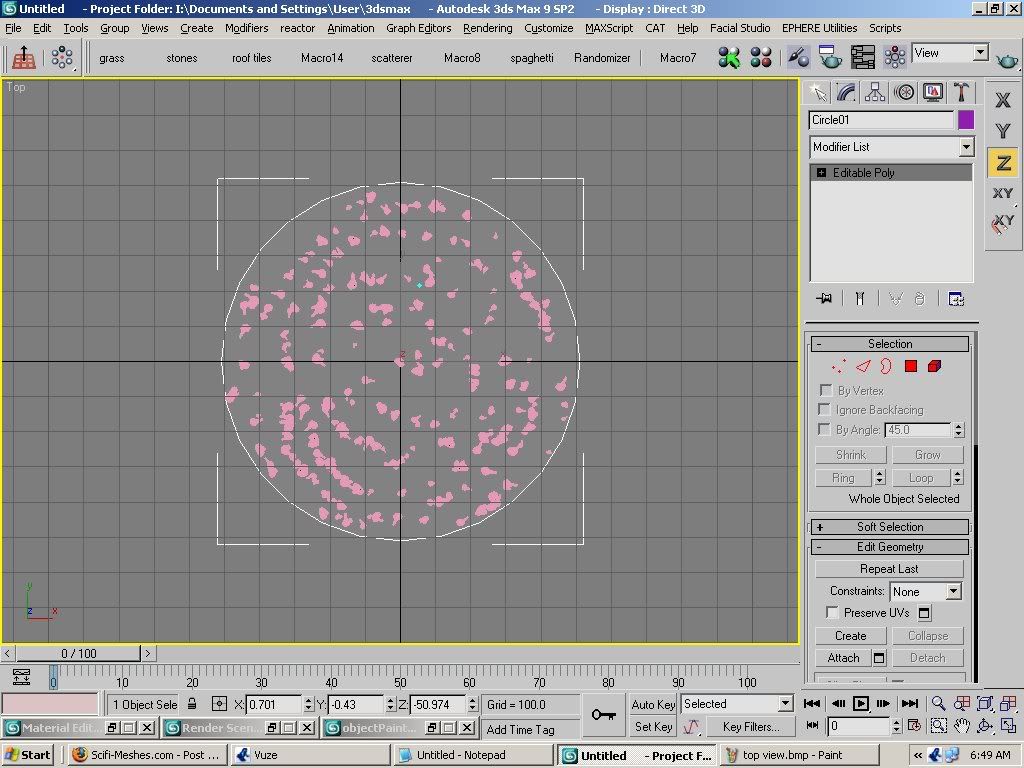
its very quick and it does an alright job of not intersecting objects.

when you want to finish, just click on the stop painting button. next select everything but the circle, group it and hide it.
open up the other group that was hiding and repeat the same process.
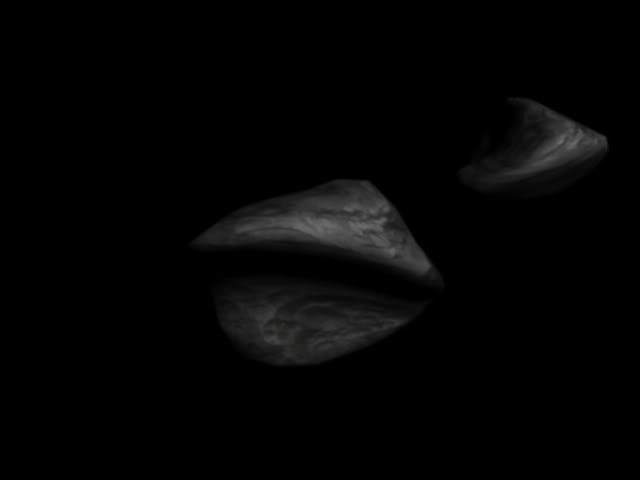
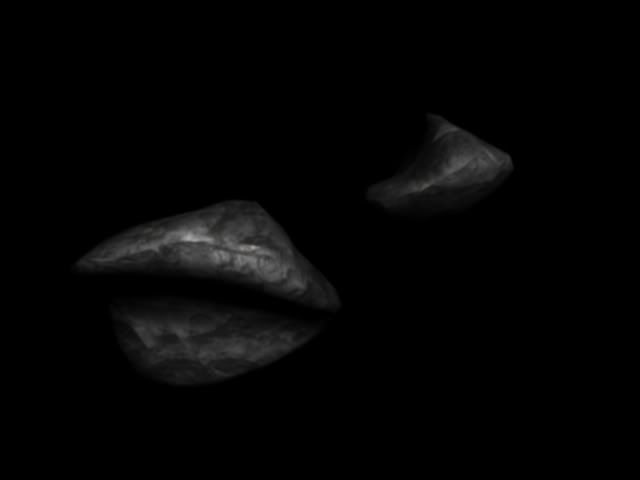
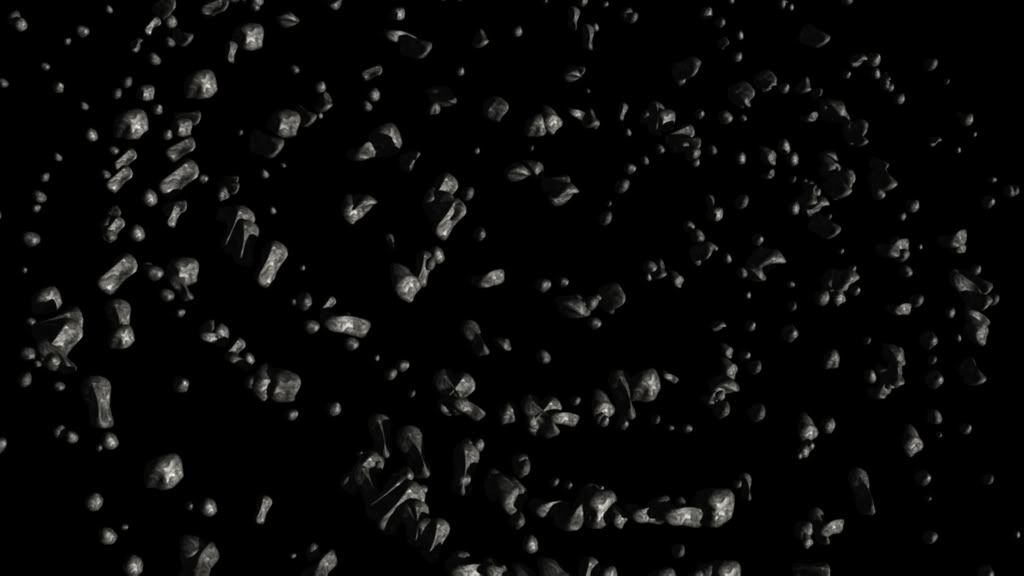
here is an example of both asteroid groups rendered together.
after you are finished hide everything and create a new chunk. this will be the basis for the more detailed asteroids. or you can just make several and follow the same system for creating each one. which is:
pro cutting.
around the chunk, create several spheres. use about 18 segments or less. too many more will raise polys and its not really necessary. arrange them around the chunk so they intersect the surface. you can scale them to different sizes and shapes and rotation before the next step.
once you are satisfied with the spheres positions and sizes, select one of the spheres and go to the compound objects menu. select pro cutter. choose the "pick cutter objects" and use the edit>select by name> and highlight all the spheres. then click select and all of the spheres now are cutters. next choose the "pick stock objects" button and scroll down to the edge removal options. this is very important if you want to retain the shape of the chunk, but if its not important, you can skip that step. anyway its your choice to either remove edges or not. next click on the chunk and you have craters in the asteroid! convert it to an editable poly and if you want use mesh smooth on the surface to even it out a bit. you can also add noise modifier to it to give it a bit more character. do this as many times as you like to create your more detailed roids. then if you want you can use painter to create another group of large asteroids.
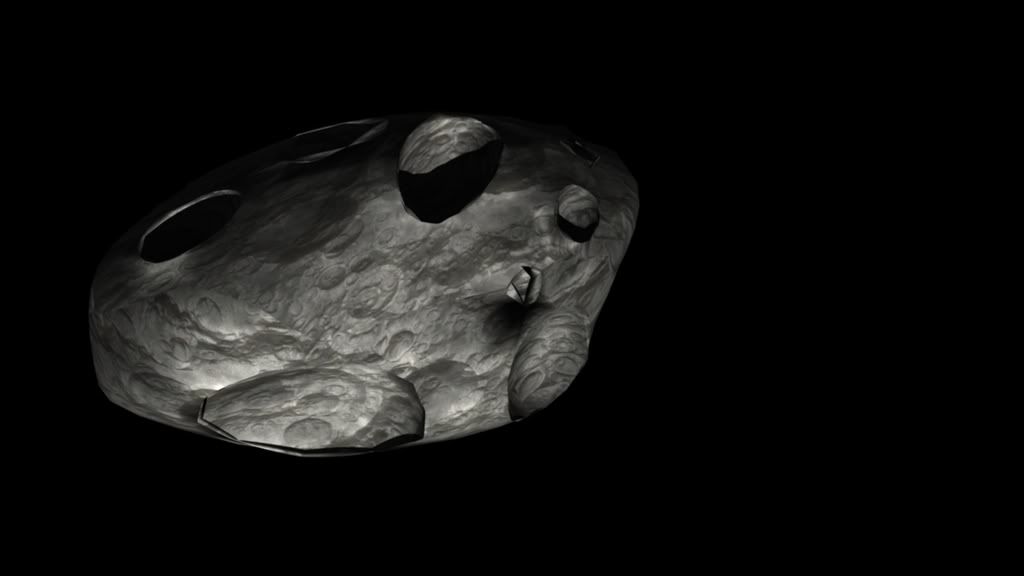
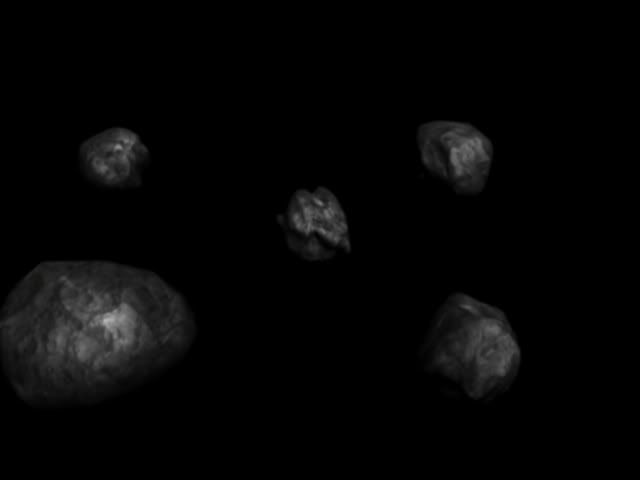
once you are done using object painter, its safe to delete the circle and unhide all the groups of asteroids. you can scale them and adjust them to your liking and a final render should look like this.

thats it for the asteroid tutorial. hope that it was fun and informative.
so i did a little research and came up with a few techniques that help out a lot.
for this tutorial you will need a couple of scripts free for downloading at scriptspot.com:
1: a script called "objectpainter" by neil blevins. it comes in a complete package called soulcollection_4.1 LINK
2: the next script is one called "random chunk generator" by mark theriault. its a great script for creating ice chunks, rocks or asteroids as well. LINK
3: and finally a script called "circleArrayMaker" which is also a part of the soulcollection. it will be included in the zip file from the first link.
go ahead and download the scripts and follow the instructions for installing them in max.
for the random chunk generator you will need to open the script listener window and select the entire script code. drag that out of the listener window and onto the main toolbar above the viewports. this will create a macro that you can click on to create each random chunk instead of loading the script a bajillion times.
for the other two you simply need to open the customize ui menu and find each script title. then you can drag the name of the tool up to the main toolbar and it will generate a button for the script. before you close the customize ui window, save your layout. you will be glad you did.
the first method of creation is fairly simple. you create a geosphere in max like this:
then convert it to an editable poly.
once that is complete go over to the modifier tab and scroll down to the noise modifier.
the values should look something like this in the type in fields.
you can play around with the variables, but this is a good guideline
next thing is to go ahead and click on the seed modifier, by choosing the up arrow until you get the desired effect. here are some examples of the seed function and how it drastically changes the form of the sphere.
once that is complete just clone the existing shape as a copy
and repeat the seed modifier in the same modifier command box.
do this as many times as it takes to make about 10 or 12 different asteroids.
if you find that the shapes are folding in on themselves that doesn't really matter unless you are shooting for high level of detail. but we will cover that later.
now save the scene you just created and name it something like "asteroid field" this will serve as the basis for the medium sized asteroids in your final scene. and it will help in case you have to restart max at all. group this formation and hide it by right clicking and choosing "hide selected"
the next part of the tutorial will cover using a script called "circleArrayMaker"
this is a handy tool if you want your asteroids to be in a circle, but it is not necessary to use. its pretty straight forward and it will allow you to instance or copy the geometry you select before committing to the results. but for some things it is not necessary, so i would leave it up to you if you want to use it or not. besides it makes the asteroids almost too perfect in their layout, and requires a bit more editing by moving some here or there to make it more random.
i wont spend a lot of time on it because it is optional.
the next tool is called 'random chunk generator" or simply just CHUNK. this can be used for the smaller asteroids in a render. the shapes are pretty low poly, so i like them because they don't need to be too detailed for distanced asteroids. simply click on the button you created at the main toolbar
and move each rock out of the way until you make about 10 to 12 asteroids.
you may also want to use mesh smooth on them, but that is according to your preference. i did that to mine. now select them and save them as "small asteroid field" you may want to group them and hide them as well.
now unhide the formation of your choice and texture it.
remember when i told you about the asteroids sometimes being folded on themselves using the noise modifier? well there is a way to remedy that especially for lower detail roids. simply select the material you want to use and make it 2 sided.
example of a decent material for asteroids
you can also give the asteroids the optomize modifier to lower polys and give a little more jagged appearance without making it too jagged.
gives a nice effect and goes well with the texture.
next you want to open the obectpainter script
and prepare your work area. simply make a shape, preferably a circle, then convert it to editable poly.
this is the only way to get the painter to work.
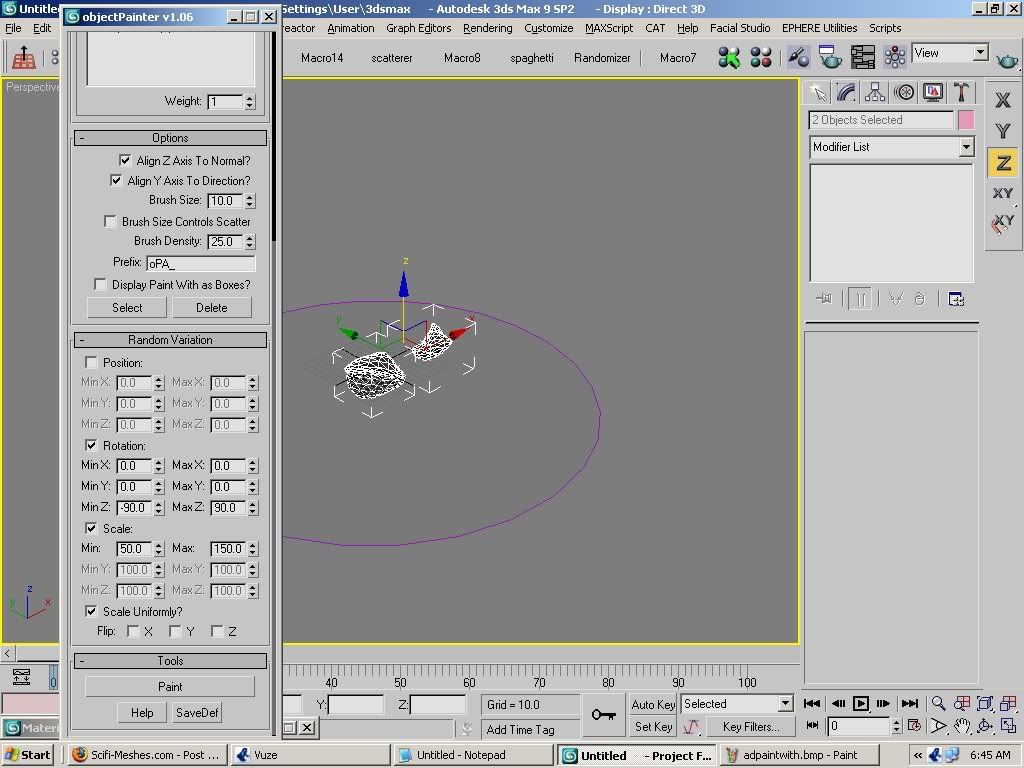
next, scale down your asteroids so they dont get intersected too much. select the circle and go to the top of the menu for objectpainter. click on add selection to painted on.
then click on the remaining objects. click on add to objects painted with.
now you are set to paint random asteroids on the circle. you can also adjust the size variation and such before beginning.
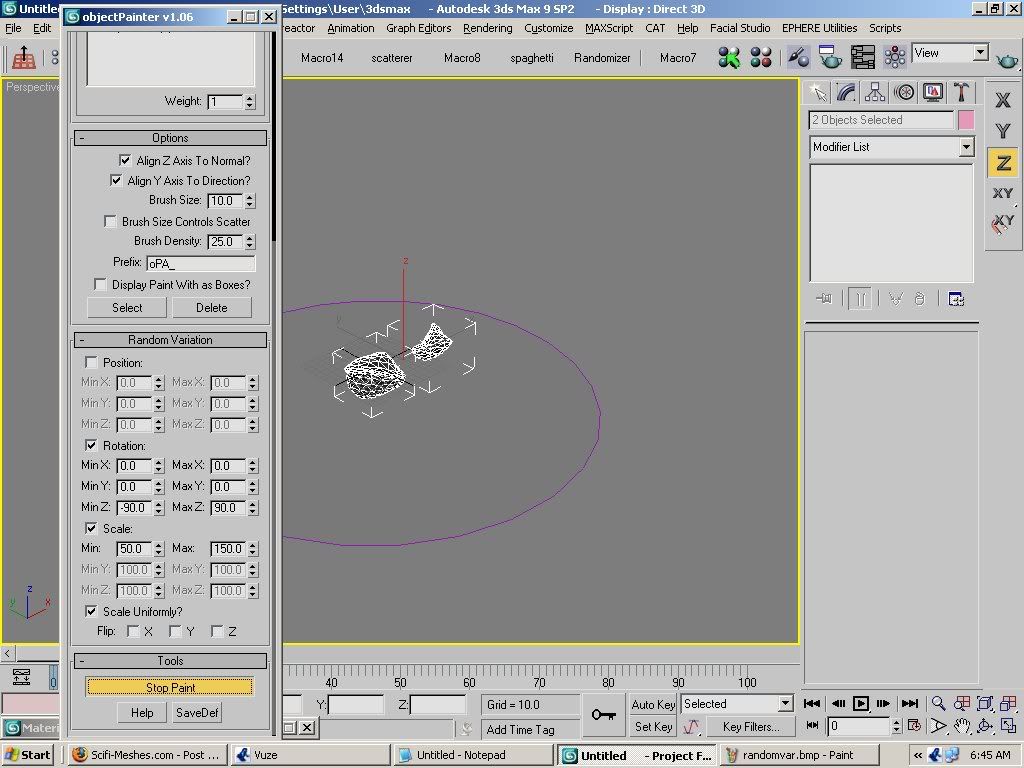
once you are ready to begin, click the paint button and it will turn yellow. the name will change to stop painting.
you can minimize the script window and use the top viewport to paint your asteroids.
its very quick and it does an alright job of not intersecting objects.
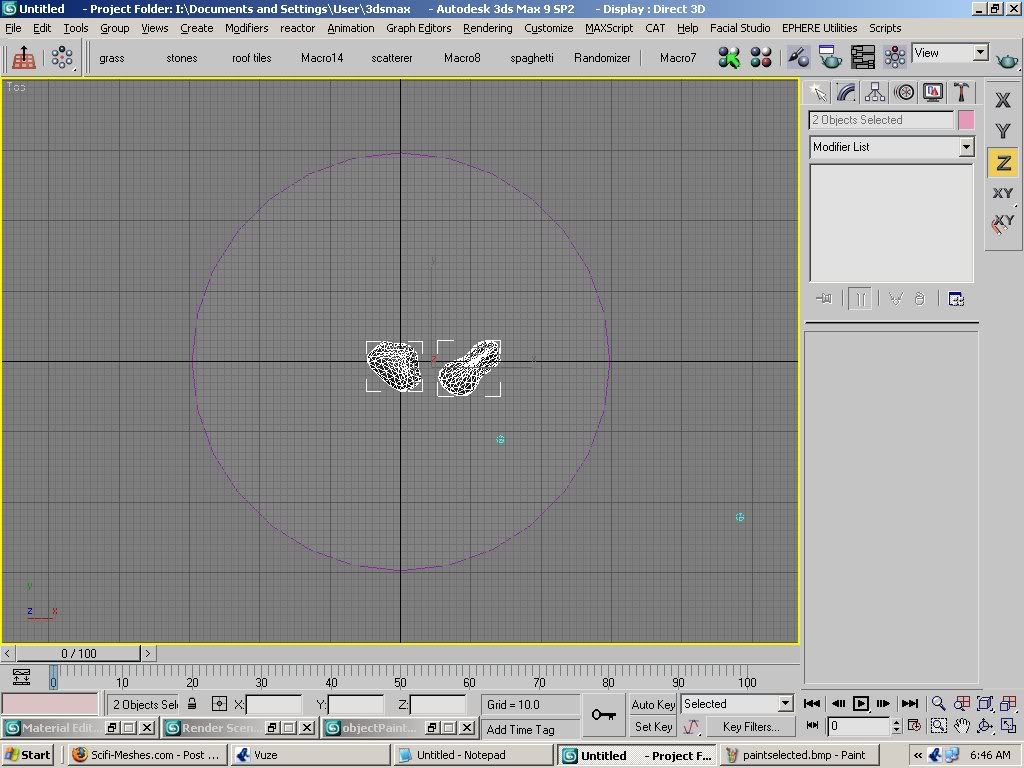
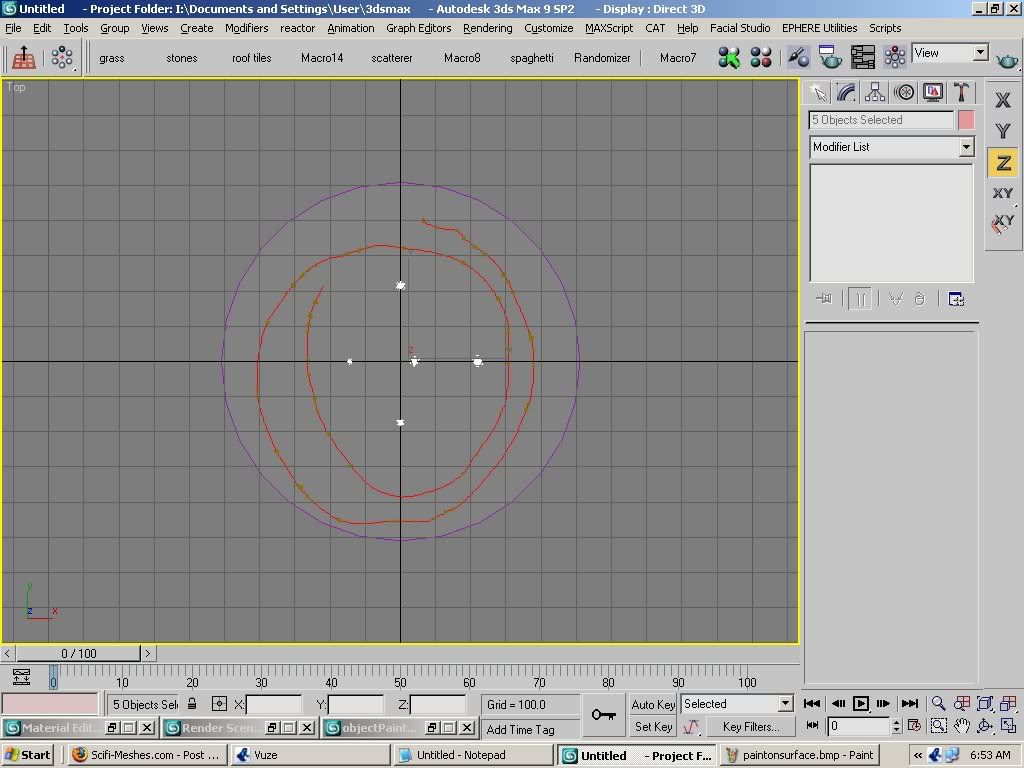
when you want to finish, just click on the stop painting button. next select everything but the circle, group it and hide it.
open up the other group that was hiding and repeat the same process.
here is an example of both asteroid groups rendered together.
after you are finished hide everything and create a new chunk. this will be the basis for the more detailed asteroids. or you can just make several and follow the same system for creating each one. which is:
pro cutting.
around the chunk, create several spheres. use about 18 segments or less. too many more will raise polys and its not really necessary. arrange them around the chunk so they intersect the surface. you can scale them to different sizes and shapes and rotation before the next step.
once you are satisfied with the spheres positions and sizes, select one of the spheres and go to the compound objects menu. select pro cutter. choose the "pick cutter objects" and use the edit>select by name> and highlight all the spheres. then click select and all of the spheres now are cutters. next choose the "pick stock objects" button and scroll down to the edge removal options. this is very important if you want to retain the shape of the chunk, but if its not important, you can skip that step. anyway its your choice to either remove edges or not. next click on the chunk and you have craters in the asteroid! convert it to an editable poly and if you want use mesh smooth on the surface to even it out a bit. you can also add noise modifier to it to give it a bit more character. do this as many times as you like to create your more detailed roids. then if you want you can use painter to create another group of large asteroids.
once you are done using object painter, its safe to delete the circle and unhide all the groups of asteroids. you can scale them and adjust them to your liking and a final render should look like this.
thats it for the asteroid tutorial. hope that it was fun and informative.
Additional credits
- Icons from Font-Awesome
- Additional icons by Mickael Bonfill
- Banner background from Toptal Subtle Patterns
© Scifi-Meshes.com 2001-2024