Greetings!
Welcome to Scifi-Meshes.com! Click one of these buttons to join in on the fun.
Quick Links
3DSolaremes Starfleet Bridges
 solaremes48
Posts: 31Member
solaremes48
Posts: 31Member


It's time to start my own thread. Since a longt time, I had the dream to create my own Star Trek interiors and I have always admired artists like Tadeo D’Oria, Sean Robertson or Donny Versiga and their perfect works. A while ago I finally started learning Blender myself, believing that I would never be able to model an entire bridge. I initially followed an online course and then needed something more “trekkier” to try my hand at. I finally found Sean's TFF bridge part model in the release section of this forum and started having fun with it. Learning by doing, I finally worked my way from detail to detail and learned something new with each object. At this point, thank you Sean for providing your model, which basically opened the world of 3D modeling to me!
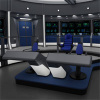
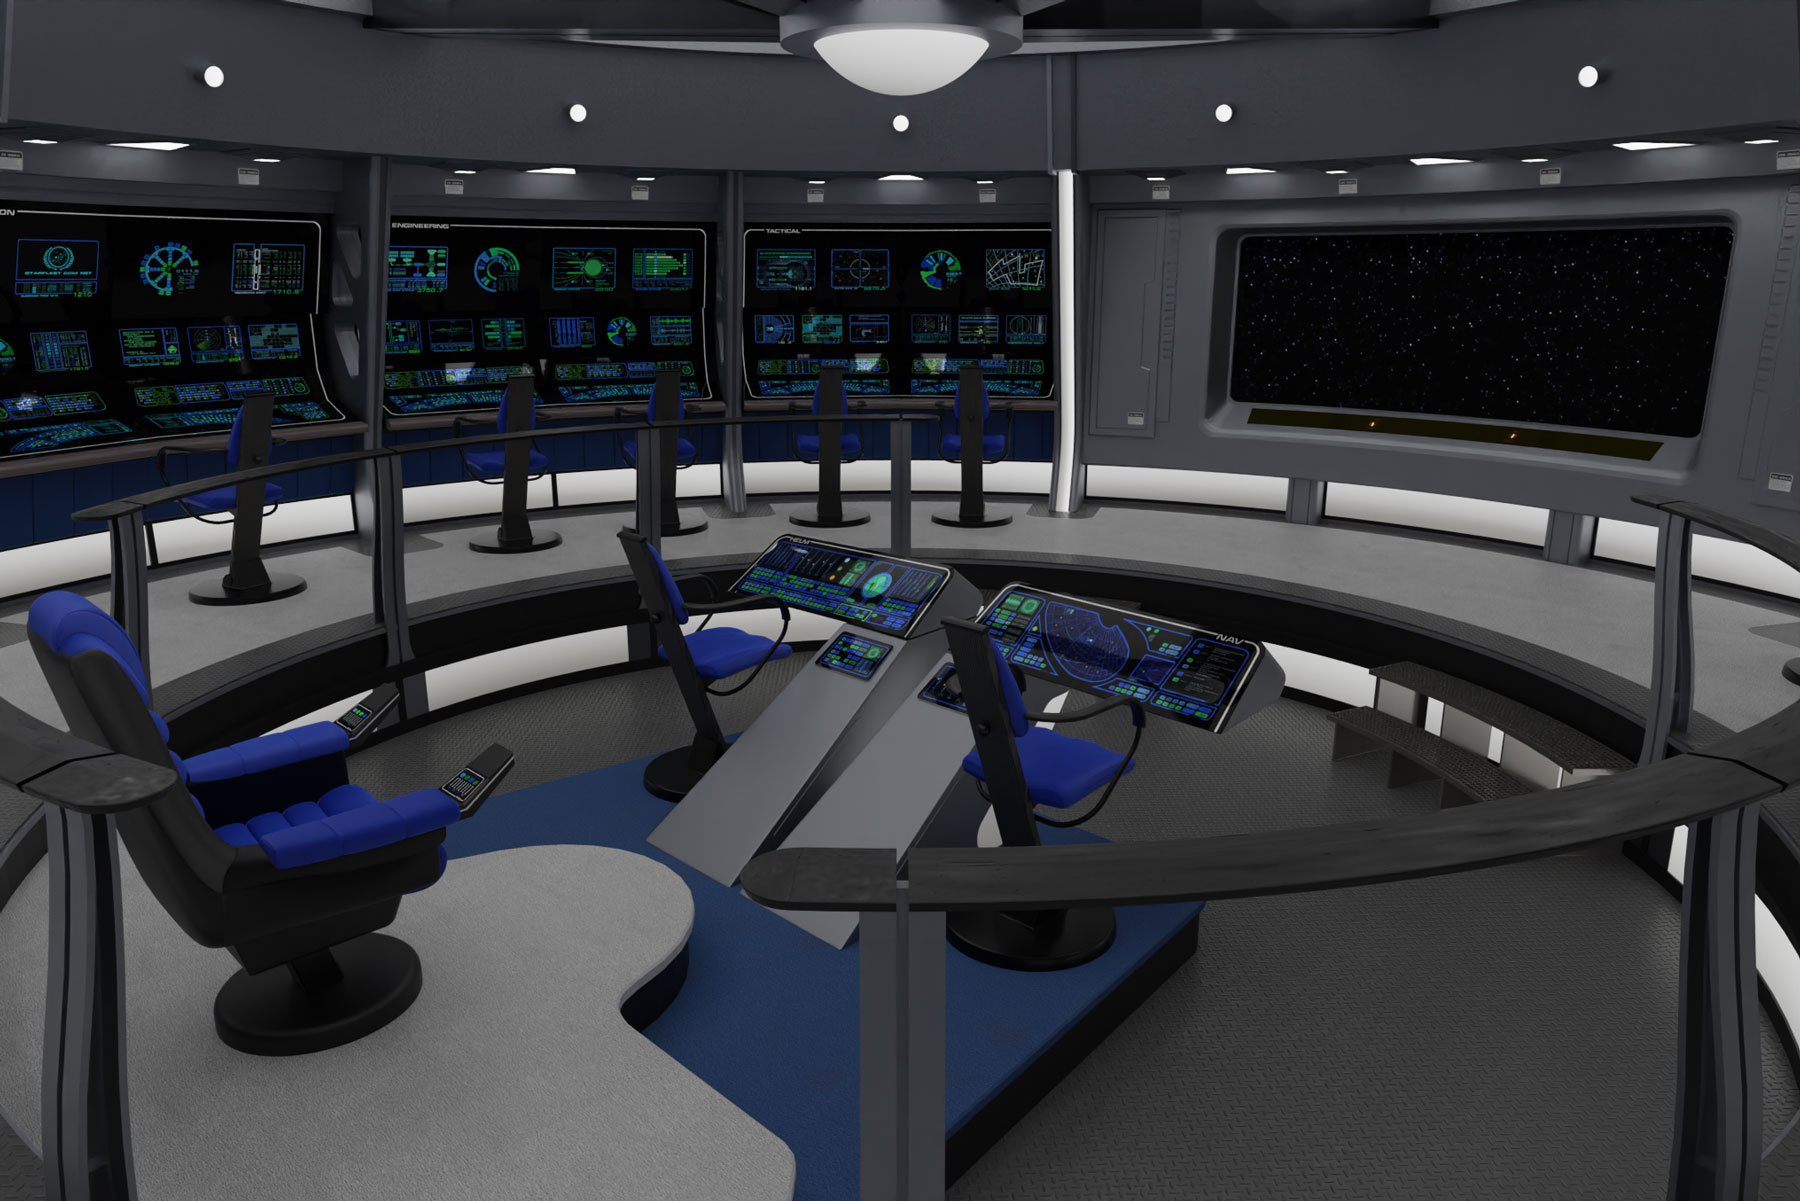
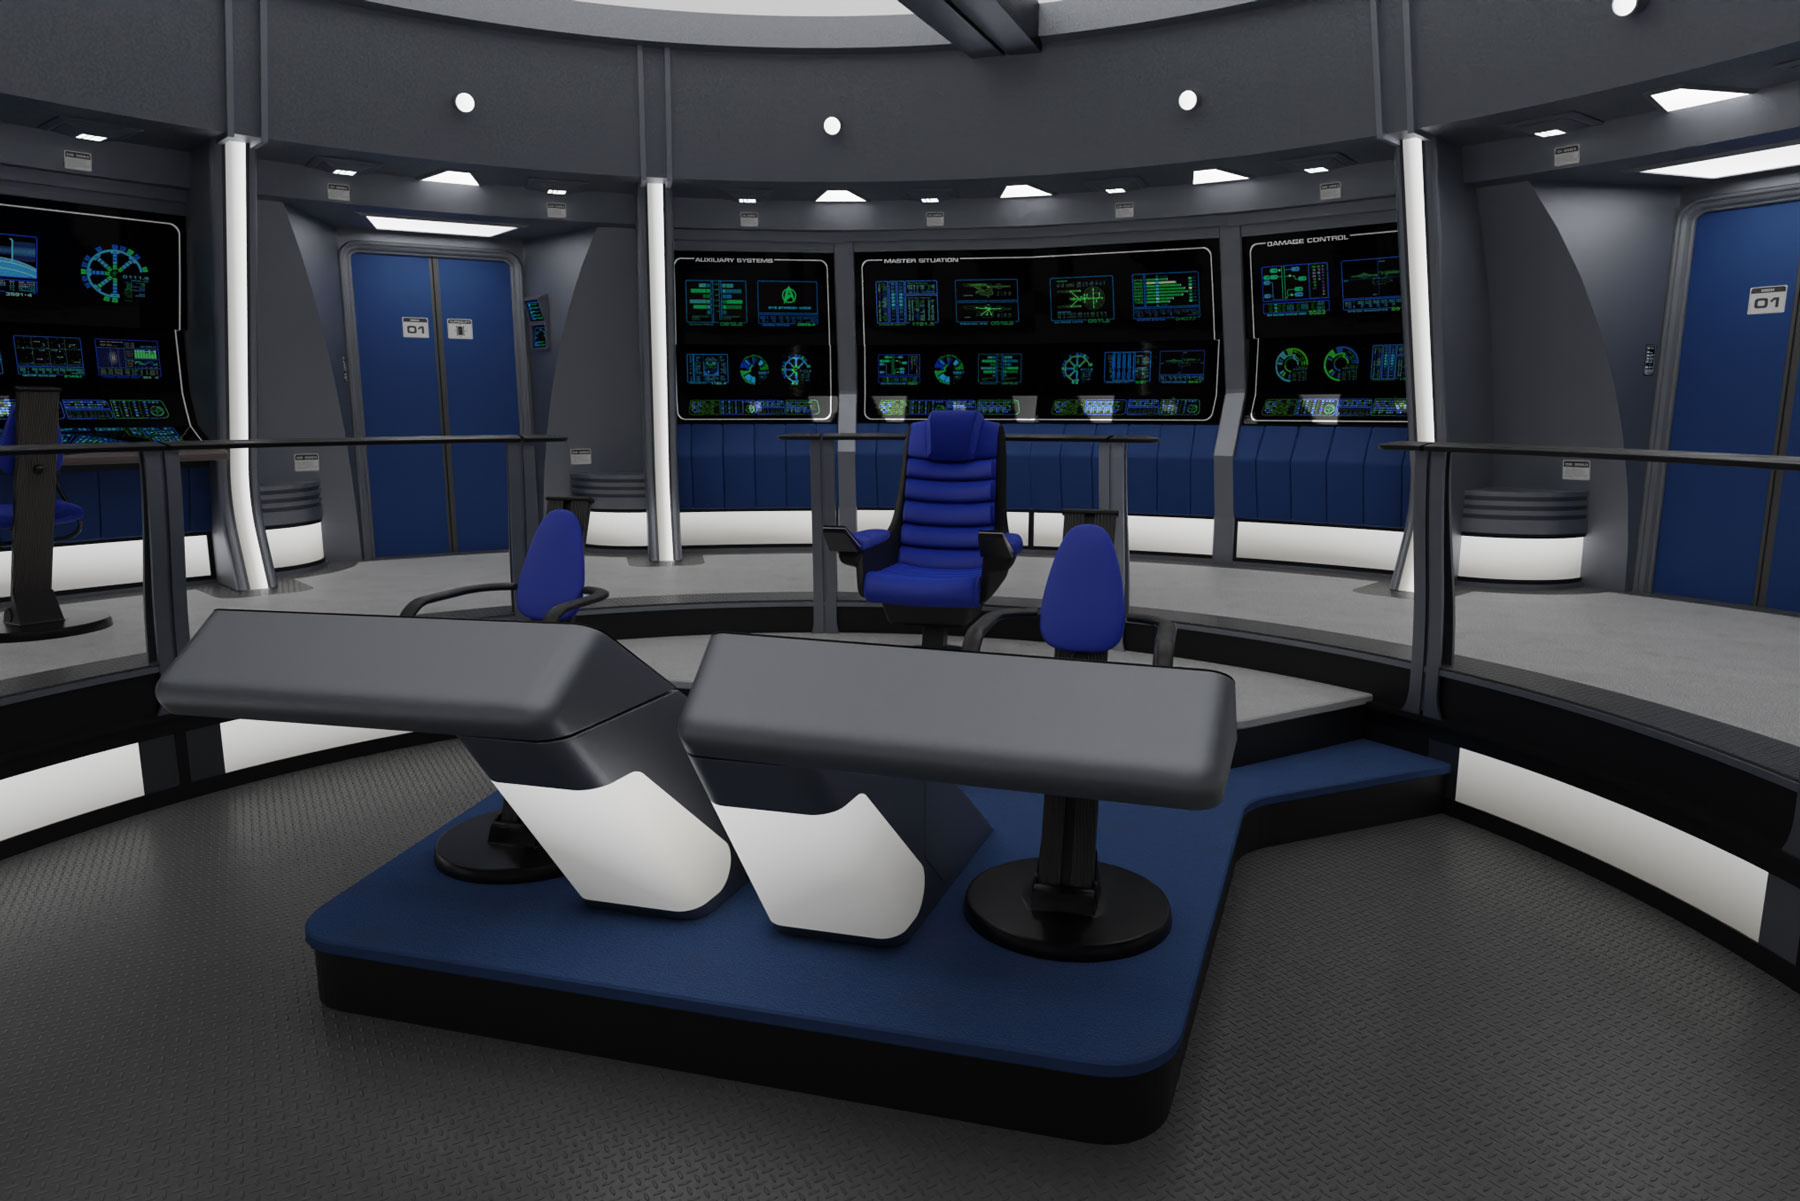
My first bridge should be based quite closely on Sean's model and I found a Phobos class ship to be quite suitable for it. I chose the USS Deimos, a sister ship to the prototype. For it’s bridge I chose an Excelsior-like design, which I wanted to give a slight lost era feel to by adding some carpet in a TFF shape. The TUC-like ceiling was completely modeled from scratch.
While the Ergoform chairs are also from Sean, I used the captain's chair from Falke. The movie Okudagrams come from http://www.lcars.org.uk/. These displays were created by Adge Cutler, who kindly allowed me to use them for my work.
Long story short, here are the first results of my work. I hope you like it and look forward to feedback!
Post edited by solaremes on


Additional credits
- Icons from Font-Awesome
- Additional icons by Mickael Bonfill
- Banner background from Toptal Subtle Patterns
© Scifi-Meshes.com 2001-2024
Posts
Sean is definitely a great guy to learn from. He's always been very generous with sharing his work.
One suggestion I'd have is to use a WeightedNormal modifier on all pieces, you can see on the sixth image the central ceiling spoke having what I think are some wonky normals.
lol, definitely don't consider my work perfect, I don't; I appreciate the sentiment though. Looking forward to what you do next!
Interesting concept, this directly gives me new ideas about what to do next ;-)
However, there are also many examples in the Trek canon where the color code of the interiors would not fit into these classifications.
Thanks, that was exactly the idea behind the selection of colors and materials.
Thank you for the compliment!
Regarding the ceiling spoke: I noticed the error too, but I had no idea what could be causing the artifact. But I knew that at least you would notice it ;-)
Thanks for the tip, I will try to fix the error.
Feel free to comment.
We call those smoothing errors and they do crop up. They can be caused by a number of things. Sometimes it's just non planar faces, other times it's just due to having a mixture of flat and rounded surfaces. If it's the latter, one thing you can do to quickly squash those is, in object mode, select your part, hit the "object" menu and select "Shade Smooth by Angle." This usually defaults to 30 degrees, but you can customize the amount of degrees if it still doesn't look right. If it's caused by non planar faces, sometimes triangulating the faces will help, other times you've got to do things like use that Weighted Normals modifier that Rekkert mentioned.
Thanks, this really helps. At the moment I do not have time to dive into this, but I will definately try to fix this.
That's nice of you! But I don't want to take credit for other people's work here. Please remember that most of the modeling work was done by Sean. I've created comparison renders that show the set from the same angle to demonstrate where I started over a year ago.