Greetings!
Welcome to Scifi-Meshes.com! Click one of these buttons to join in on the fun.
Quick Links
3DCharacters: Blender w/ ManuelbastioniLABv01.4.0 addon
 psCargile417
Posts: 620Member
psCargile417
Posts: 620Member


Can't sing enough praises for Manuel Bastioni's excellent work on a Blender addon that lets you build characters from a number of presets right in Blender. It's a lot better than MakeHuman (or since the last time I used it) and allows much diversity across body types and shapes, and distinctive faces, so all your characters don't look like they are all related. It also has tools to edit the skin textures within the addon, so that you don't have to create or edit them inside other software. He does provide a "details" texture you can edit outside of Blender to add makeup, change the eyebrows, add freckles, moles, tattoos, etc, which is great because you don't have to mess around with the skin textures.
However, it only makes the body, sans genitals. You have to make the clothes, which I'm starting to get the hang of. And the hair. So the addon does require a little bit of skill, and I learned all my skills watching the many, many Blender tuts out there on the web.
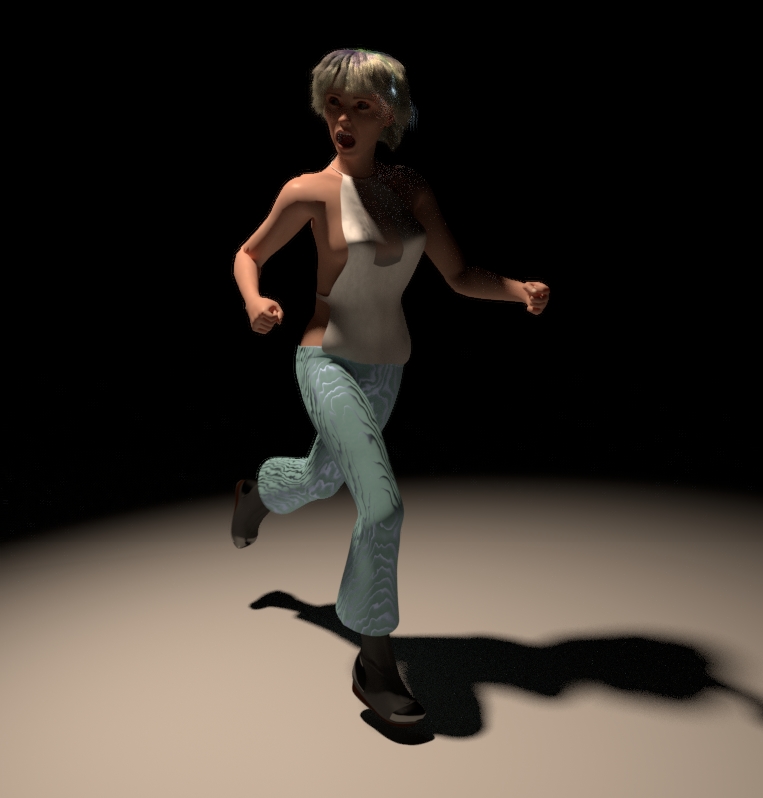
These characters are for my original short stories in the so-called Mercator Universe. I'll start out with Josi, whose desire for quick cash to leave Mercator puts her in the hands of nefarious persons.
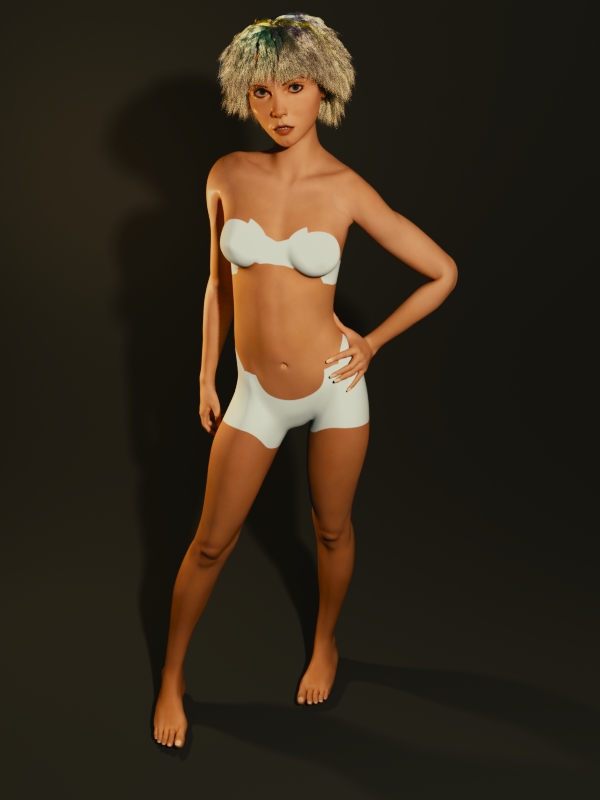
This is the second version of the character as I upgraded from 1.3 to 1.4. The addon comes with a number of poses, but this is one I made myself, and poses can be saved and loaded from the addon without having to deal with Blender's Pose Library. Big bonus that. Sadly there is no reverse IK so each bone has to be moved individually. And you can bend and twist the body into painful and fatal distortions. No bonus that.
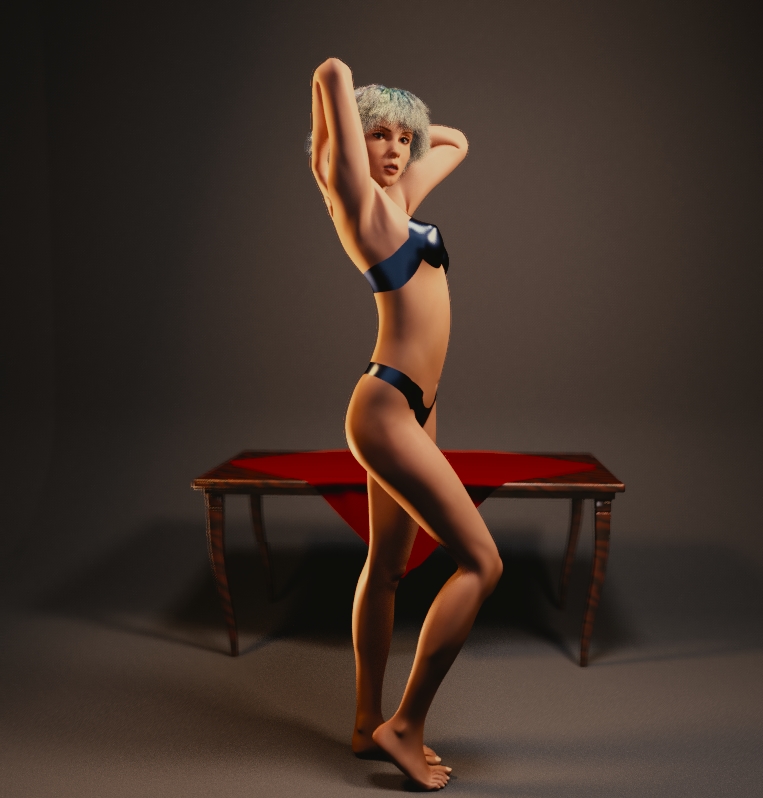
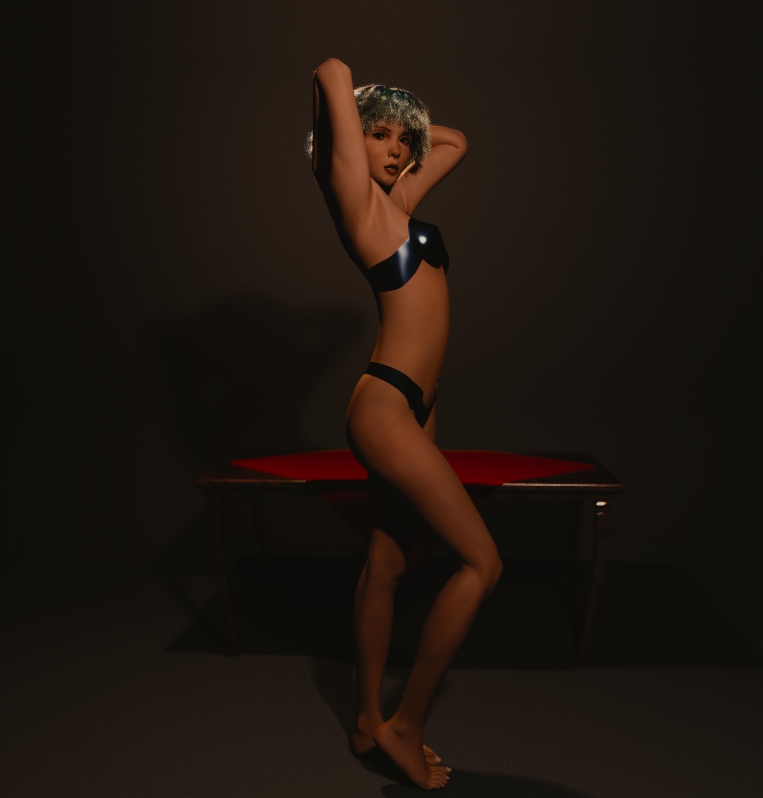
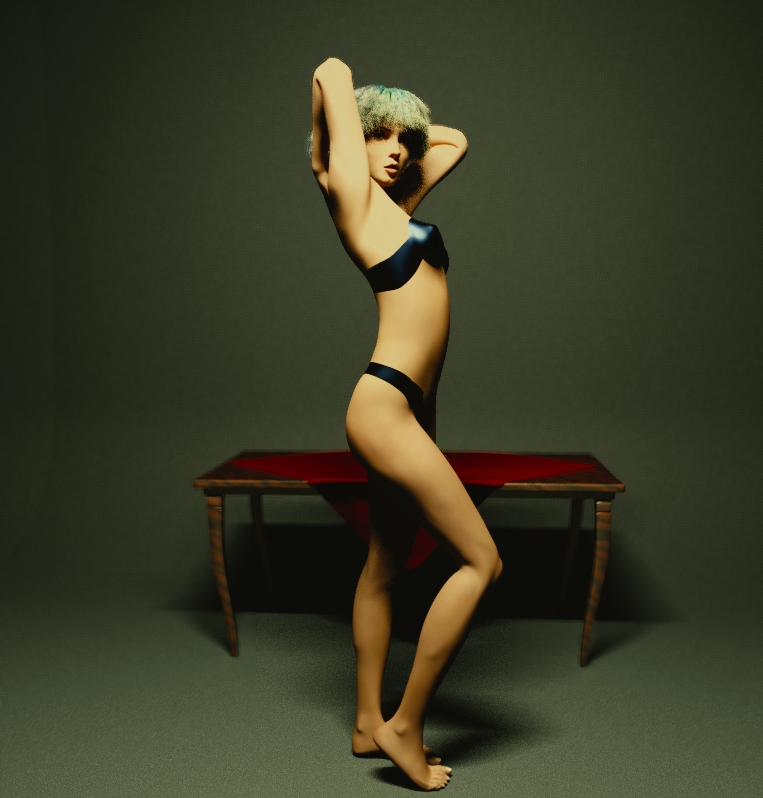
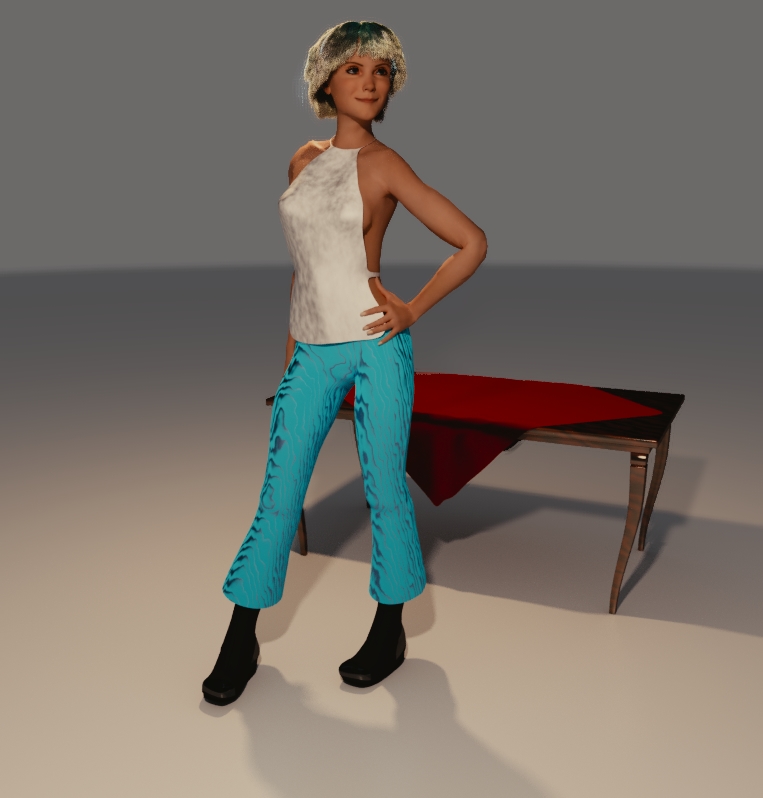
Found this pose after a model pose search on the internet. I made a quick table because a prop makes the scene look better. The addon will create four lamps if you choose the option. The first image in this set uses those lamps, plus an area lamp I added to flood the area with soft light from the front. The second is two point lamps, and the third is an area lamp mimicking a florescent bulb. I've learned to use color temperature (blackbody node for color) and have always used quadratic drop off for strength. To give it a boost in realism, I've gone to lightbulb websites and gotten the color temperature and wattage to mimic real bulbs. (And sometimes using Blender's Color Management to mimic film).
On to clothes.
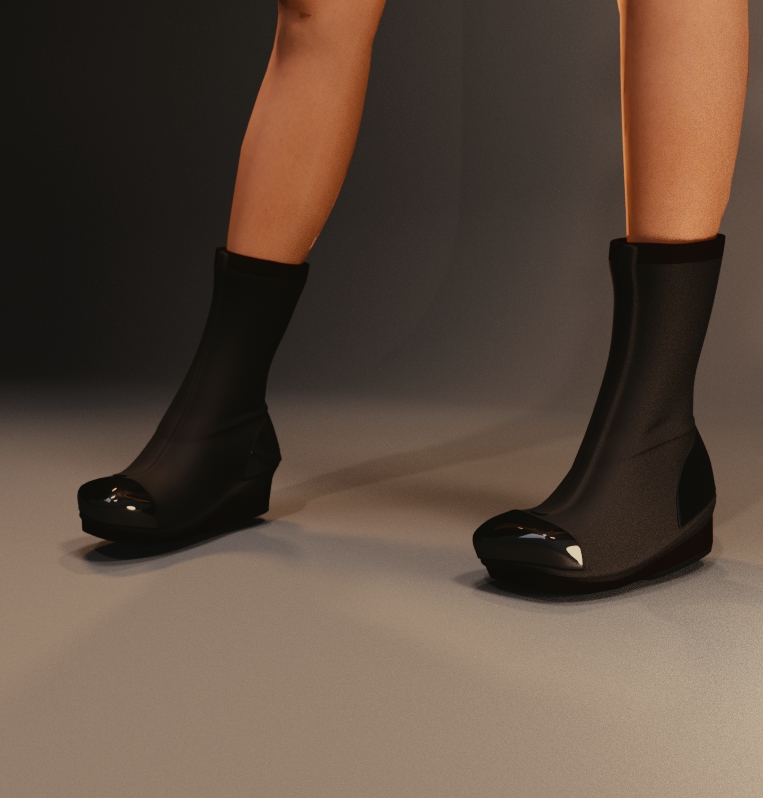
These are first pass boots. It rains more on Mercator than it does Seattle, so some form of wet weather foot wear is the norm. The neoprene look was an happy accident. I randomized a curve of vertices to create a wrinkle, but to get the realistic wrinkles and folds I want, I'm going to have to start using the Sculpt mode, and that is a challenge for later. I did not use the foot as the basis, but build straight up from a plane. The addon requires that the figure be reset to default to calibrate the proxies--the clothes and whatever else. So you adjust the figure's body to what you want, save that with the tools in the addon, then reset the figure to make clothes. This means you have to make footwear with the feet flat, so adding heals is a bit of a hassle. One way of saying it is that all the proxies have to be zeroed to the zeroed figure. So that is Boot v 01.0.0 with slick soles and a futuristic sealing system. Something, something nanotech something.
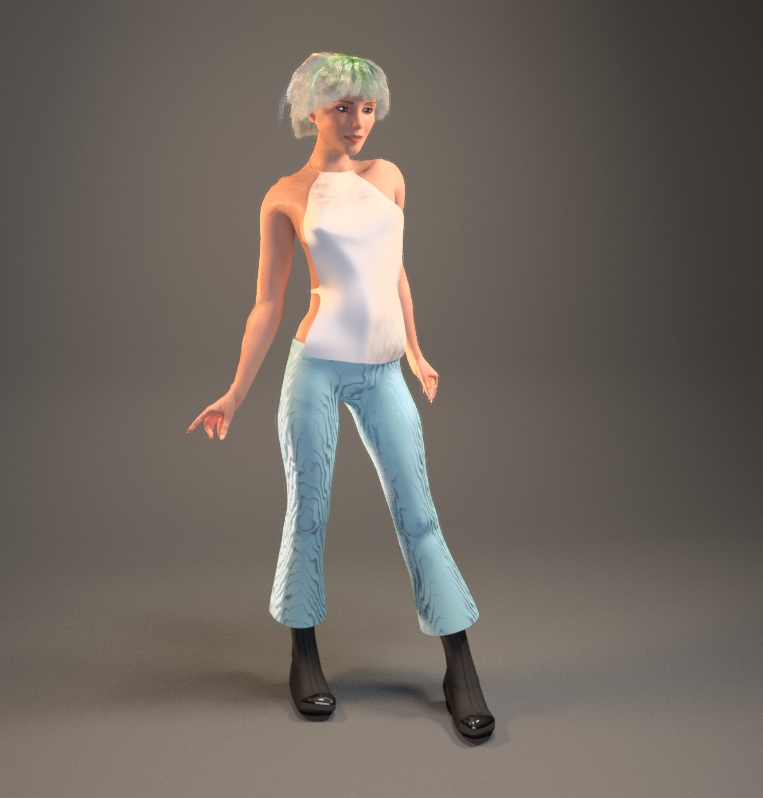
You reset the figure, make your clothes, calibrate the proxies, load the figure, pose, and fit proxies. I don't know how he makes it work, but he used shapekeys, which is good, because sometimes surfaces show through other surfaces and I need to pull a vertices or a face to fix it. I guess that's to be expected. Of course, everything is nice and smooth while I want wrinkles. I think for the final scene, it would be best to apply the pose and the shapekeys and try to sculpt folds. It's the far future so I want to try different things with clothing that we aren't going to be able to do today. I'm playing around with different looks. Making her coat is going to be a bastard. Making clothes? Again I'm not using any duplicated and separated meshes from the figure, it's all mirrored cylinder halves, full cylinders, proportional scaling and grabbing, pulling verts, and extending edges. Lofting, looping, smoothing, and modifiers. The top began as a filled circle around the neck, and most of its faces were deleted.
Then I made a t-shirt, and had to rock it out.
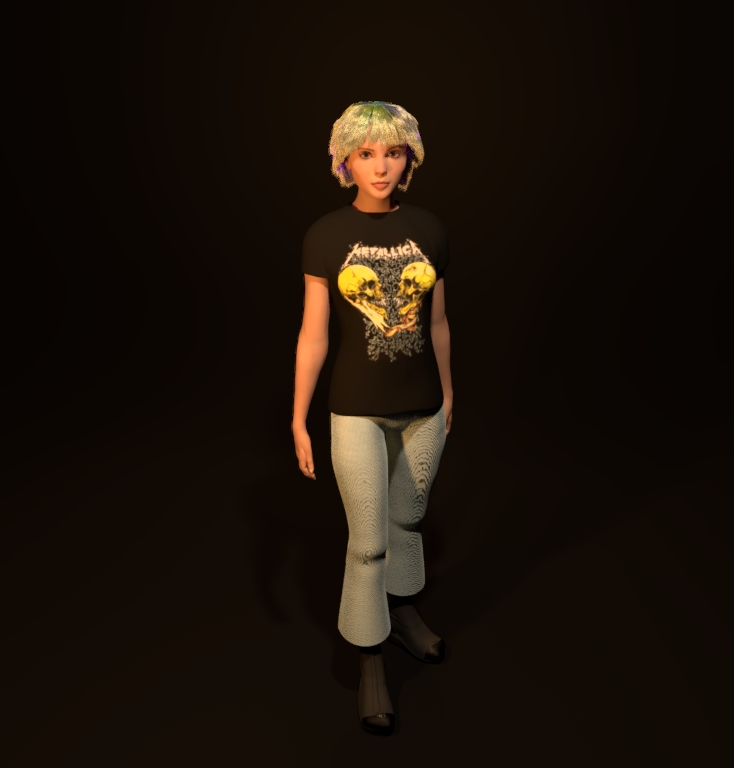
Knowledge of Metallica does not exist in the Mercator Universe, so Josi does not actually have this t-shirt, but I used to have that t-shirt, so I thought it would be fun to recreate. Lucky for me, Manga Studio 5 has a wonderful Mesh Transform tool that allowed me to distort the image I ripped from the internet along the meshes UVs.
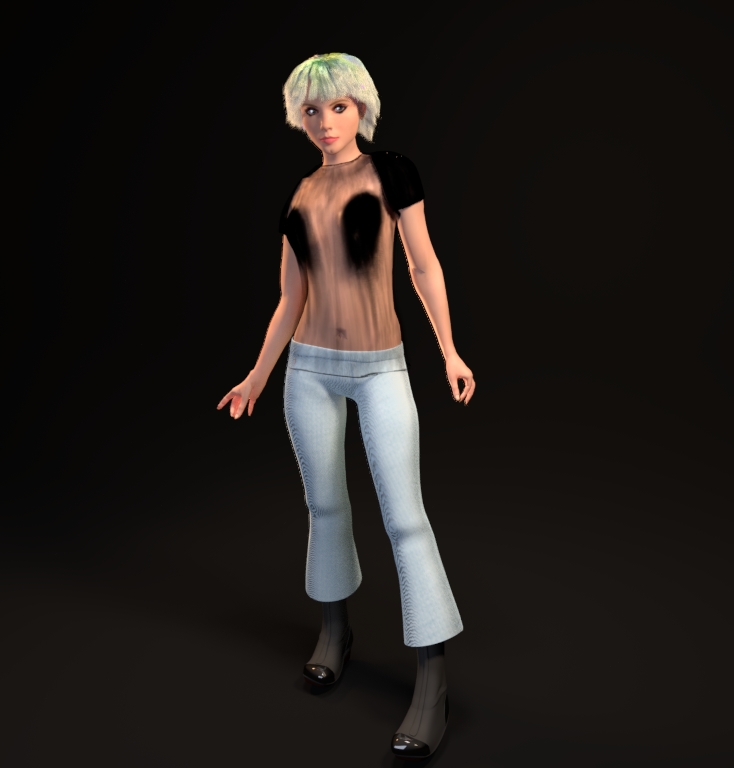
Another shirt texture made in Manga Studio 5 using india ink and spray paint brushes. Love MS5.
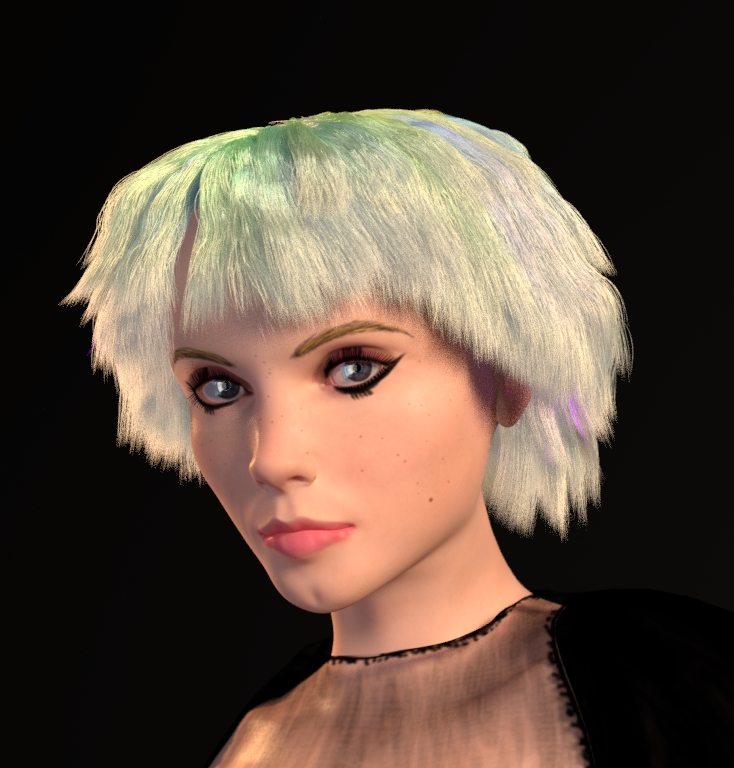
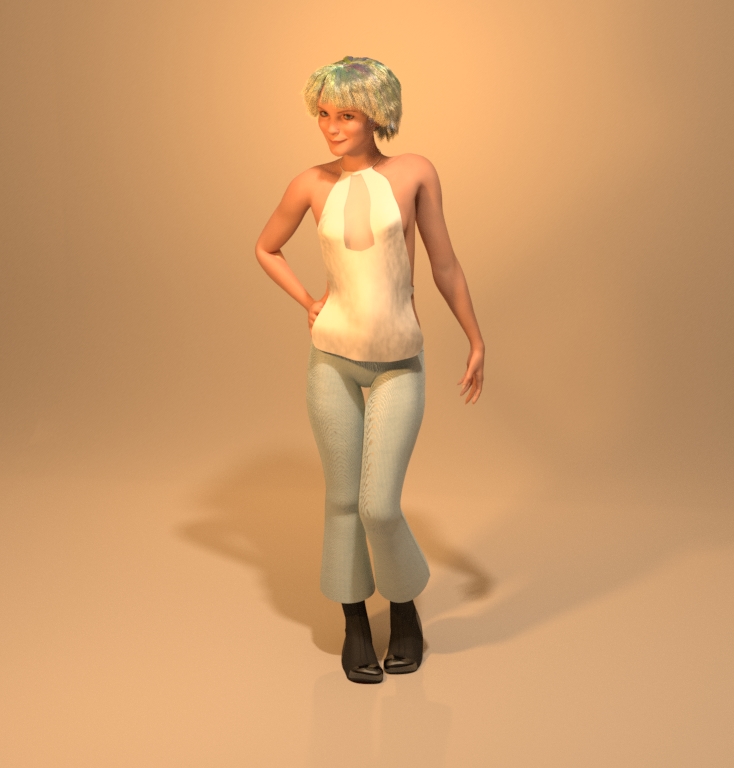
Playing around with the Details texture, again in MS5, applying makeup and a light scattering of freckles. The eyebrows need more work. At some point I am going to play around with Texture Paint, but I'm not going to be able to do that on the provided texture. Manuel's nodes are a mess and make Atlanta's interstate highways tame in comparison. I had to go in and group nodes, and will have to figure out the best way to add yet another texture into the fray--he includes four.
Hair? Yes there are emitting strands within them. There are a lot of tutorials out that cover the making and shaping of hair, but it seems there is always some tweaking of values to make it look right. What I used to do in my pursuit of dogged realism is make a vertices group for the whole scalp where hair actually grows, and sprout the hair from that group on the mesh. That made the hair look oddly layers. What I do now is make only the top of head the scalp and omit the sides. The hair is going to cover all that anyway, and it looks better on my long haired characters to be presented later. I also make the strands thinner, roots 0.05 and tips 0.03. That range looks good on my system.
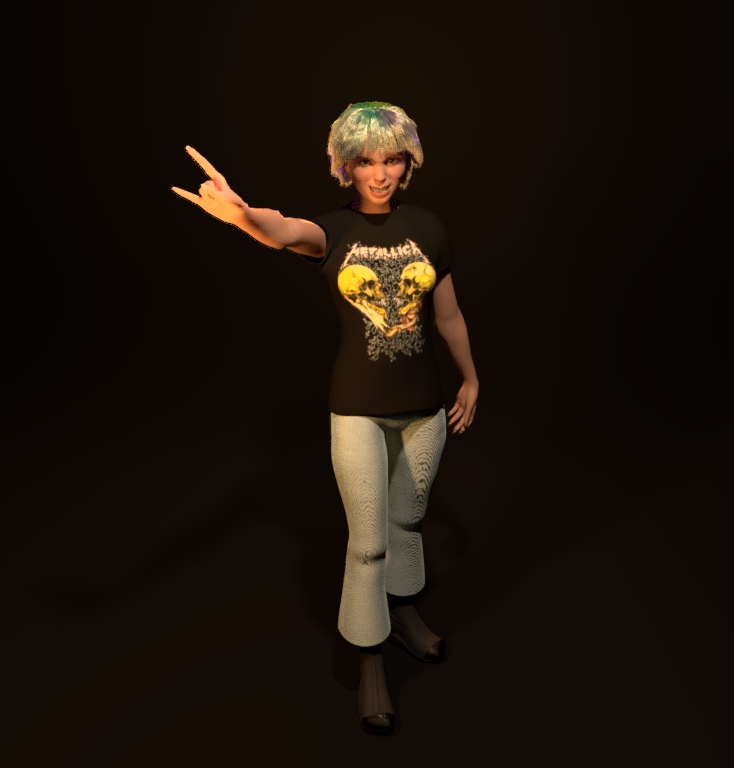
Facial expressions are provided with a number of presets, just select and there it is. They can also be modified or made from scratch in the body modification tab under expressions. He doesn't use bones, but shapekeys, and the values are defaulted at 0.500 and range up to 1. I wish he used better labels than eye03 and mouth09. Something more descriptive would eliminate "What did this do again?" But a minor inconvenience for such an impressive and easy to use addon.

However, it only makes the body, sans genitals. You have to make the clothes, which I'm starting to get the hang of. And the hair. So the addon does require a little bit of skill, and I learned all my skills watching the many, many Blender tuts out there on the web.
These characters are for my original short stories in the so-called Mercator Universe. I'll start out with Josi, whose desire for quick cash to leave Mercator puts her in the hands of nefarious persons.
This is the second version of the character as I upgraded from 1.3 to 1.4. The addon comes with a number of poses, but this is one I made myself, and poses can be saved and loaded from the addon without having to deal with Blender's Pose Library. Big bonus that. Sadly there is no reverse IK so each bone has to be moved individually. And you can bend and twist the body into painful and fatal distortions. No bonus that.
Found this pose after a model pose search on the internet. I made a quick table because a prop makes the scene look better. The addon will create four lamps if you choose the option. The first image in this set uses those lamps, plus an area lamp I added to flood the area with soft light from the front. The second is two point lamps, and the third is an area lamp mimicking a florescent bulb. I've learned to use color temperature (blackbody node for color) and have always used quadratic drop off for strength. To give it a boost in realism, I've gone to lightbulb websites and gotten the color temperature and wattage to mimic real bulbs. (And sometimes using Blender's Color Management to mimic film).
On to clothes.
These are first pass boots. It rains more on Mercator than it does Seattle, so some form of wet weather foot wear is the norm. The neoprene look was an happy accident. I randomized a curve of vertices to create a wrinkle, but to get the realistic wrinkles and folds I want, I'm going to have to start using the Sculpt mode, and that is a challenge for later. I did not use the foot as the basis, but build straight up from a plane. The addon requires that the figure be reset to default to calibrate the proxies--the clothes and whatever else. So you adjust the figure's body to what you want, save that with the tools in the addon, then reset the figure to make clothes. This means you have to make footwear with the feet flat, so adding heals is a bit of a hassle. One way of saying it is that all the proxies have to be zeroed to the zeroed figure. So that is Boot v 01.0.0 with slick soles and a futuristic sealing system. Something, something nanotech something.
You reset the figure, make your clothes, calibrate the proxies, load the figure, pose, and fit proxies. I don't know how he makes it work, but he used shapekeys, which is good, because sometimes surfaces show through other surfaces and I need to pull a vertices or a face to fix it. I guess that's to be expected. Of course, everything is nice and smooth while I want wrinkles. I think for the final scene, it would be best to apply the pose and the shapekeys and try to sculpt folds. It's the far future so I want to try different things with clothing that we aren't going to be able to do today. I'm playing around with different looks. Making her coat is going to be a bastard. Making clothes? Again I'm not using any duplicated and separated meshes from the figure, it's all mirrored cylinder halves, full cylinders, proportional scaling and grabbing, pulling verts, and extending edges. Lofting, looping, smoothing, and modifiers. The top began as a filled circle around the neck, and most of its faces were deleted.
Then I made a t-shirt, and had to rock it out.
Knowledge of Metallica does not exist in the Mercator Universe, so Josi does not actually have this t-shirt, but I used to have that t-shirt, so I thought it would be fun to recreate. Lucky for me, Manga Studio 5 has a wonderful Mesh Transform tool that allowed me to distort the image I ripped from the internet along the meshes UVs.
Another shirt texture made in Manga Studio 5 using india ink and spray paint brushes. Love MS5.
Playing around with the Details texture, again in MS5, applying makeup and a light scattering of freckles. The eyebrows need more work. At some point I am going to play around with Texture Paint, but I'm not going to be able to do that on the provided texture. Manuel's nodes are a mess and make Atlanta's interstate highways tame in comparison. I had to go in and group nodes, and will have to figure out the best way to add yet another texture into the fray--he includes four.
Hair? Yes there are emitting strands within them. There are a lot of tutorials out that cover the making and shaping of hair, but it seems there is always some tweaking of values to make it look right. What I used to do in my pursuit of dogged realism is make a vertices group for the whole scalp where hair actually grows, and sprout the hair from that group on the mesh. That made the hair look oddly layers. What I do now is make only the top of head the scalp and omit the sides. The hair is going to cover all that anyway, and it looks better on my long haired characters to be presented later. I also make the strands thinner, roots 0.05 and tips 0.03. That range looks good on my system.
Facial expressions are provided with a number of presets, just select and there it is. They can also be modified or made from scratch in the body modification tab under expressions. He doesn't use bones, but shapekeys, and the values are defaulted at 0.500 and range up to 1. I wish he used better labels than eye03 and mouth09. Something more descriptive would eliminate "What did this do again?" But a minor inconvenience for such an impressive and easy to use addon.
Post edited by psCargile on
Additional credits
- Icons from Font-Awesome
- Additional icons by Mickael Bonfill
- Banner background from Toptal Subtle Patterns
© Scifi-Meshes.com 2001-2024
Posts
You need modeling skills, and Blender familiarity to make clothes. The addon doesn't provide a means to make clothes. I make pants by starting with the waist band, and then create a loop of faces covering the groin and butt, and then start extruding vertices and edges and raising them above the surface of the character mesh. Then I make a band around the thigh, loop select the edge and start extruding about an inch at a time toward the waist until I'm close enough to loft faces. Then I do the same process down the leg. My initial waistband is a 32 sided cylinder, cut in half, and mirrored. I only use 16 faces for the thigh cylinder. It's easy if you know how you model in Blender, but time consuming.
When you finish with designing the character, you have to Finalize it to append it into other scenes. Bastioni explains why on his website. I have no idea how well exports will do.
I plan to upload some more renders tonight. I made a evening dress for another character, and discovered it did not fit well across the legs in poses where the legs are apart. It is not without problems. Maybe a cloth modifier would help, but I try to avoid anything that is going to need a lot of calculating time.
You may want to look into MakeHuman, which exports to Blender and other file formats, let's you mix races, add genitals, and select from different clothes and mesh based hairstyles. In Blender, the clothes are parented to the bones as opposed to being keyshape transformations. You might find it easier to redo textures for clothes than make your own.
Blender is my primary modeling software, and I prefer to do as much as I can in it. I also have Poser 10. Out of the three of them the add-on is the fastest and easiest to use, even though it lacks some features of the other two that I like.
Haven't done much with this character except the body. Dieter Caffee is a sort-of private eye patterned (just the face) from Humphrey Bogart, though not to be a dead ringer. The add-on has great command over facial features and I had no problem studying pictures of Bogart to shape them into a resemblance.
Caffee has been hired to find Josi.
Caffee's old flame is Courcia Appice, here without a hair particle system.
And here with. And with a brimmed rasta hat.
Both these show the fine detail of the add-on's displacement mapping. You set a slider for the amount, it does the rest. It's nice not haven't to mess around with textures, unless you want too.
The femme fatale that hires Caffee to find Josi is Marselda, whose face is based on Gloria Grahame.
With search engine images I was able to get a close approximation to her face, and sitting pose. And then I had some fun with her.
I hadn't made clothes for her, so I made some cloth-like censoring material and put the shrink wrap and corrective smoothing modifiers to it.
The evening dress doesn't shape well in the runway walk pose. It intersects itself in the back. I don't plan to try to fix it.
Josi's Hair Nodes:
I had to find this set up on the internet, and tweak it to make it look correct.
The mix ratio I found on the web had smaller numbers that wasn't creating the specular ring highlights I expected.
This was a bit tricky, and I had to learn the hair info trick to get the dye to map on the strands the way I expected it to look. The Noise texture gives an interesting look. I also have a second hair system for glowing strands.