Greetings!
Welcome to Scifi-Meshes.com! Click one of these buttons to join in on the fun.
Quick Links
BFTFH: Compositing


Introduction
Description
Files
Animation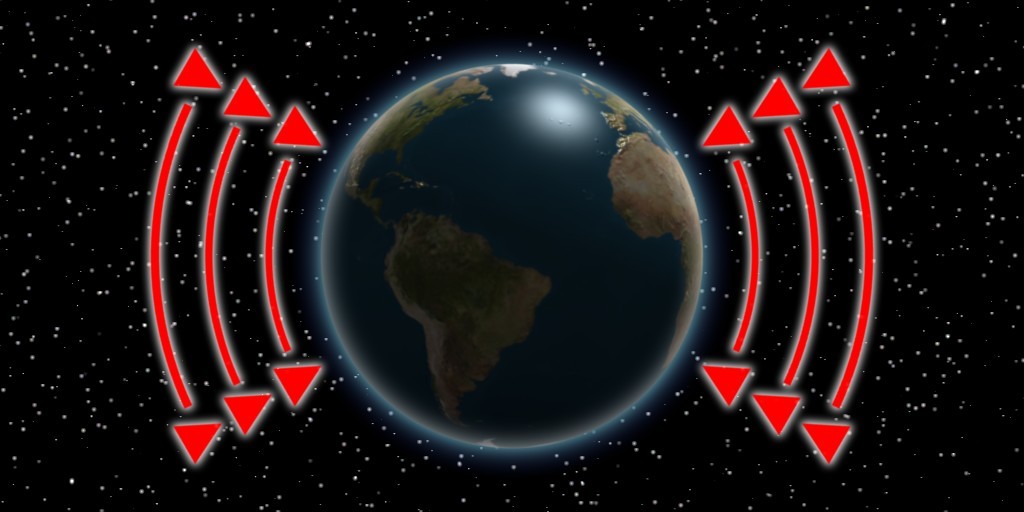
This tutorial follows the new format for Blender for the faint Hearted as the series has now been fully absorbed into my company. As well as continuing to be presented privately, I have hopes that it will also form part of a college course that we hope to run.
This tutorial is presented as a PowerPoint presentation suitable for a classroom, but as many people do not have MS PowerPoint or OO Impress, I have also attached a PDF version as well.
The presentation includes comprehensive notes/discussion on slides where appropriate, but some people find it hard to get access to the notes in the presentation (I for one, via PowerPoint - I never have any problems in Impress) so these are also included as a separate PDF as well.
I would recommend reading the notes for each slide as they are encountered rather than waiting till the end and reading them all in one go.
Description
This tutorial incorporates three different aspects of Blender:
The concepts are demonstrated via the process to build a space-opera like 'Target Earth' image (which could also be sub-titled, "Gordon's Alive...!", if people get the reference.
- Scenes
- Render Layers
- Composite Nodes
The concepts are demonstrated via the process to build a space-opera like 'Target Earth' image (which could also be sub-titled, "Gordon's Alive...!", if people get the reference.
Files
Attached.
Animation
Attached MPEG-4/MOV. A reduced quality, 3 sec demonstration of the final results.
Post edited by Sphynx on
Additional credits
- Icons from Font-Awesome
- Additional icons by Mickael Bonfill
- Banner background from Toptal Subtle Patterns
© Scifi-Meshes.com 2001-2024
Posts
This coruse, is it for Blender, and if so, is it a night class?
Can't wait to check it out.
Thanks,
-Brian
I'll PM you when more details come to light.
I was using 2.49b for the tutorial. When I selected the "Stars" scene and went to the World settings, there was nothing there at first. I clicked "Add New" and made the settings as per the tutorial, but for some reason, when I did that, World settings were also created in the "Planet" scene, which caused stars to appear over the planet. To fix this, I went to the "Stars" scene World settings and made the World material a single user by clicking on the number of users button by the material, which was "2," since the World material had two users, and then I selected the "Planet" scene and deleting the World material there (clicking the "X" button).
If you want to continue on and make the animation, as the tutorial states towards the end, the camera in the "Stars" scene should be linked to the camera in the "Planet" scene, so the stars appear to move as the camera moves. The tutorial suggests that the "Stars" scene be created as a linked scene. Now, at this point, the student could delete the "Stars" scene and start over with a linked scene, redoing the World work and so forth again, but there is an easier way. Delete the camera in the "Stars" scene, then go to the "Planet" scene, select the camera there, go down to the Object menu (not the Object bar) in the 3d window, select "Make Links" and then select "Stars" as the scene. This will create an identical camera in "Stars", linked to the camera in "Planet", which will move as it does.
To complete the animation, of course, one only need parent the crosshairs object to the camera in "Planet"and move the camera (either one) around while setting keyframes.
I tried to learn compositing so many different ways. But everything I found either just dealt with some little aspect of Compositing, like blurring or using it to change color aspects. Other turtorial were hard to understand, or just told me to do stuff without explaining why. This tutorial gave me the broad theory I was looking for, while at the same time giving me a very particular task to accomplish. It still took me hours to work through it, but I'm finally getting it.
I bow in gratitude to you, sir!