Greetings!
Welcome to Scifi-Meshes.com! Click one of these buttons to join in on the fun.
Quick Links
3DKlingon Bird of Prey
 xiaorobear716
Posts: 175Member
xiaorobear716
Posts: 175Member


Most recent update:
I'm much more active on the discord than the forums, but after years of seeing all your Trek ships, I finally have to jump on the bandwagon. Modeling in Maya, will texture in Substance Painter in the end.
I'm probably going for a medium-poly result, I'll model large panels and features that stick up a lot but will leave smaller details for textures only. I also don't think I'll get every panel perfectly accurate but the end result should look accurate in everything but closeups.
Post edited by xiaorobear on

Additional credits
- Icons from Font-Awesome
- Additional icons by Mickael Bonfill
- Banner background from Toptal Subtle Patterns
© Scifi-Meshes.com 2001-2024
Posts
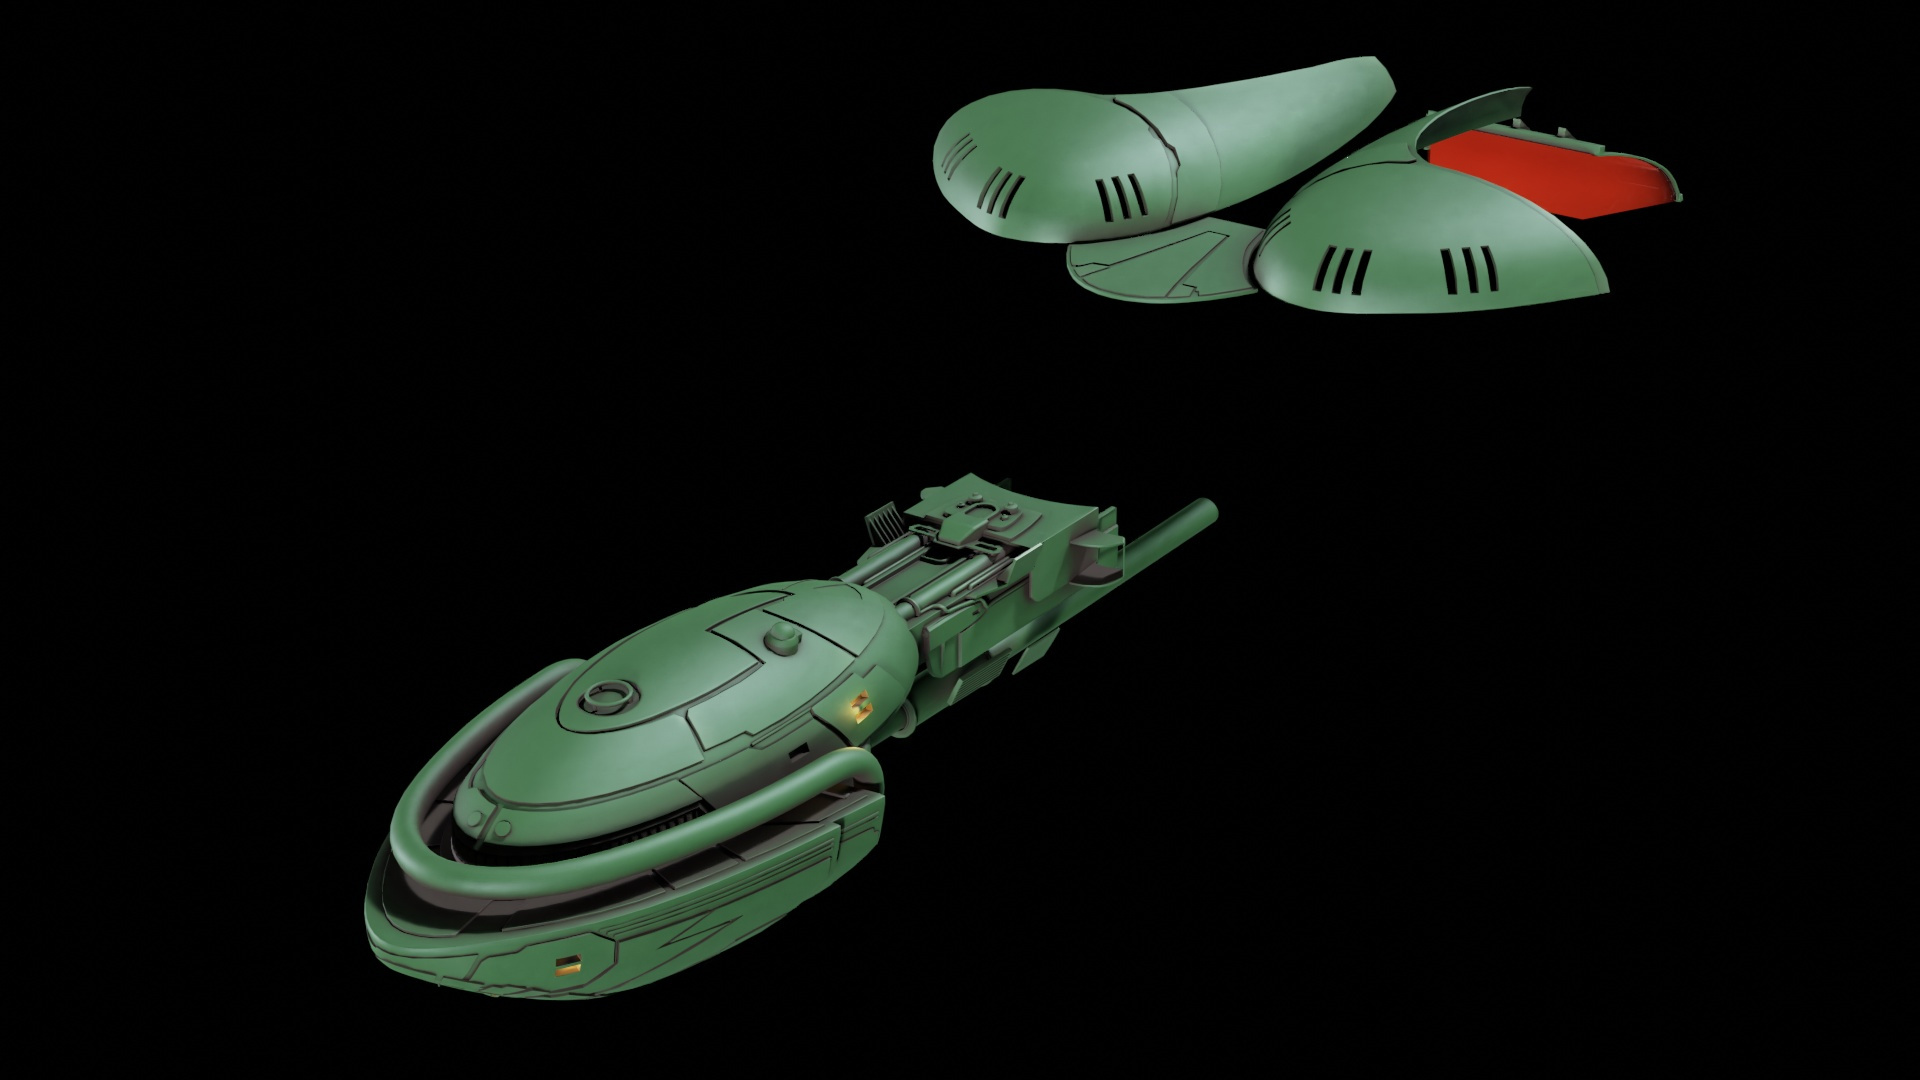
Starting in on the neck...
Having different sizes with different levels of detail out of whole cloth might be a way to go
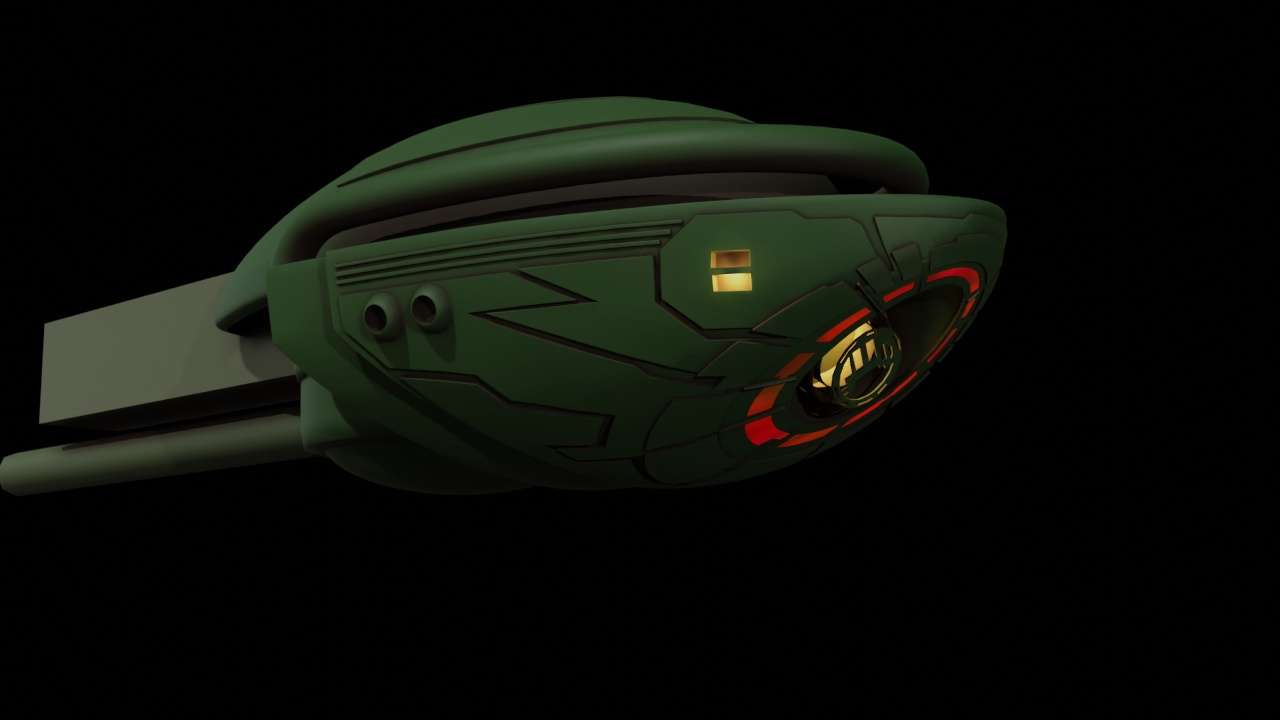
Made a bit more progress and also toyed around with the Substance Painter smart material setup. I will manually add specific paint details/decals but would like to get the weathering looking good procedurally. The scale is a bit off right now but it's a promising start.
https://gfycat.com/unpleasantbrokenizuthrush
I am actually modeling it in Maya, but I plan to ultimately render it in Blender Cycles, so whenever I am doing material tests I export it over. And Blender's viewport with its matcaps and cavity shading looks so, so much clearer than screenshots of Maya's viewport.
Here is a Cycles render with a basic green material with brown AO, and a HDRIHaven studio HDRI. I am feeling good about the progress!
(Embedded is a low-quality gif, here is a smooth version that wouldn't embed)
It is 3D but relies heavily on the compositor, so I can't just drop it into a scene with its own effects and have it look right, I'll have to comp it in as a separate layer.
Mostly yes. One slight problem is that I think some of these glows are meant to be lens-flare-like, rather than physical objects, and if I put them in a fast-moving shot with a lot of motion blur, the blur obliterates the thin trails and it doesn't look like Star Trek anymore. I don't believe Blender lets you turn off motion blur per object, so you'd be compositing together different passes to use it anyway.
If it's going to be on a 2D plane, then I might as well have made it in After Effects or something... but, still a very useful asset to have- I will make a little guide and share the blend file! Please note that I was just trying out random things, I am sure there are much more efficient/accurate ways to do all of it, it doesn't exactly resemble any show or movie's effect. I would also change the animated noise I used.
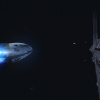
Here is also a disruptor shot effect that should be fully usable in 3D, not just on a plane. I don't mind if this gets blurred:
It's only in STVI that a BoP shoots red torpedos, if you are going for the earlier movies then this would also work for a green klingon torpedo, if it had some added electrical effects around it.
Anyway, on to the red torpedo guide:
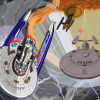
The 3D scene looks like this, 2 spheres, one smaller one inside the other, and 3 cones with pointed ends, rotated randomly to be at different angles. The 3 cones are the same size, ignore that they are different sizes in this screenshot:
The large sphere and the cones have a volume material with an animated noise texture controlling the emission strength. The inner sphere has a duplicate of that but with a much brighter yellow color instead of red. The animated noise is to break up the cones from appearing solid or repetitive, while the color ramp and light falloff nodes are pretty unnecessary, I was just trying to get the edges of the volume to be fuzzier. In rendered (Cycles) viewport this looks like this:
Now to animate the variation: I added keyframes to the scale and rotation of the objects in the scene, and then added Noise f-curve modifiers them. I gave the different objects' noise f-curve modifiers different speeds and offsets so they wouldn't all be in sync, and for the cones I made the strength of the noise on the Z axis stronger so that they would randomly get much longer and shorter, but not ever too wide. Here are the noisy transforms for one of the cones, causing it to randomly scale and rotate all over:
Shaded view in viewport:
Next we go into the compositor. The directional blur zoom value stretches the edges of the cones out more and softens them– this is the part that requires the effect to be centered, so make sure your camera is looking directly at it. It is definitely possible to get a much softer effect purely in the 3D volumes and not need to use the compositor this heavily, but when I just wanted everything blurrier and glowier I took the quick/easy route with this.
The Glare with no threshhold set to ghosts adds a strong but soft glow around everything, the 2nd Glare set to streaks with a high threshhold just occasionally adds a little star-shaped flare around the bright center. I also keyframed its angle offset so that the star flare would be spinning quickly. The bright inner sphere has that noise in its scale, so it only gets bright enough to flare occasionally. The rotation looks a little silly, it might be better to add some better lens flare action in a compositing program rather than here, but this is ok. Then the exposure node is because I got feedback that my first draft was too dim.
Same frame just with compositing toggled off and on:
As you can see this isn't set up particularly efficiently for easy modification. All of the values and curves in the shaders are arbitrary and pointless when I just added on more curves and exposure controls in compositing. The scale is also random and the volume materials will probably behave differently at different scales. The type of noise and type of animation I chose to break up the cones were arbitrary and maybe don't look so good, they result in a lot of darkness. Maybe having more thinner cones instead of 3 thick ones would look better. The speed of the randomized object transform noises could be too fast or too slow. Etc. But it is a decent effect. Here is the Blend file hosted on google drive if you want to modify any of those things!
(Oh I think I also forgot to make the compositor glare angle offset animation cycle infinitely, so double check on that if you plan to render out more than 100 frames or so, or the spinning inner flare will suddenly stop.)
and thank you for the explanation!
Thanks for sharing!