Greetings!
Welcome to Scifi-Meshes.com! Click one of these buttons to join in on the fun.
Quick Links
3DUnreal Engine Rendering Tests - Defiant
Hey all, it's been many years since i posted here, thought i would share some recent RnD i've been knocking up, using the new Unreal Engine 4.
I've converted Skye Dodds (i think?) beautiful Defiant model for use in the engine, it took a little while, leveraging material functions and nested material layers to try and replicate the specific shader setup he used in Max all those MANY years ago, i'm honestly shocked at how well his/her work holds up to this day, so full credit to their diligence and hard work back then, for all of us to enjoy and leverage with such recent technology.
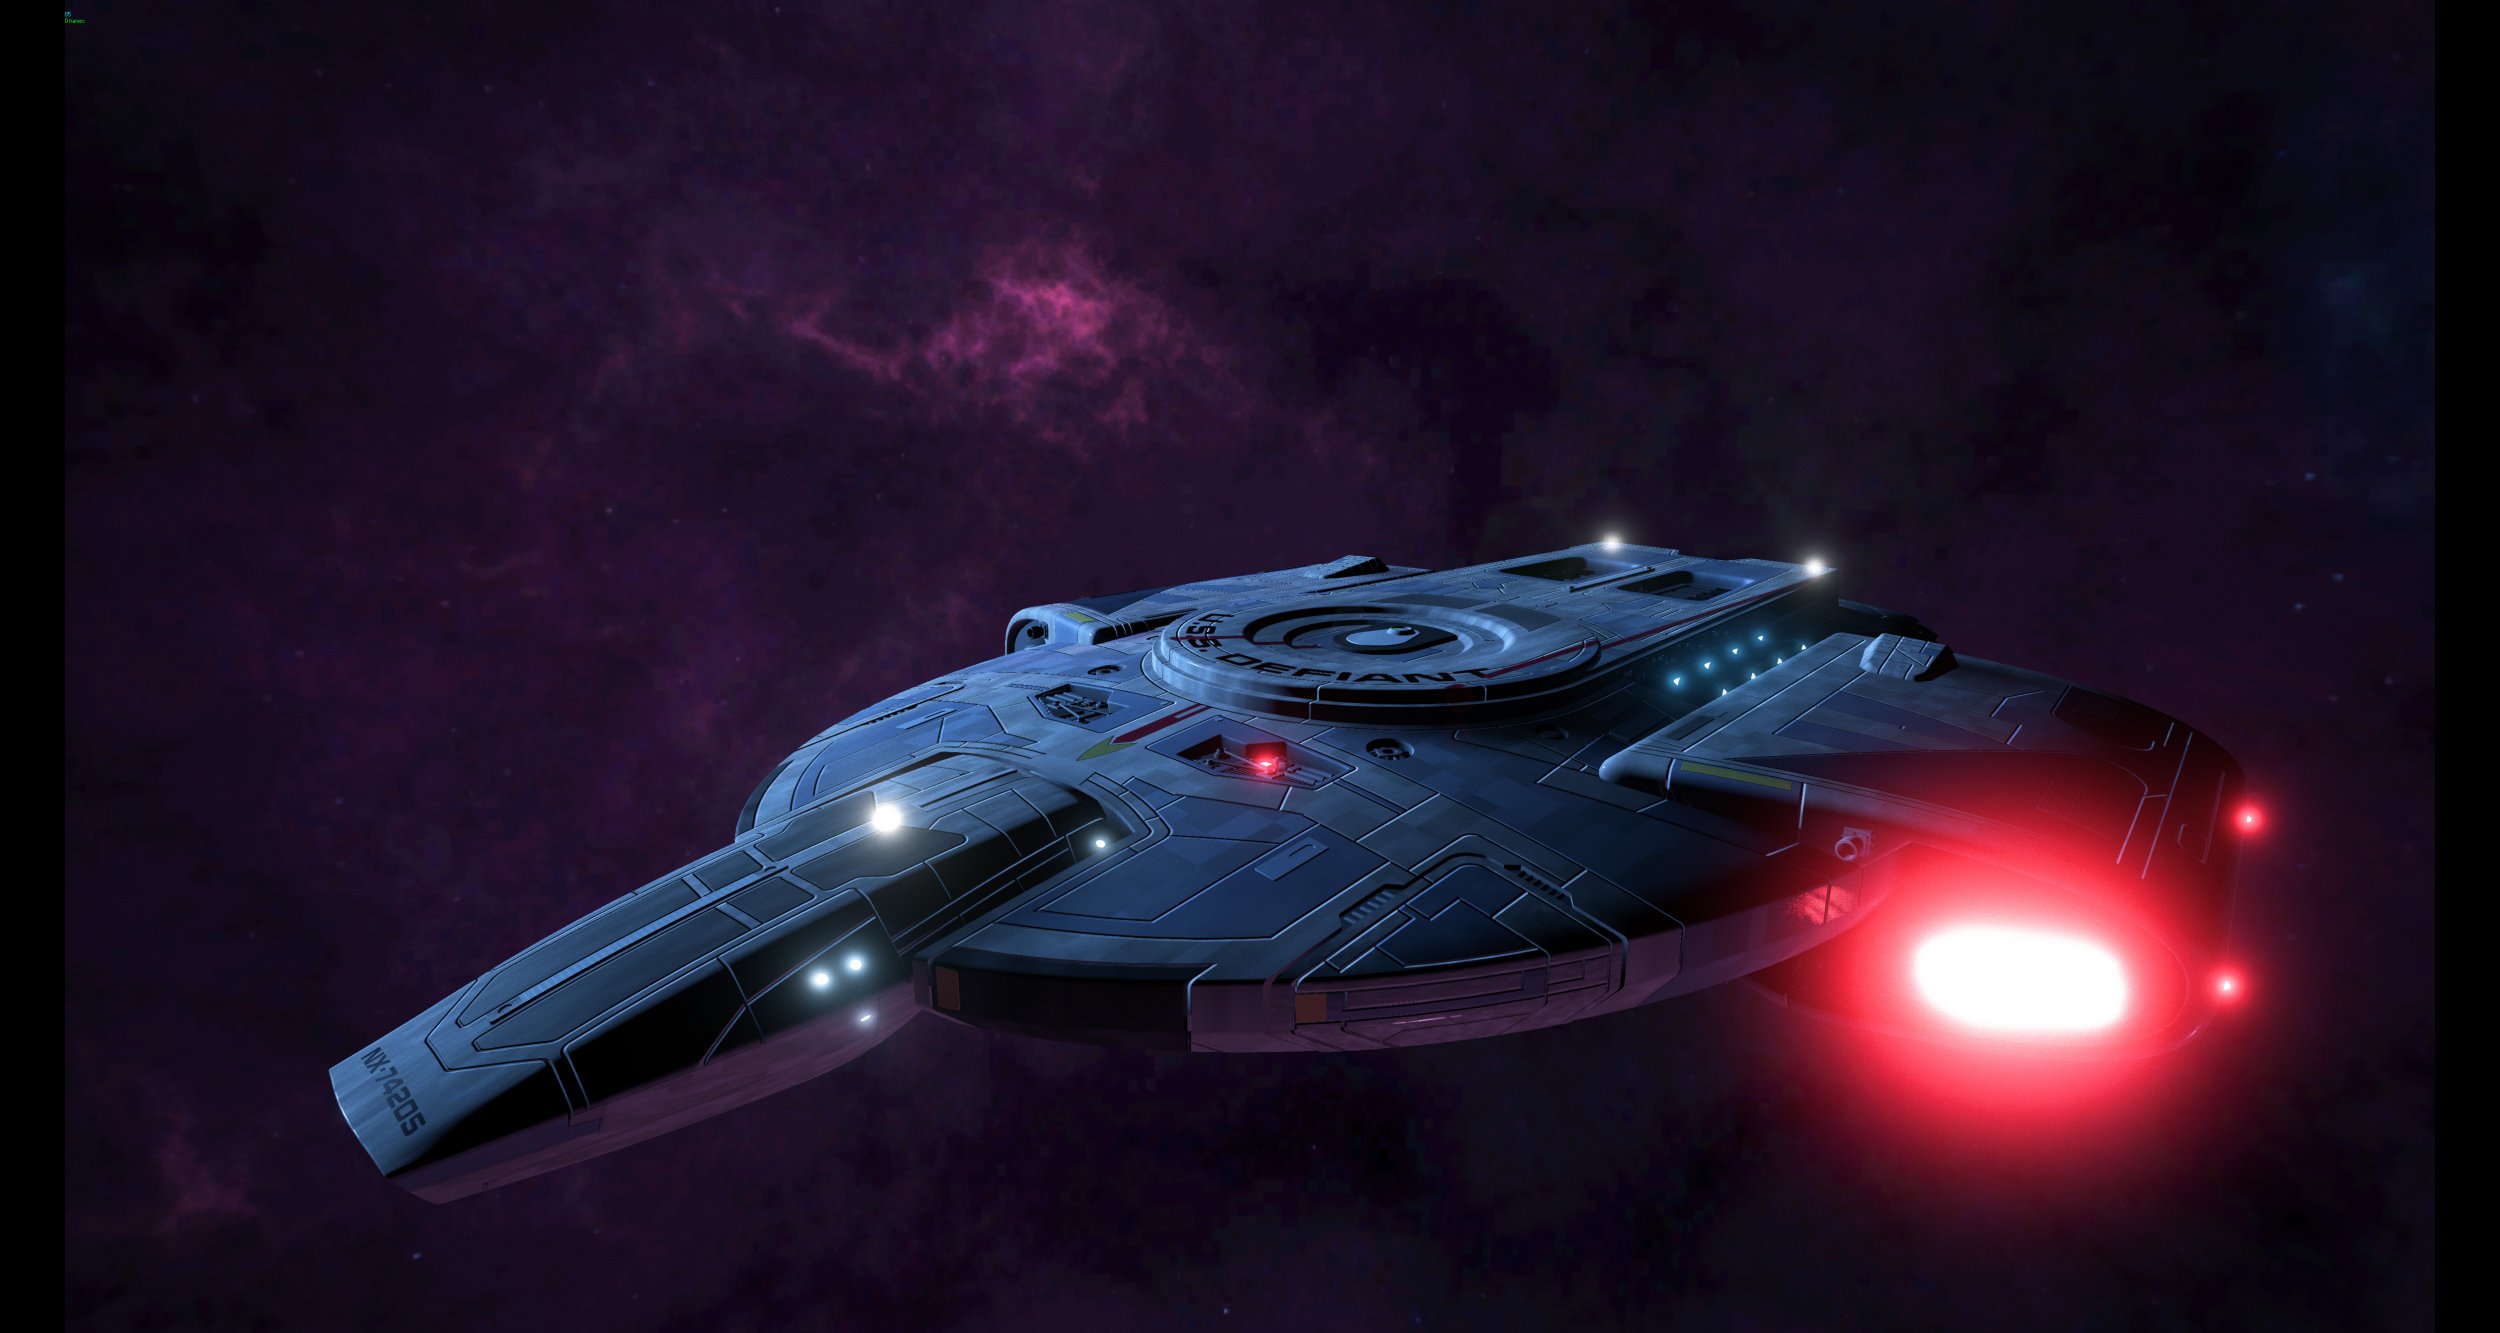
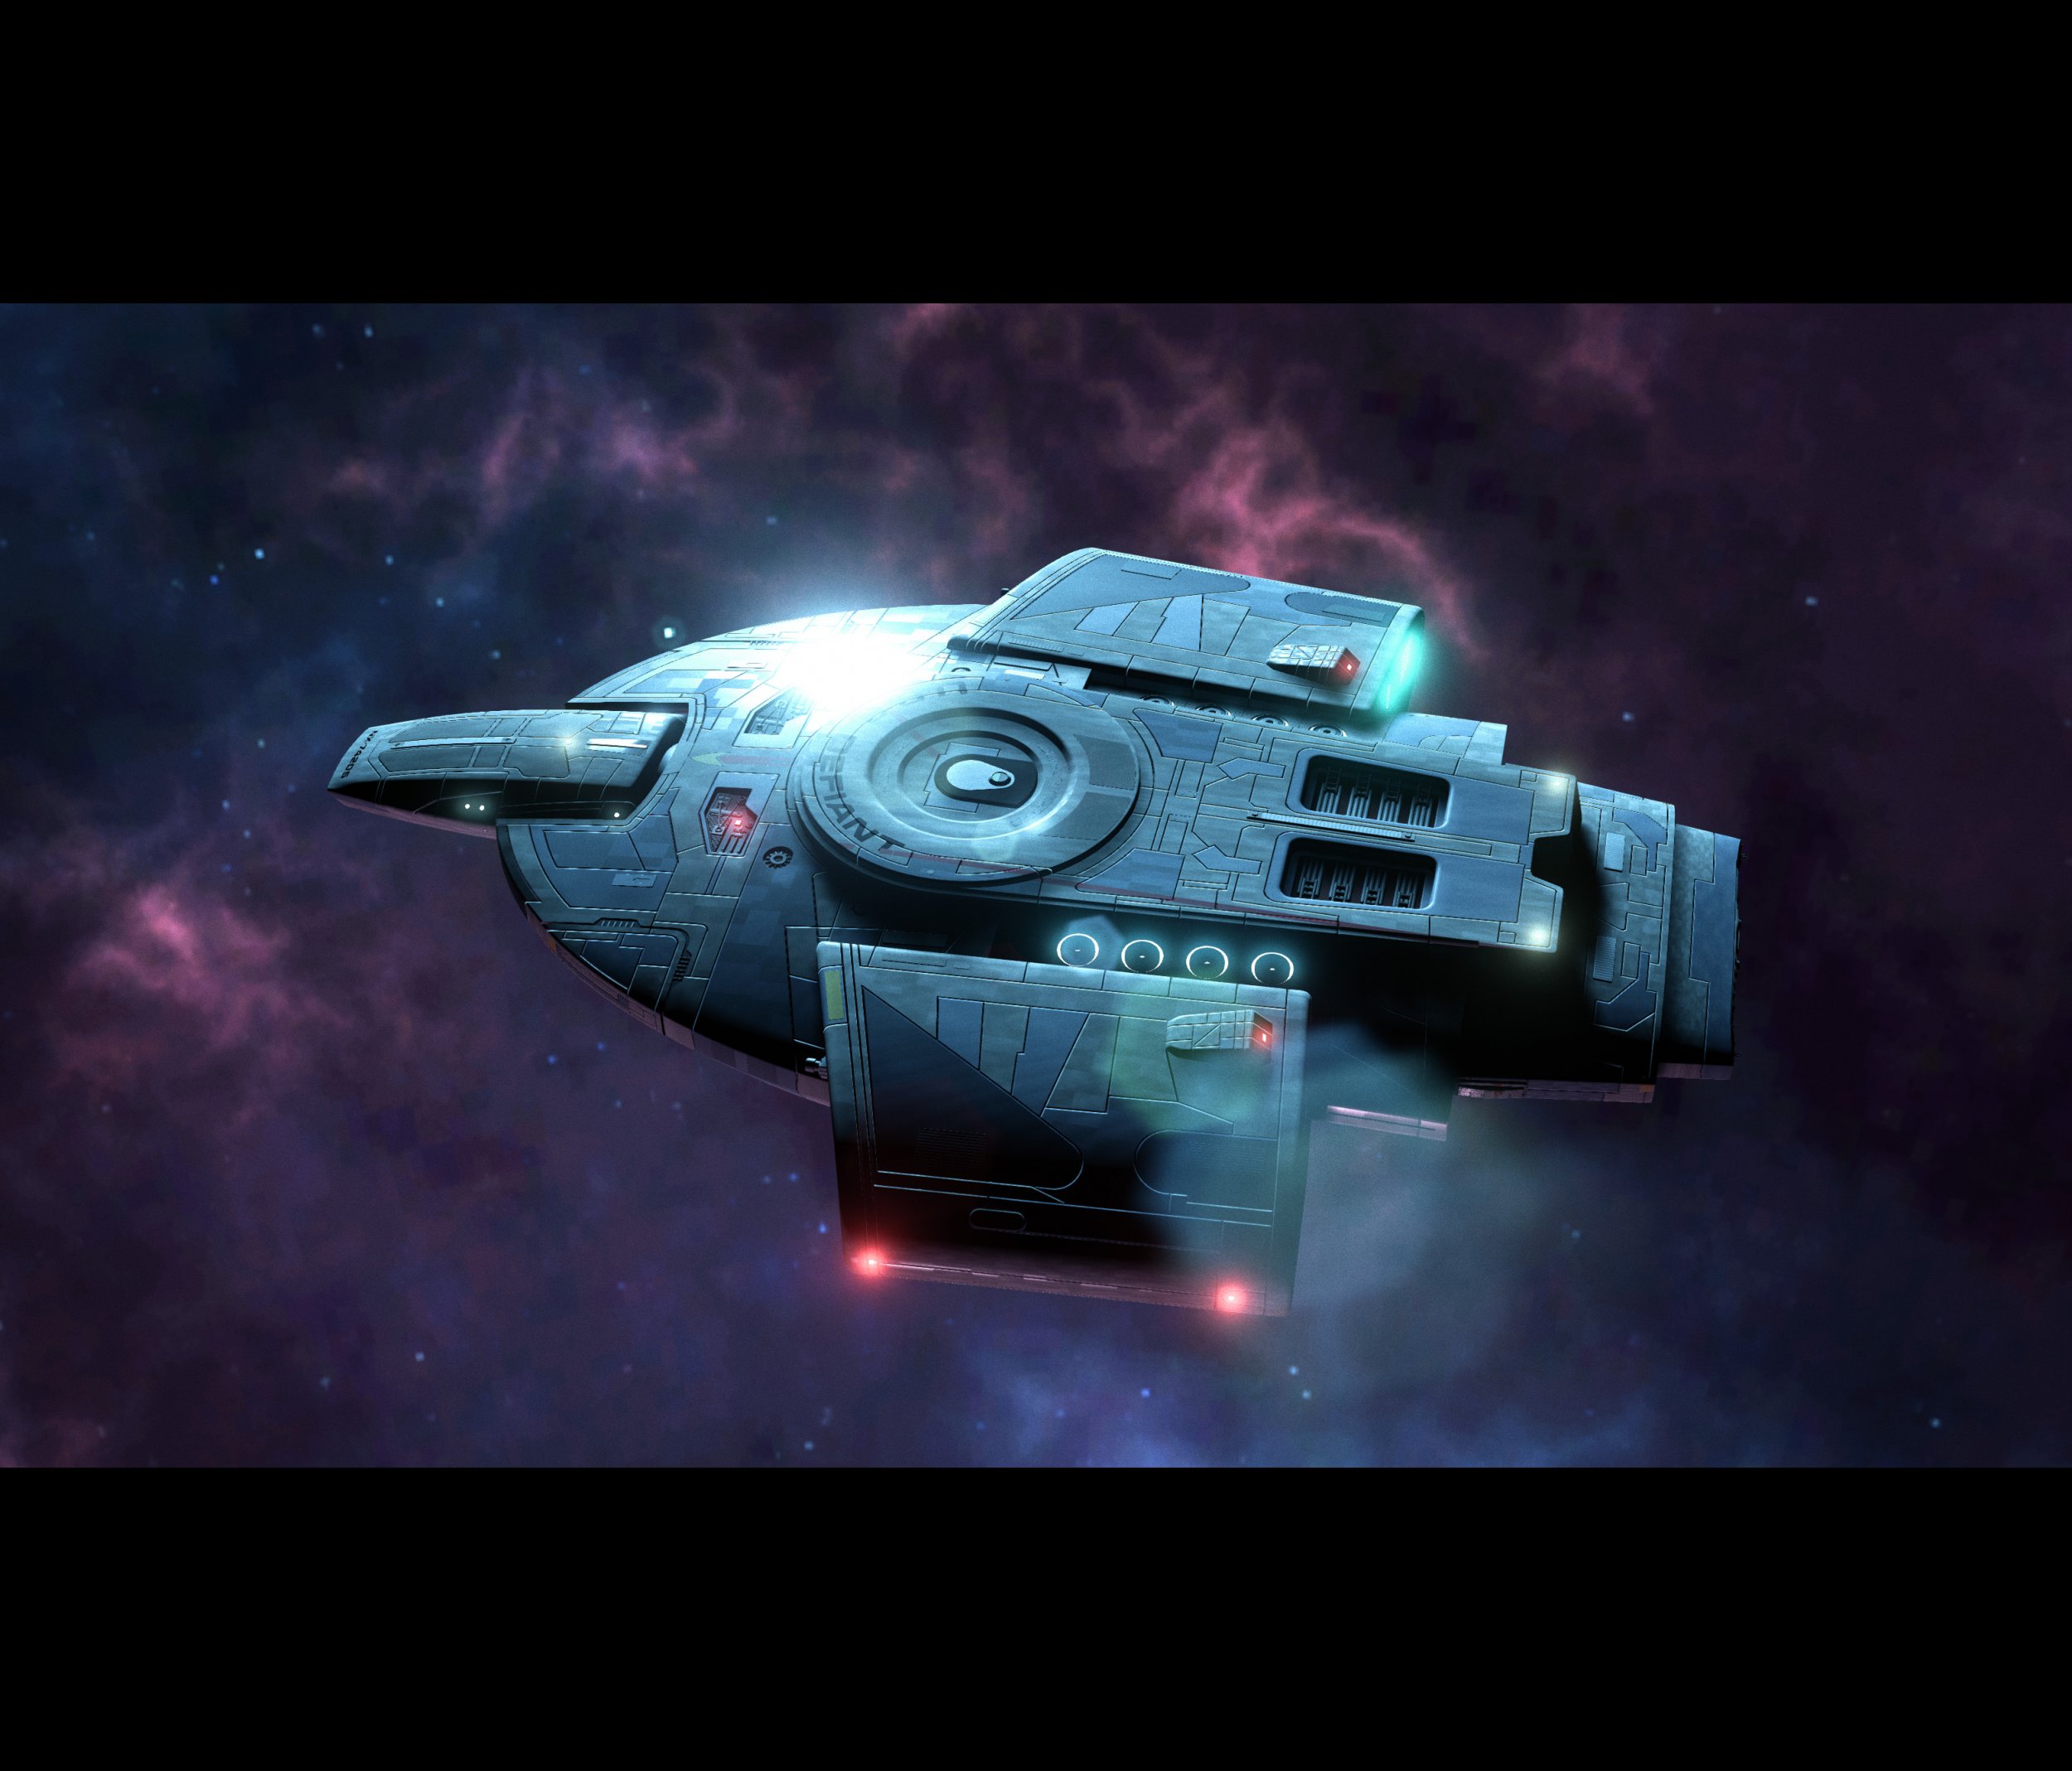
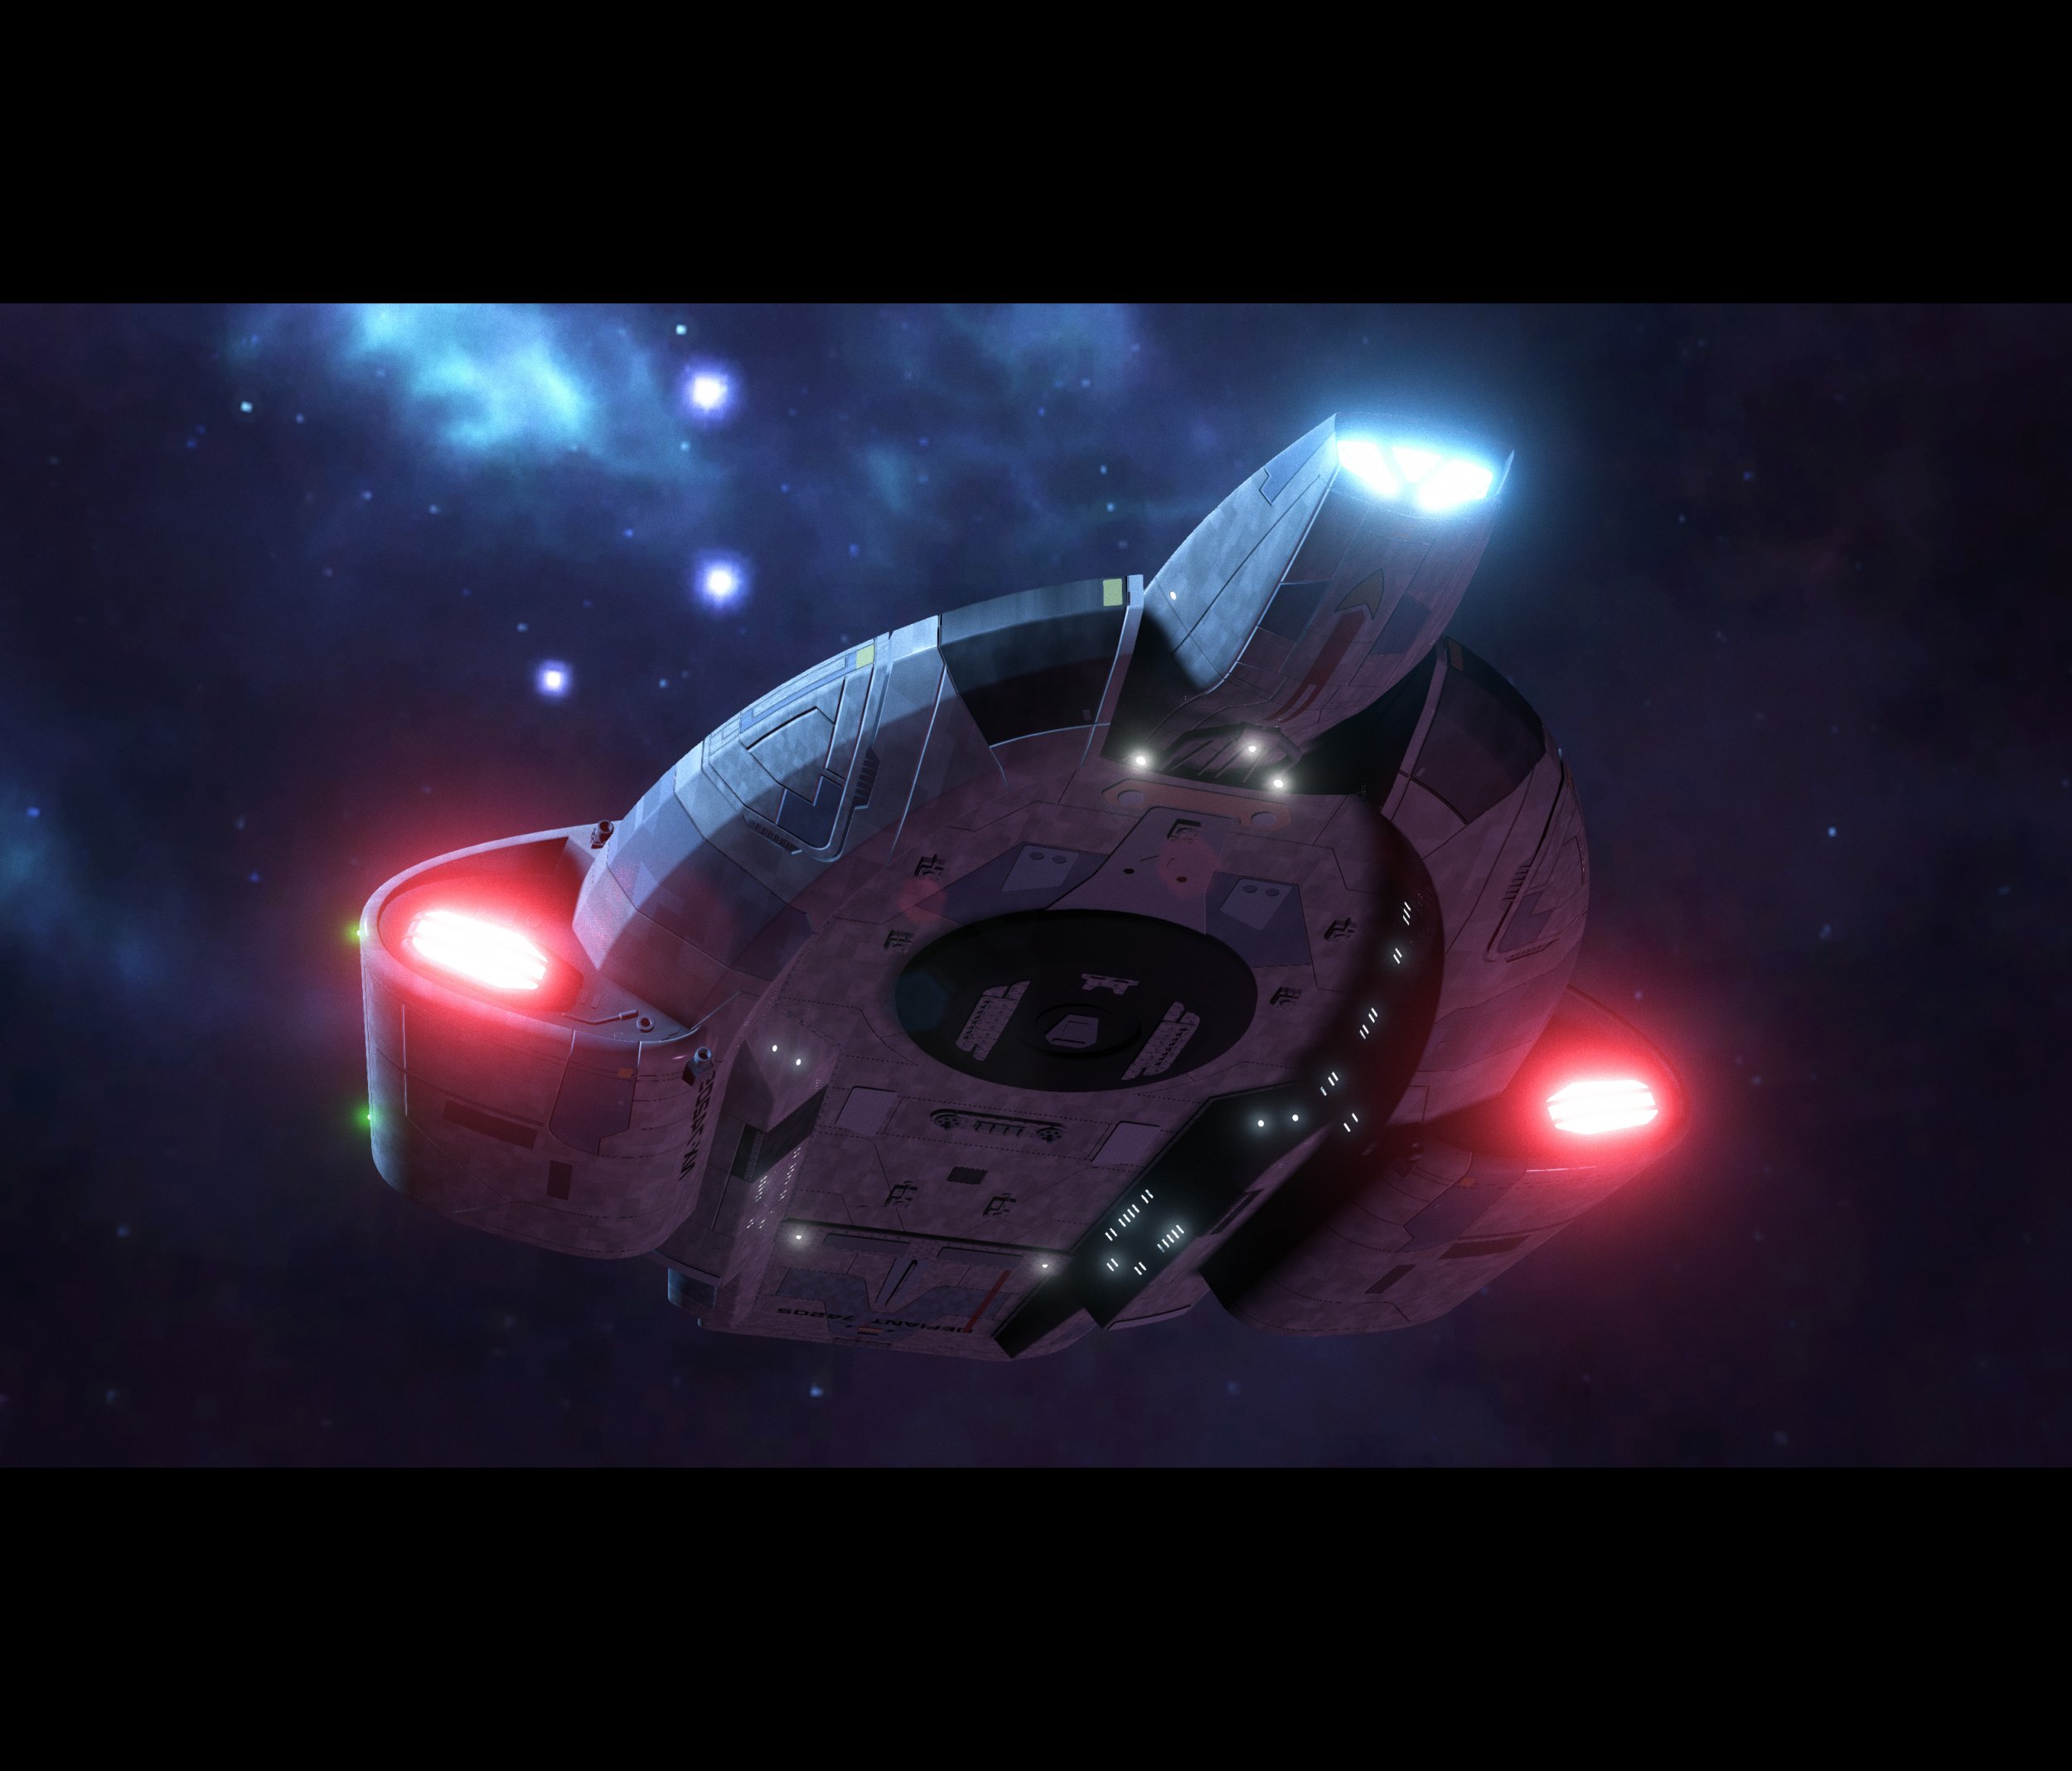
here are a couple of screenshots, i'll explain a little of the process below.
Defiant_Ue4_Fore.jpgDefiant_Ue4_Top.jpgDefiant_Ue4_Fore_Low.jpgDefiant_Ue4_Aft.jpg
I've uploaded a quick WIP video of the effect so far, still working on it!
[video=youtube_share;TBF1aLSiYww]
CLICK HERE IF THE VIDEO IS CLIPPED OFF
So the model originally used a series of nested blend materials in Max, with masks used to separate the different hull colours, and the hull itself used a procedural noise to create the subtle variations on the hull plating.
This required the used of material layers within UE, wherein you create a Material Function, essentially a material, with the added ability to be used within a standard material as an element, as well as exposing parameters for tweaking, as well as real-time adjustments (emissive glow levels, even mapping coordinates, etc.. pretty much anything representable as either a replacable asset, scalar, or vector parameter, etc..)
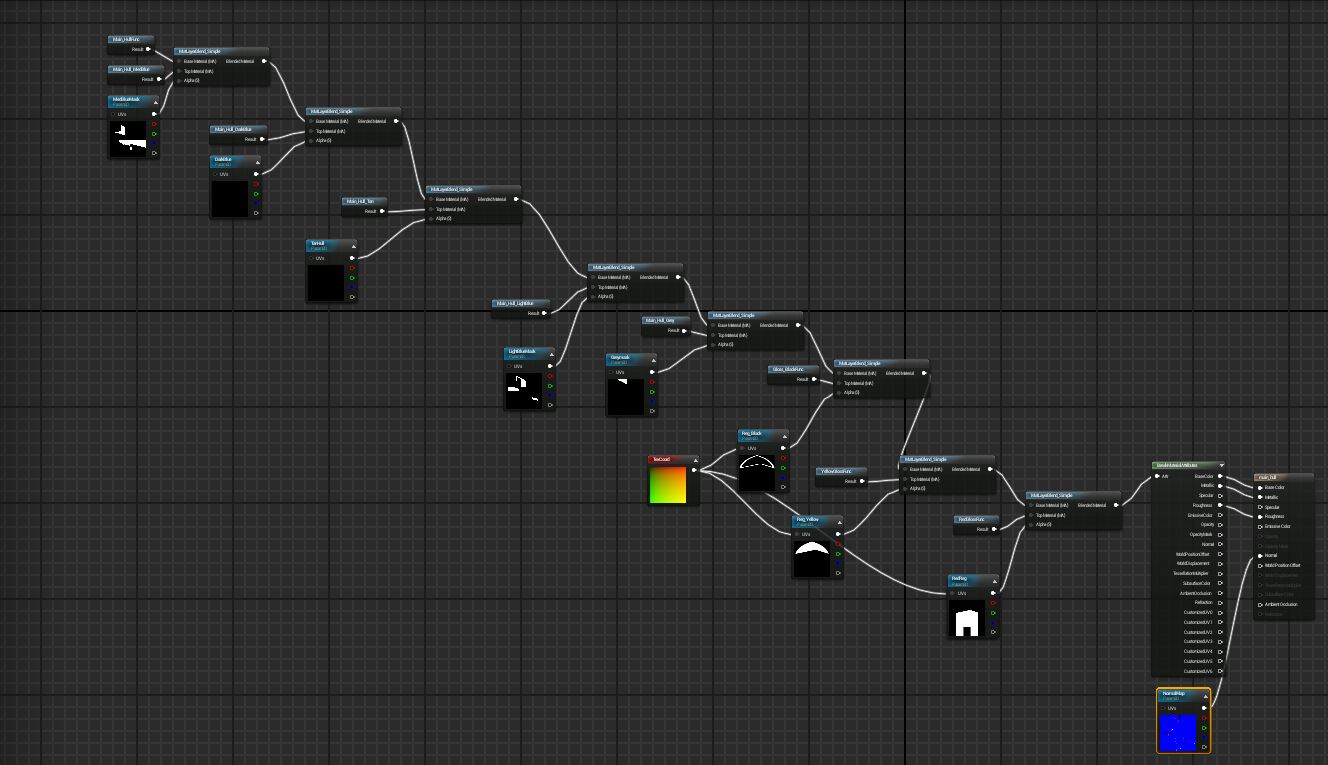
here is a screenshot of said 'Master' material.
Material_master.JPG
I realise it's kinda hard to read, but you can see a liner branch of little material functions plugging in to the final output, with each relevant source texture or layer mask exposed as a parameter (with a default placeholder).
this means that this single material can be used across all the parts of the model that use this style of hull shader, with each respective layer mask replaced independently, you can see that the registry overlays are plugged in after each hull material, to ensure correct blending (although given i didnt use any special blending modes between the material layers there would be little likelihood of that, but i worked it from bottom to top anyway to avoid any issues.)
The material functions for each hull layer were very simple, i first baked out the noise map originally used for the hull to a texture, and used the texture coordinate node's scale parameter to get the size right (turns out the mapping on the original model was object XYZ rather than UV so i had to tweak it in the engine to get it close.)
i then blended this with the colour of the hull plating with an overlay node, as well as a quick tweak to the contrast to flatten out the noise, as it was originally it gave a harsh effect i wanted to even out.
The normal input on this Material function turned out to be redundant, as i override the normal map in the final Material Instance, as it was parameterised in the master material for easy swapping, as with the rest of the textures.
Material Function.JPG
The material instance is a cut-down copy of the original Master material (the first graph) which allows for very efficient re-use of a shader, limiting modifications to thoe specifically exposed as paramaters, thereby cutting down on the instructions used to calculate the shading and lighting. if you are unfamilliar with the idea of an instance, it's a method used in object-oriented programming to essentially clone something, but with limited paramters exposed for effiicient modification or run-time data input without the need to recalculate an entire function or whatnot.
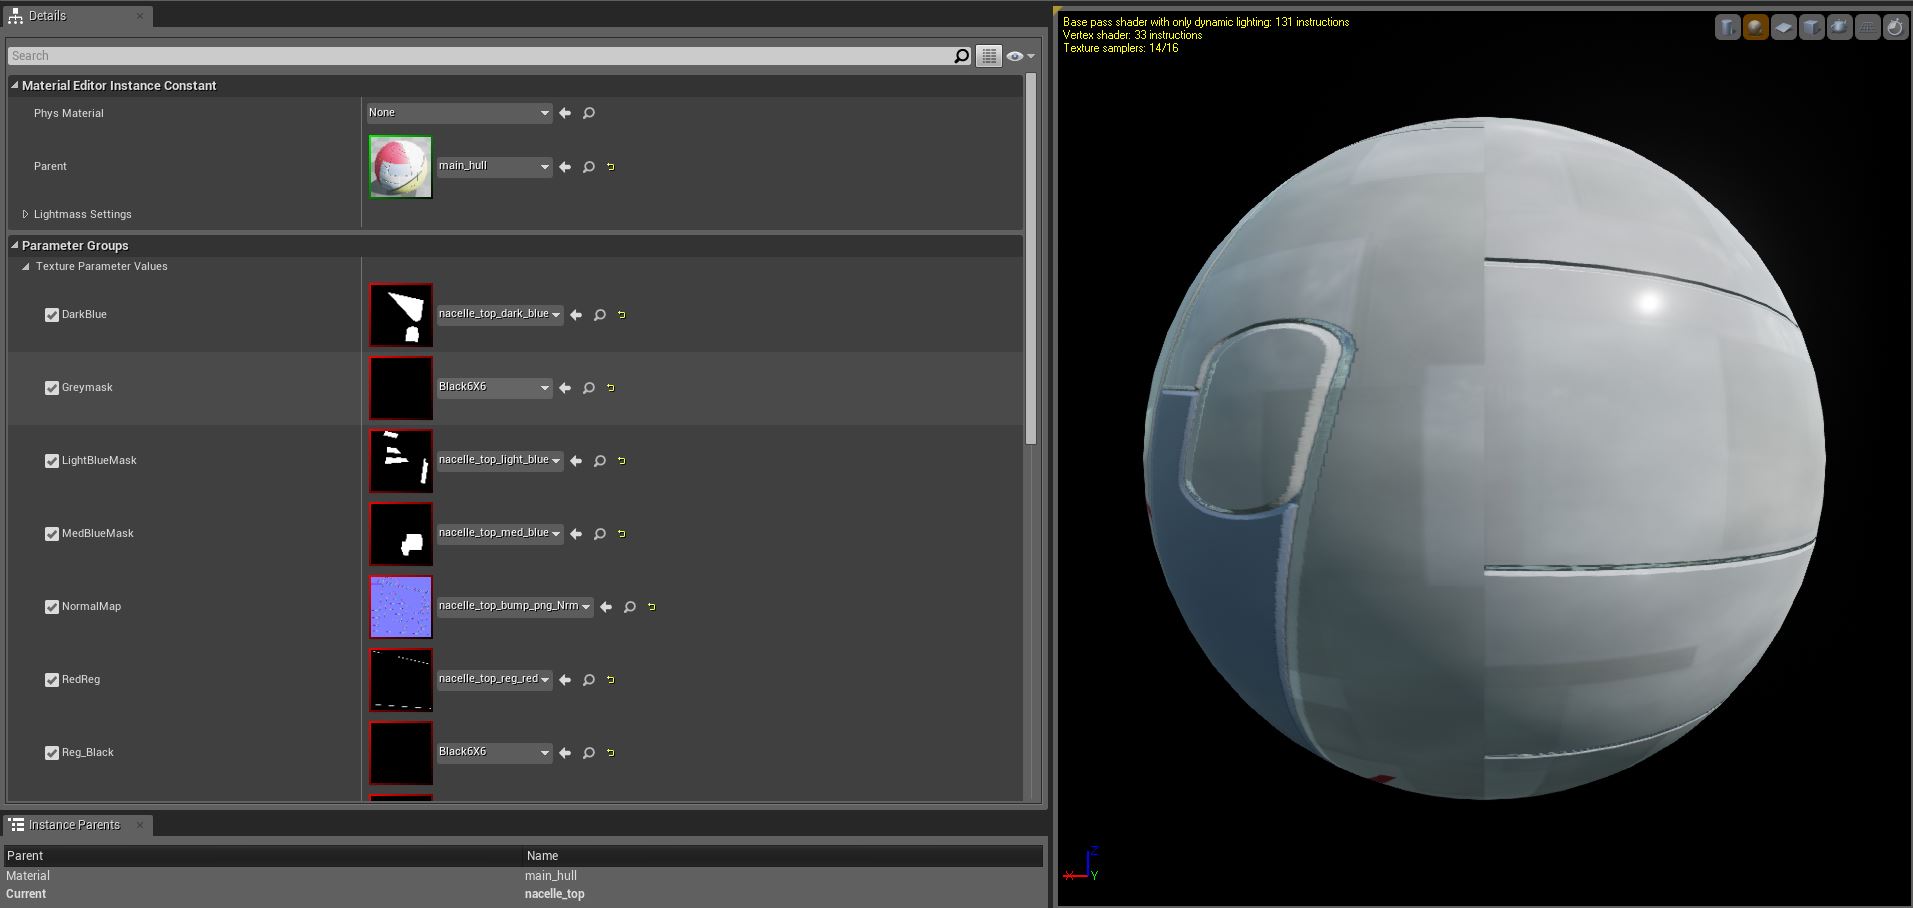
here is what a Material Instance looks like.
Matinst.JPG
each of those tick-boxes enable the override for that particular parameter, and as you can see the textures plug in and give the correct appearance on the mesh they are applied to.
you may notice a texture call Black6x6 in there, that is to override the given mask with a value of 0, as that specific surface did not require for example a Grey hull material, or Black Registry overlay. setting this to 0 means it is essentially transparent. this is a side-effect of trying to make the master material all things to all surfaces, and may be wasteful, although i used a very small texture, and since it is referenced only once in memory it should be efficient enough.
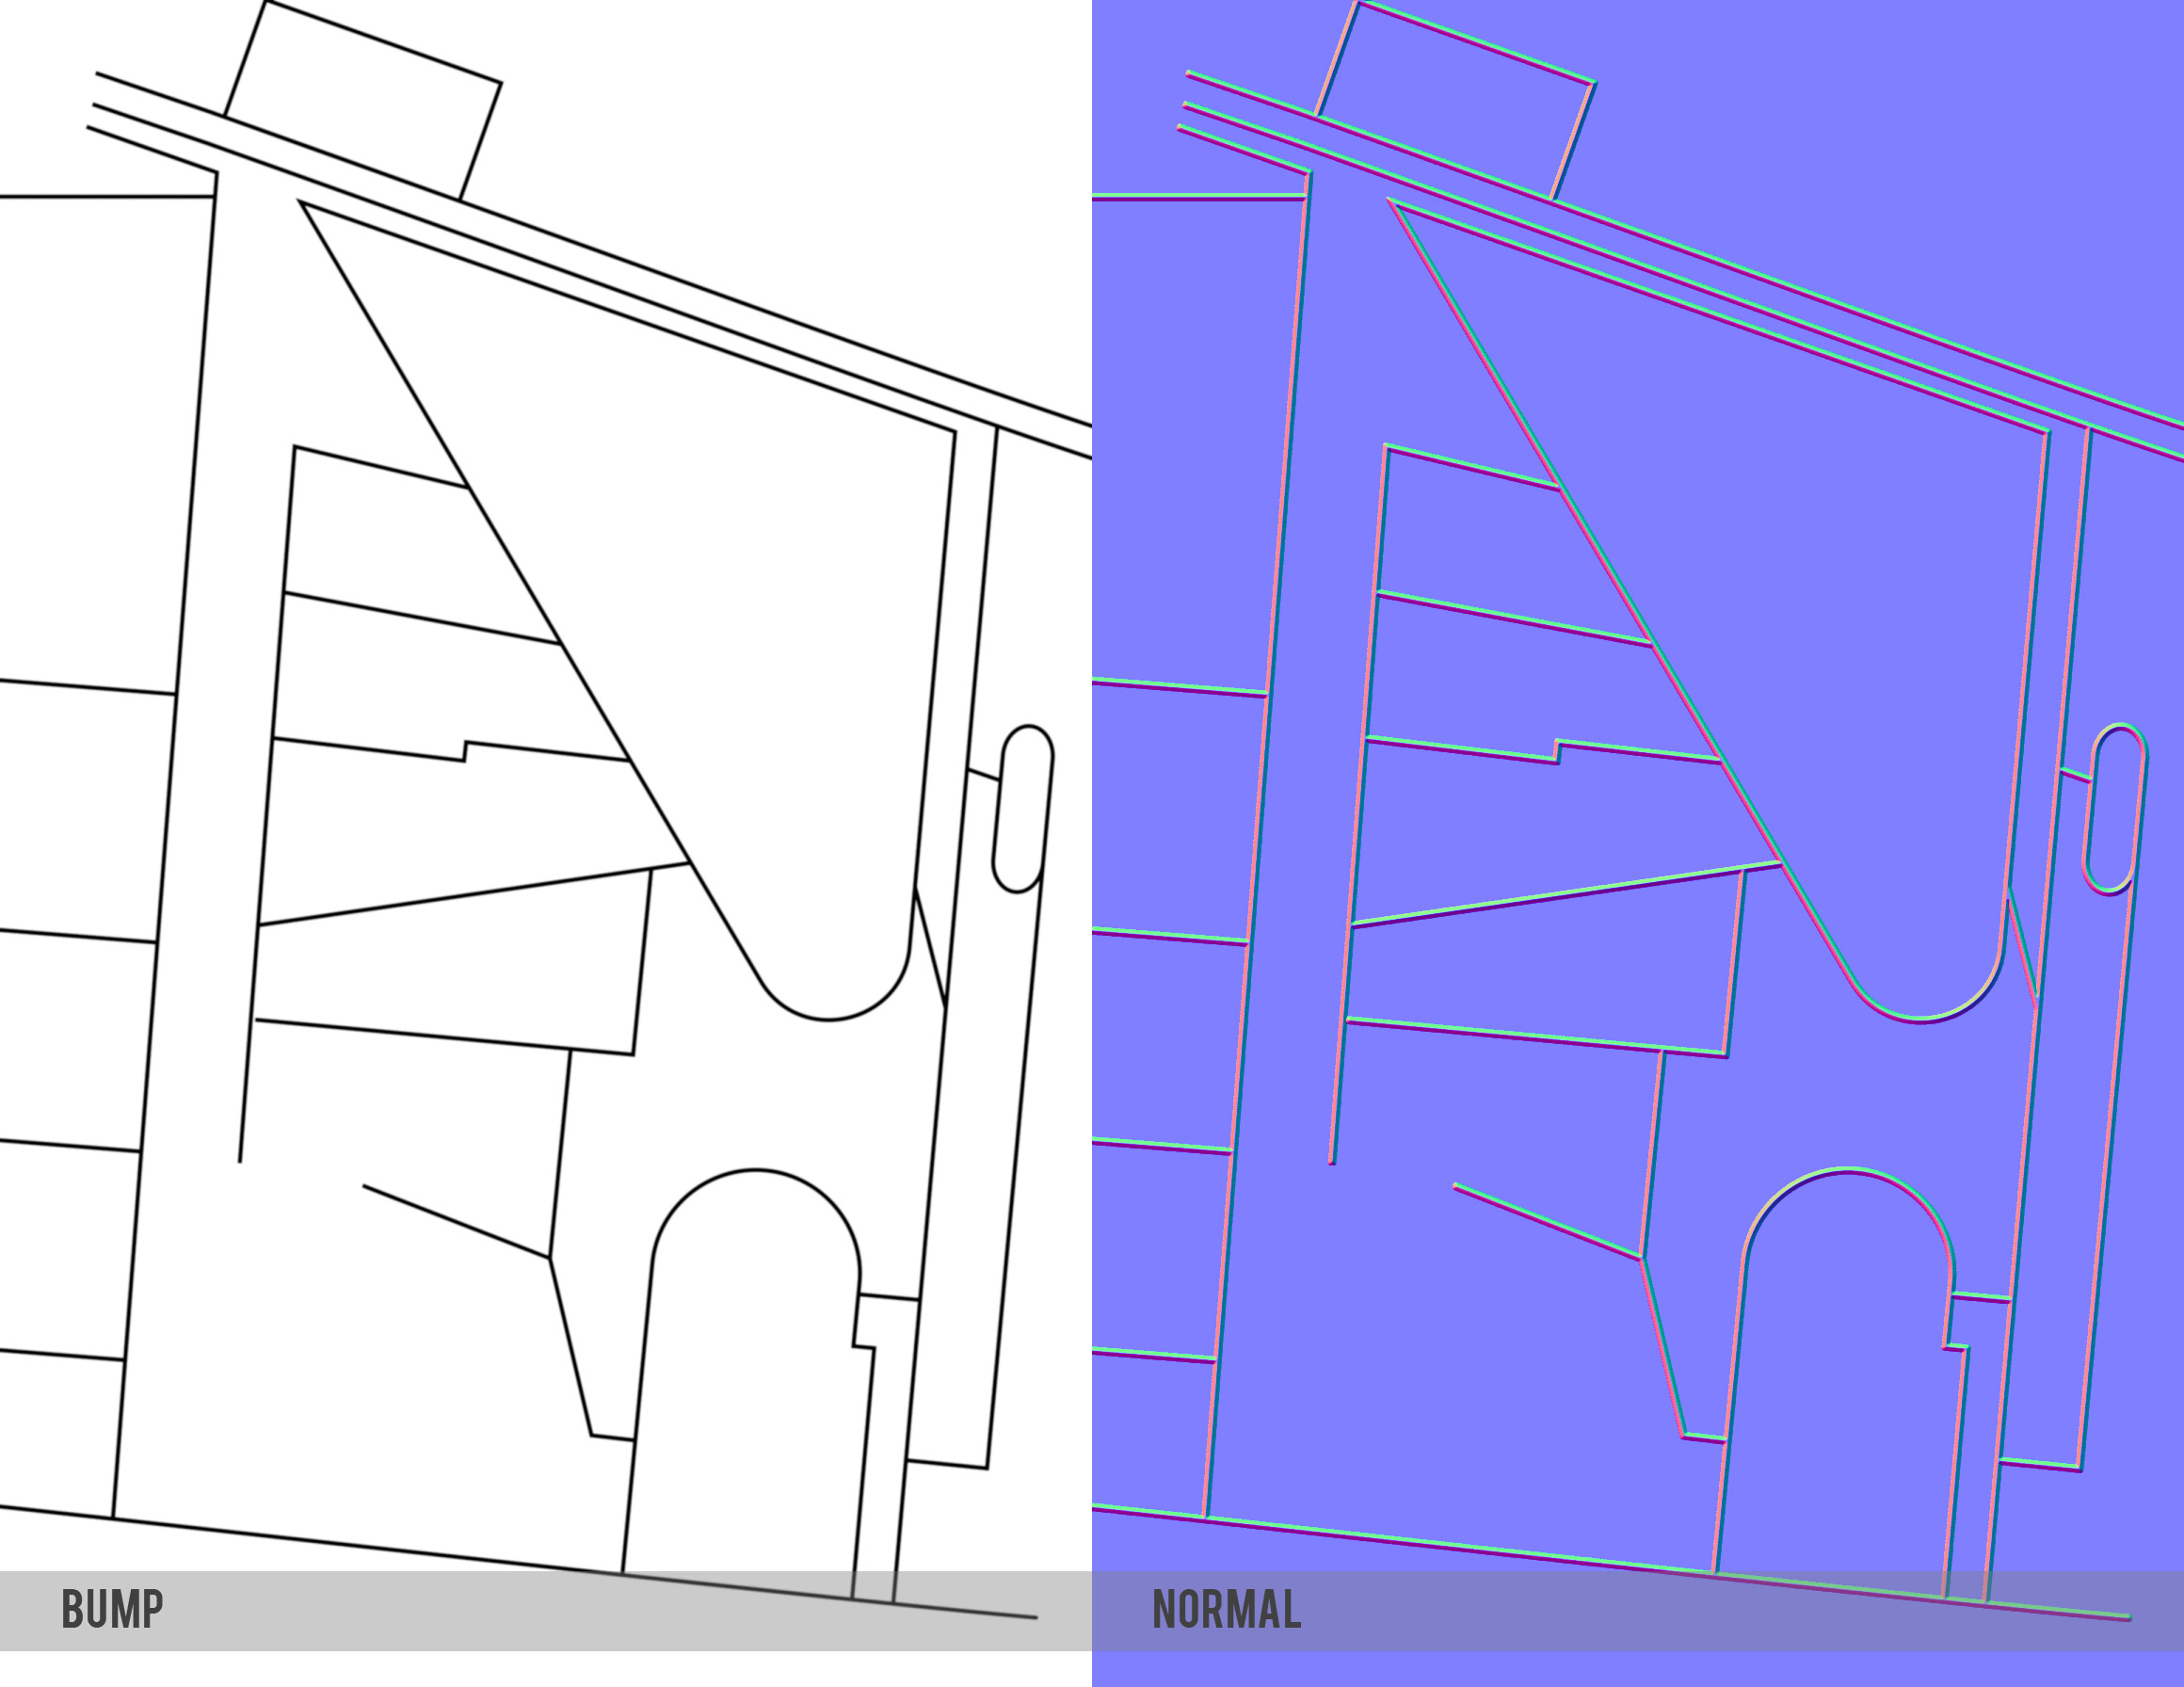
Once the materials for each section of the hull were hooked up, i converted the old bump maps (BnW heightmaps) to Normal Maps for use in the engine. Normal maps are used for Pixel shaders, and represent each axis of displacement in a respective colour channel.
BumpVNrm.jpg
After much tweaking and consternation of UV channels (the registry decals were not on consistent uv channels, meaning that my master material required a parameter for that specific mask i could modify to specify the mapping channel for each mask to use, a process i still haven't found a good solution for, the reason why some of the hull markings are missing in the current captures) i decided i'd had enough and needed to finish it, if only so that it didnt sit and gather dust on my hard drive, another unseen half- finished project.
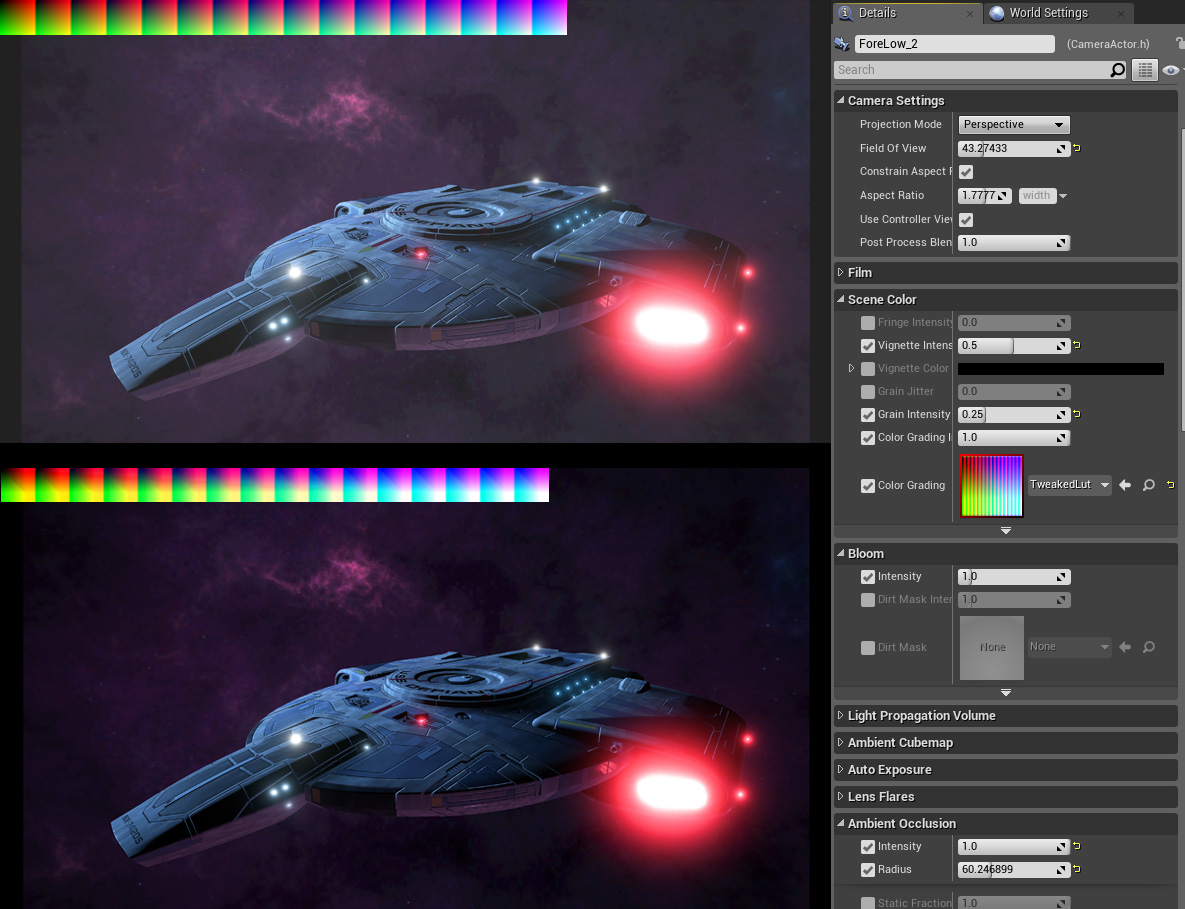
Upon setting up my cameras and tweaking the comps, i leveraged UE's powerful camera post process system to create a more refined look. One really awesome feature i found was the Colour Grading workflow, wherein we export a screenshot from the camera's view, then load a LUT image into that screenshot, apply our adjustement layers, then save that Lut out for use inthe engine, wherein it maps the given colours and luminescence back onto the scene as a post process, eliminating much of the need to tweaking in post.
LutExplanation.jpg
So i'll be working on a quick animation with this scene today, hopefully i can add it into this post, and get some convo happening with this method of using a game engine to render high-quality scenes, rather than spending hours on render farms (if one is so fortunate) and spend that time on creating compelling artwork.
crits and feeback welcome, if people are interested i am happy to provide more information, or hear better methods etc..
Peace!
-Craig

I've converted Skye Dodds (i think?) beautiful Defiant model for use in the engine, it took a little while, leveraging material functions and nested material layers to try and replicate the specific shader setup he used in Max all those MANY years ago, i'm honestly shocked at how well his/her work holds up to this day, so full credit to their diligence and hard work back then, for all of us to enjoy and leverage with such recent technology.
here are a couple of screenshots, i'll explain a little of the process below.
Defiant_Ue4_Fore.jpgDefiant_Ue4_Top.jpgDefiant_Ue4_Fore_Low.jpgDefiant_Ue4_Aft.jpg
I've uploaded a quick WIP video of the effect so far, still working on it!
[video=youtube_share;TBF1aLSiYww]
CLICK HERE IF THE VIDEO IS CLIPPED OFF
So the model originally used a series of nested blend materials in Max, with masks used to separate the different hull colours, and the hull itself used a procedural noise to create the subtle variations on the hull plating.
This required the used of material layers within UE, wherein you create a Material Function, essentially a material, with the added ability to be used within a standard material as an element, as well as exposing parameters for tweaking, as well as real-time adjustments (emissive glow levels, even mapping coordinates, etc.. pretty much anything representable as either a replacable asset, scalar, or vector parameter, etc..)
here is a screenshot of said 'Master' material.
Material_master.JPG
I realise it's kinda hard to read, but you can see a liner branch of little material functions plugging in to the final output, with each relevant source texture or layer mask exposed as a parameter (with a default placeholder).
this means that this single material can be used across all the parts of the model that use this style of hull shader, with each respective layer mask replaced independently, you can see that the registry overlays are plugged in after each hull material, to ensure correct blending (although given i didnt use any special blending modes between the material layers there would be little likelihood of that, but i worked it from bottom to top anyway to avoid any issues.)
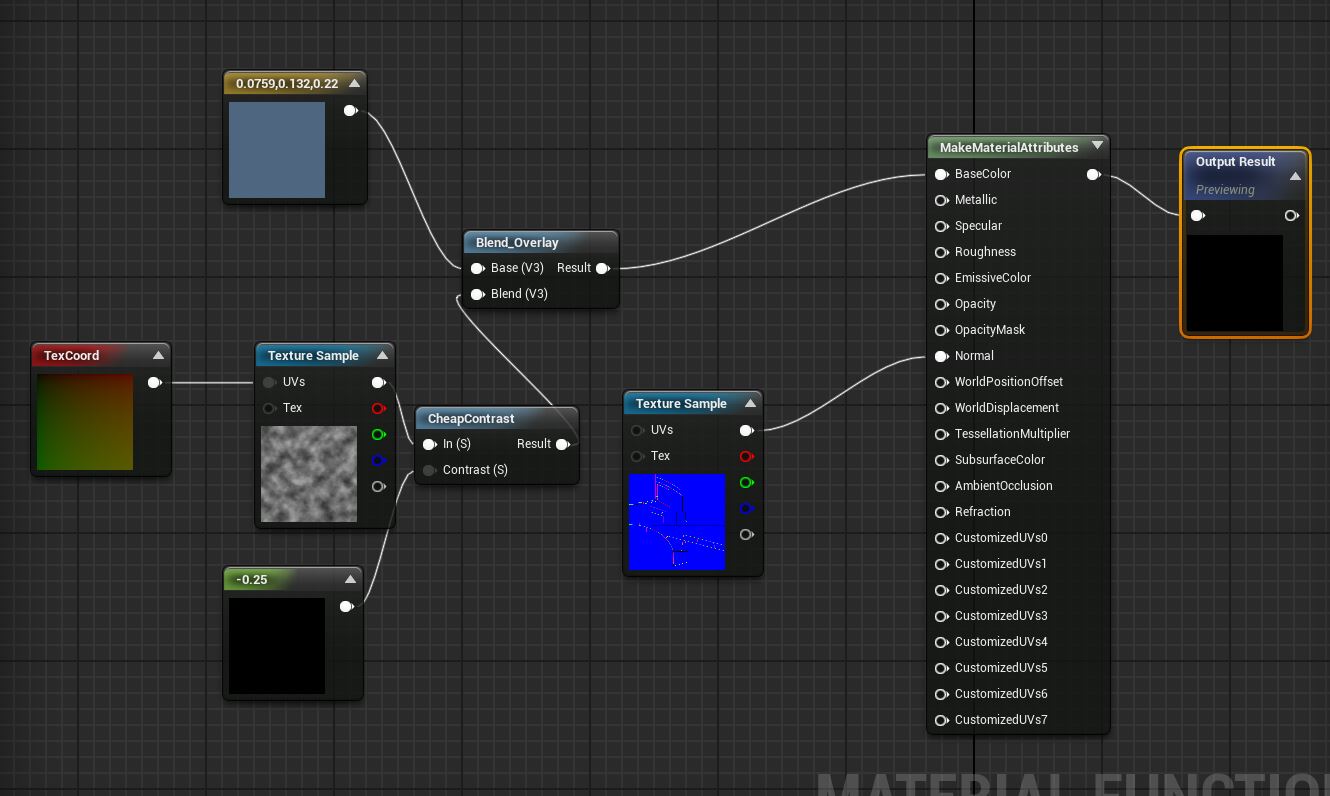
The material functions for each hull layer were very simple, i first baked out the noise map originally used for the hull to a texture, and used the texture coordinate node's scale parameter to get the size right (turns out the mapping on the original model was object XYZ rather than UV so i had to tweak it in the engine to get it close.)
i then blended this with the colour of the hull plating with an overlay node, as well as a quick tweak to the contrast to flatten out the noise, as it was originally it gave a harsh effect i wanted to even out.
The normal input on this Material function turned out to be redundant, as i override the normal map in the final Material Instance, as it was parameterised in the master material for easy swapping, as with the rest of the textures.
Material Function.JPG
The material instance is a cut-down copy of the original Master material (the first graph) which allows for very efficient re-use of a shader, limiting modifications to thoe specifically exposed as paramaters, thereby cutting down on the instructions used to calculate the shading and lighting. if you are unfamilliar with the idea of an instance, it's a method used in object-oriented programming to essentially clone something, but with limited paramters exposed for effiicient modification or run-time data input without the need to recalculate an entire function or whatnot.
here is what a Material Instance looks like.
Matinst.JPG
each of those tick-boxes enable the override for that particular parameter, and as you can see the textures plug in and give the correct appearance on the mesh they are applied to.
you may notice a texture call Black6x6 in there, that is to override the given mask with a value of 0, as that specific surface did not require for example a Grey hull material, or Black Registry overlay. setting this to 0 means it is essentially transparent. this is a side-effect of trying to make the master material all things to all surfaces, and may be wasteful, although i used a very small texture, and since it is referenced only once in memory it should be efficient enough.
Once the materials for each section of the hull were hooked up, i converted the old bump maps (BnW heightmaps) to Normal Maps for use in the engine. Normal maps are used for Pixel shaders, and represent each axis of displacement in a respective colour channel.
BumpVNrm.jpg
After much tweaking and consternation of UV channels (the registry decals were not on consistent uv channels, meaning that my master material required a parameter for that specific mask i could modify to specify the mapping channel for each mask to use, a process i still haven't found a good solution for, the reason why some of the hull markings are missing in the current captures) i decided i'd had enough and needed to finish it, if only so that it didnt sit and gather dust on my hard drive, another unseen half- finished project.
Upon setting up my cameras and tweaking the comps, i leveraged UE's powerful camera post process system to create a more refined look. One really awesome feature i found was the Colour Grading workflow, wherein we export a screenshot from the camera's view, then load a LUT image into that screenshot, apply our adjustement layers, then save that Lut out for use inthe engine, wherein it maps the given colours and luminescence back onto the scene as a post process, eliminating much of the need to tweaking in post.
LutExplanation.jpg
So i'll be working on a quick animation with this scene today, hopefully i can add it into this post, and get some convo happening with this method of using a game engine to render high-quality scenes, rather than spending hours on render farms (if one is so fortunate) and spend that time on creating compelling artwork.
crits and feeback welcome, if people are interested i am happy to provide more information, or hear better methods etc..
Peace!
-Craig
Post edited by weevilman on
Tagged:
Additional credits
- Icons from Font-Awesome
- Additional icons by Mickael Bonfill
- Banner background from Toptal Subtle Patterns
© Scifi-Meshes.com 2001-2024
Posts
HighresScreenshot00006.jpg
As for the hull 'dirtiness' you couldnt be more right. at this stage the hull shaders have no real notion of weathering or dirt building, and they are in turn not contributing anything to the specularity (or roughness as the PBR shader workflow deems it), so that is a very clear area of improvement. If i do end up generating more maps to improve the look i'll likely share those out for others to play with (i have no idea what the ramifications are, if Skye Dodds is still active anywhere i may need permission, or simply release my textures without any of their existing material)
Hi there! i'm a big fan of your work, and in fact some of the visual fidelity from your clips (captain's yacht, etc..) are a direct inspiration for what i'm trying to achieve here, and with the new engine (it's features are extremely powerful and straightforward) i expect you'd be able to do exactly what you're talking about.
If you're interested in a collab or to help me out with some assets i can test with, i'd be very interested in attempting some interior lighting tests, even some tips and tricks you used to get that level of quality, hit me up if you have the inclination!
Thanks for the feedback all, helps keep me motivated to do more, hopefully i'll make some tutorials for those of you interested in using a game engine as a renderer!
Peace!
Thank you! that's very kind!
Yeah, the black borders are a result of spitting the screenshot directly out of the engine and onto the forum, since i wanted the images to be exactly as they appear in-game i didnt bother doing any modifications, great point!
I do agree that the glows need to be dialled back by quite a bit - try 50% lower, and then reduce to 25% of overall brightness (compared to now).
Also see if you can do something about the specularity maps... the hull panel maps which show when the light hits the hull.
I think they could be eased off a bit as well - to create a bit of a 'easier' transition where you see the hull panels, but not as intensely as they show right now (if you check the movies and the shows, the specularity maps have a gentler look to them).
I usually used 25% visibility on the specularity maps myself... found that it was a good balance... though you can try with 50% and see how it looks (I think 50% lower on it will be fine, but you could experiment a bit).
Out of curiosity... what exactly do you intend to use this for?
A game test would be pretty amazing... but one probably cannot hope about that.